How to use Template Web with Onesait Platform Forms
The Web Template is a base template that allows you to easily create deployable web applications as web projects in the Platform by simply configuring a set of endpoints in the configuration JS files.
In this tutorial we are going to detail the steps, components and configurations to be performed to deploy the Platform web template together with Dashboards and Forms.
Components of the example
In the example we will have the following components:
Template Web
This is a Vue.js project, which includes:
- Native integration with the Platform Identity Manager.
- Deployment of the distributable as a web application of the Platform.
- Use of the Platform’s Application and Realm components for securization.
Realm
It allows to create security domains for our applications and to use these domains from our applications through the authentication and authorization of the Identity Manager.
Application
The Project or Application concept in the Platform allows the creation of a collaborative Environment in which Platform users, with different roles, can create grouped Platform concepts, allowing also to assign a security domain, a web application, etc., from a single point.
Centralized configuration
It allows to create a YAML file from the Control Panel in which we will indicate the different components of the menu for these roles.
Internationalization
The internationalization service allows us to centrally manage the internationalization files for Applications, Dashboards and Forms.
Forms
The purpose of this functionality is to support the development of Web applications with a non-code approach within Onesait Platform. Thus, from the Control Panel you will be able to create forms, assign Entities (and DataSources) to them and navigate between forms.
Dashboards
The Platform allows the creation and visualization of dashboardson the information managed by it, consumable from different types of devices and with analytical and Data Discovery capabilities.
Asset Code
We have a ZIP file with the code of the Asset of the example.
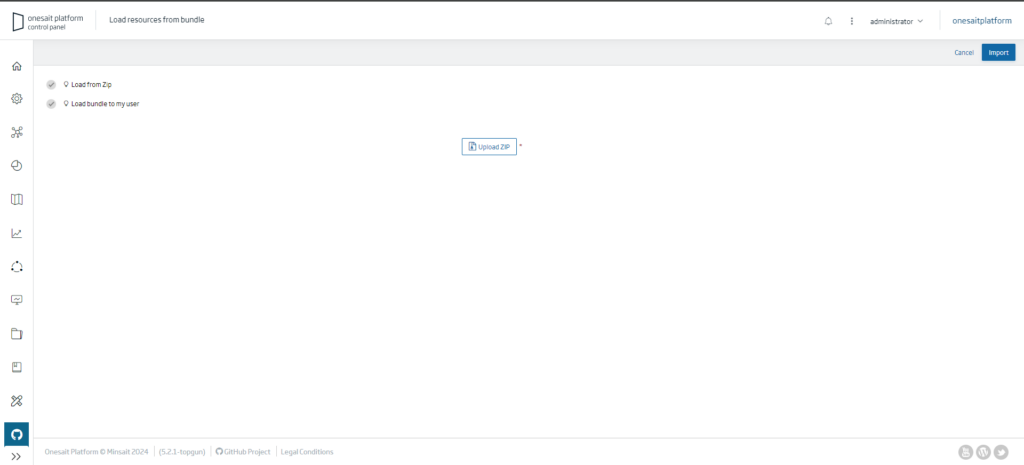
To import it, we will simply download the file and we will go to the “Bundle Load” section inside “Version Control” in Platform.
Once in this page we will click on the “Upload ZIP” button and then on “Import“.
Steps to follow in the example
1. Creating users
The first step to follow will be to create the users.
We can do it using an “Administrator” type account of the Platform from the Control Panel, from the REST Services user creation.

These users must have a “Developer” or “Analytics” role, who will be the ones to generate the Forms and Dashboards, as well as Entities, DataSources and other necessary components.
For the example, we will create a user called “asset_dev” who will be the content developer, and then two other users each with a different role to see how to manage and display resources depending on the roles, these will be “asset_user1” and “asset_user2“.

This is how the users would be displayed in the list:

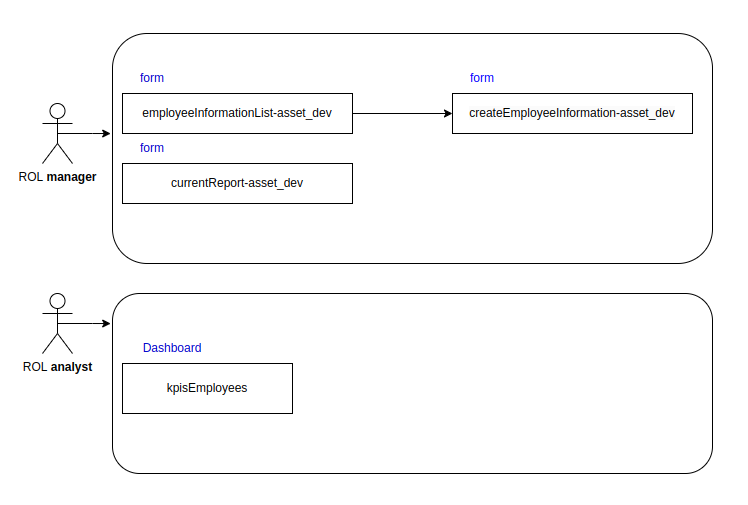
2. Creation of Forms and a Dashboard
We will access the Platform with the user type “Developer”, which in the example would be “asset_dev“.
We will create three forms for this example:

- employeeInformationList: list with employee information.
- createEmployeeInformation: form for inserting new employee data.
- currentReport: generate a small report from the employee data.
In addition, we will create a Dashboard named “kpisEmployees“, where we will display a few KPIs from the employee data information.
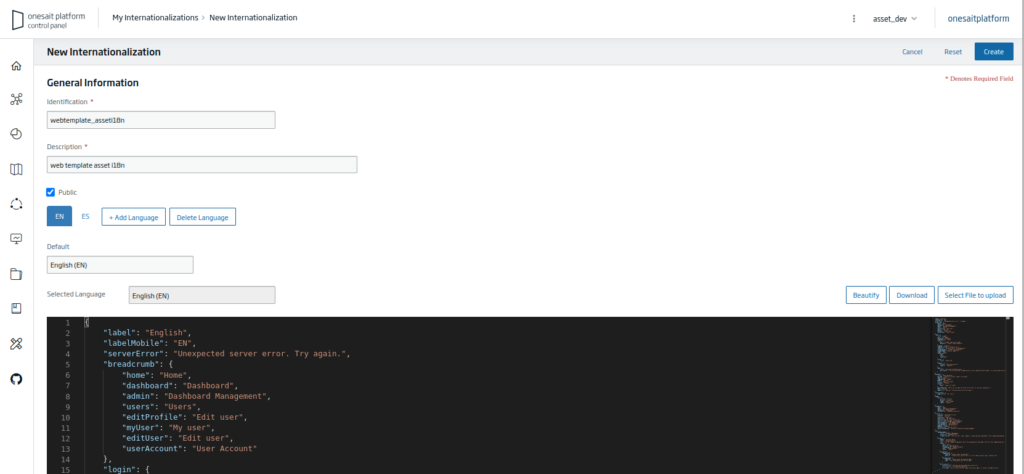
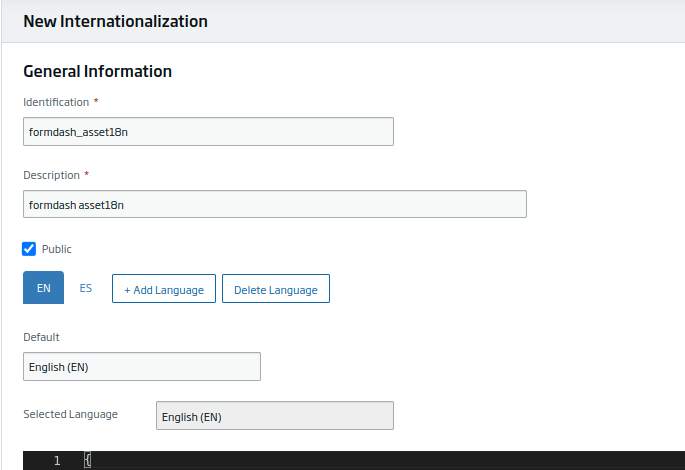
3. Creation of the internationalization files
The next step will be to create an internationalization file for the web template, and another file for the Forms and Dashboard, as these are assigned to each of these components.
We will create these files for both English and Spanish.

4. Realm creation
To manage user permissions through roles, we are going to create a Realm. For this example, we will create the “analyst” and “manager” roles.
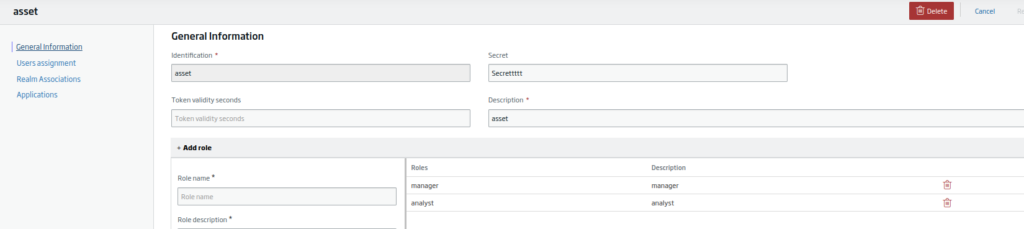
Once created, we will assign the users to the roles:

These roles will be used later in the centralized configuration file.
5. Defining a custom theme for the Web Template
With a user of type “Administrator” we will create a theme from the Control Panel, writing the CSS code that we want to be executed in the Web Template.
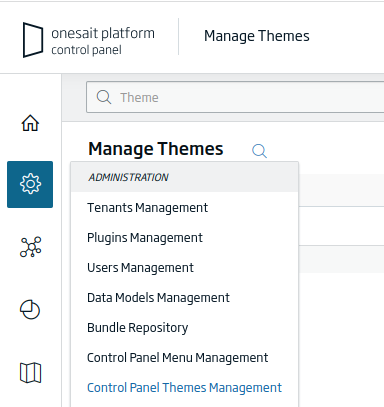
To do this, we access this menu entry, assign an identifier and in the CSS section we can include our own CSS code.
6. Generate the centralized configuration file
The web template needs a centralized configuration file to store properties such as the name of the Realm and the client ID to be used, the title of the application, the name of the internationalization file, the logo properties, etc.
It will also be possible to define the navigation menus (with their corresponding icons) as well as the permissions to the different Realm roles.
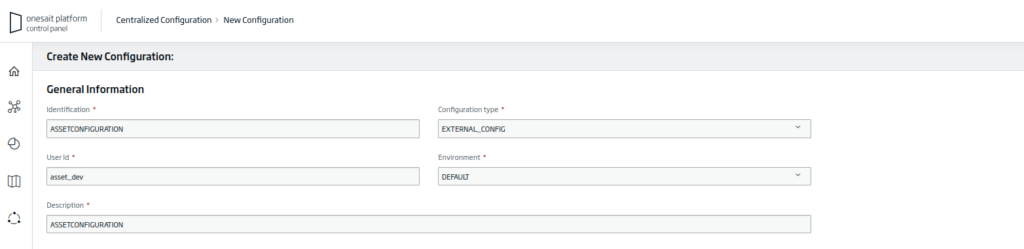
The most important properties to be configured are the following:
- realmId: the name of the Onesait Platform Realm.
- clientId: the name of the Realm client.
- secret: the token to use in the Realm client.
- title: the name we want to give to the project.
- i18n: the name of the language configuration file.
- project: the name of the centralized configuration application.
- productInfo: the properties of the project logo. The main ones are:
- suite: the name of the suite. For example: “suite”.
- product: the product name. For example: “product name”.
- productModule: the product module name. For example: “module”.
- onesait: if checked, the product and productModule properties are hidden. By default it is set to “false”.
- appVersion: refers to security layers. Default is set to 0.
- customization: frontend customization layer.
- To show the language selector, the “user.showLanguage” property must be set to “true”.
- To change the color scheme, the CSS properties of “styles” can be touched.
- navigationAllowed: corresponds to the list of access permissions of the different roles with respect to the components of the side menu (what each Realm role sees, not each user).
- navigation: application side menu components.
The example we are building would look like this:
[
    {
        "realmId": "asset",
        "clientId": "asset",
        "secret": "Secrettttt",
        "title": "Onesait Platform Tutorial",
        "i18n": "webtemplate_asseti18n",
        "project": "asset_application",
        "productInfo": {
            "suite": "platform",
            "product": "OneOps",
            "productModule": " ",
            "secondary": false,
            "negative": false,
            "simple": false,
            "onesait": false,
            "accentBlock": false
        },
        "pluginsOpts": {
            "filterDatasources": {}
        },
        "appVersion": 0,
        "customization": {
            "showActiveFilters": false,
            "showFilters": false,
            "showFavorites": false,
            "user": {
                "showTheme": false,
                "showLanguage": true
            },
            "styles": {
                "--color-bg-interactive": "#2e4454",
                "--color-border-interactive": "#2e4454",
                "--color-bg-interactive-soft": "#2e4454",
                "--color-bg-hover-2": "#c8e0de"
            }
        },
        "globalFilters": [],
        "initialNavigation": [
            {
                "type": "component",
                "path": "/forms",
                "role": "manager",
                "params": {
                    "formcode": "employeeInformationList-asset_dev"
                },
                "id": "Forms"
            },
            {
                "type": "dashboard",
                "role": "analyst",
                "id": "kpisEmployees"
            }
        ],
        "navigationAllowed": [
            {
                "role": "manager",
                "components": [
                    {
                        "id": "employeeInformationList",
                        "options": {}
                    },
                    {
                        "id": "currentReport",
                        "options": {}
                    }
                ]
            },
            {
                "role": "analyst",
                "components": [
                    {
                        "id": "kpisEmployees",
                        "options": {}
                    }
                ]
            }
        ],
        "navigation": {
            "employeeInformationList": {
                "cssClass": "my-custom-class",
                "langs": {
                    "en": "Employee Information List",
                    "es": "Listado Información Empleados"
                },
                "icon": "file-add",
                "type": "component",
                "componentId": "employeeInformationList",
                "to": "/forms/employeeInformationList-asset_dev/"
            },
            "currentReport": {
                "cssClass": "my-custom-class",
                "langs": {
                    "es": "Informe Actual",
                    "en": "Current Report"
                },
                "icon": "file-filled",
                "type": "component",
                "componentId": "currentReport",
                "to": "/forms/currentReport-asset_dev/"
            },
            "kpisEmployees": {
                "cssClass": "my-custom-class",
                "langs": {
                    "es": "Indicadores Empleados",
                    "en": "Kpis Employees"
                },
                "icon": "review",
                "dashboardId": "kpisEmployees",
                "to": "/dashboard/kpisEmployees"
            }
        }
    }
]
7. Create the application and associate the resources
Now it is time to create the application and associate the resources according to the Realm roles to restrict the access to the components by role:
For the example we will create an application called “asset_application” and link it to the Realm created earlier:

We access the application resources and give permission to these resources by roles (everything we have created before: the Entities, the centralized configuration file, the Forms and the Dashboards).

As can be seen, the forms have been assigned to the “manager” role and the Dashboard to the “analyst” role.
8. Configure the web project and deploy it
Finally, the only thing left to do is to upload the Web Template to the Platform.
Before doing so, we will have to configure a couple of files with environment variables to define the endpoints to which we will point in the project.
With an IDE, we will open the Vue project and edit two files: “.env.production” and “.env.development.local“, which are located in the root of the project. Both files are identical, so changes from one can be copied in their entirety to the other file.
Once the files are opened, we will indicate the names of the different elements we have:
- The project, which corresponds to the Onesait Platform application.
- The name of the internationalization file.
- The URL of the Platform environment.
- The name of the configuration file.
- The type of authorization and authentication.
For example, the contents of the “env.production” file would be:
# REQUIRED CONFIGURATION
VUE_APP_APPLICATION = assetapp
VUE_APP_PROJECT = asset_application
VUE_APP_PLATFORM = https://lab.onesaitplatform.com
VUE_APP_PLATFORM_I18n = webtemplate_asseti18n
VUE_APP_PLATFORM_CONFIGURATION = ASSETCONFIGURATION
VUE_APP_LOGIN_TYPE = realm
VUE_APP_AUTH_TYPE = KEYCLOAK
VUE_APP_KEYCLOAK_REALMID = onesaitplatform
VUE_APP_KEYCLOAK_CLIENTID = asset
VUE_APP_THEME = ''

# ADDITIONAL CONFIGURATION
VUE_APP_I18N_LOCALE = en
VUE_APP_I18N_FALLBACK_LOCALE = en

# APP ENDPOINTS
VUE_APP_USERINFO = '/controlpanel/api/users'
VUE_APP_USERINFO_REALM = '/controlpanel/api/realms'
VUE_APP_USERINFO_REALM_ELEMENTS = '/controlpanel/api/projects'
VUE_APP_CONFIGURATION = '/controlpanel/api/configurations/'
VUE_APP_USER_AVAILABLE_APPS = '/controlpanel/api/realms/member'
VUE_APP_APPDS = ''
VUE_APP_USERDS = ''
The description of these variables is:
VUE_APP_APPLICATION = (application name for when deployed for web/application_name)

VUE_APP_PROJECT = (project/application where the Realm and resources are assigned)
VUE_APP_PLATFORM = https: //... (Host)
VUE_APP_PLATFORM_I18n = (internationalization file identifier)
VUE_APP_PLATFORM_CONFIGURATION = ASSETCONFIGURATION (centralized configuration file)
VUE_APP_LOGIN_TYPE = realm (type of authentication can be default, realm)
VUE_APP_AUTH_TYPE = KEYCLOAK (set KEYCLOAK in case of KEYCLOAK but any other value or leave empty) VUE_APP_KEYCLOAK_REALMID = onesaitplatform (realmid of keycloak)
VUE_APP_KEYCLOAK_CLIENTID = asset (client id of keycloak)
VUE_APP_THEME = '' (Platform theme css are collected from the theme and applied in the application)
The only rule that this environment file has is that the names of the elements must match exactly with the files they reference; if something is capitalized, it has to be in the Platform.
Once this is done, we will move on to mount the distributable(dist) of the Vue project, either with npm or with yarn:
// NPM
npm run build

// YARN
yarn build
9. Deploying the web application through the Platform Web Projects
When the assembly is finished, we will compress all the contents of the “dist” folder into a ZIP file.
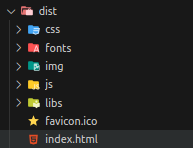
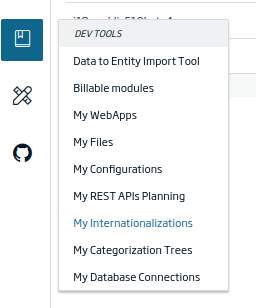
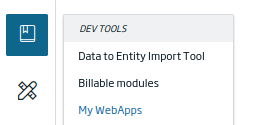
This ZIP file is the one we will upload to the Platform in Dev Tools > My WebApps:
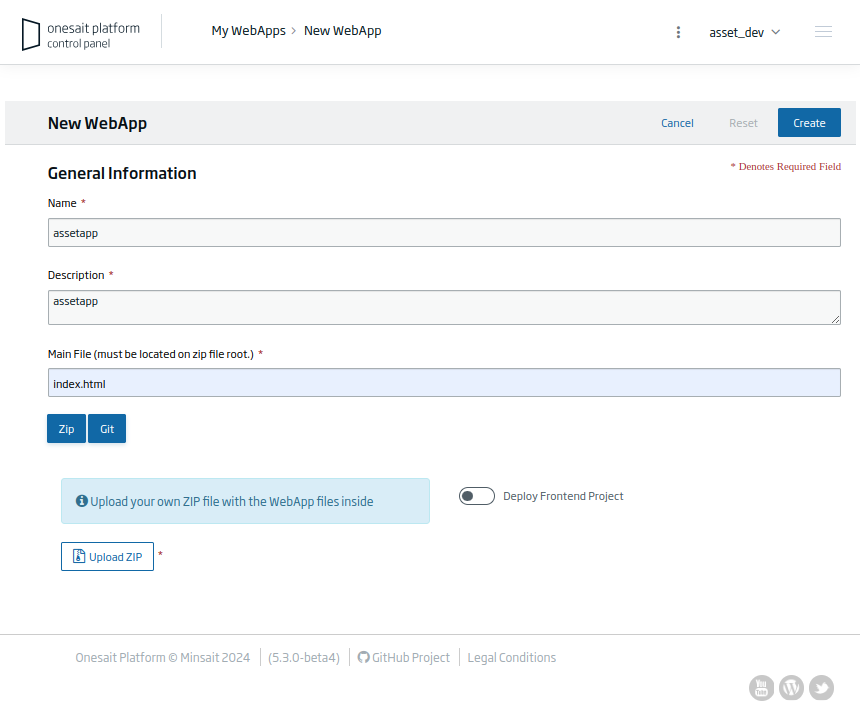
Once the file is uploaded, the asset is ready for use.
10. Accessing the created WebApp
After deploying the WebApp, we will be able to access it by clicking on the eye icon.

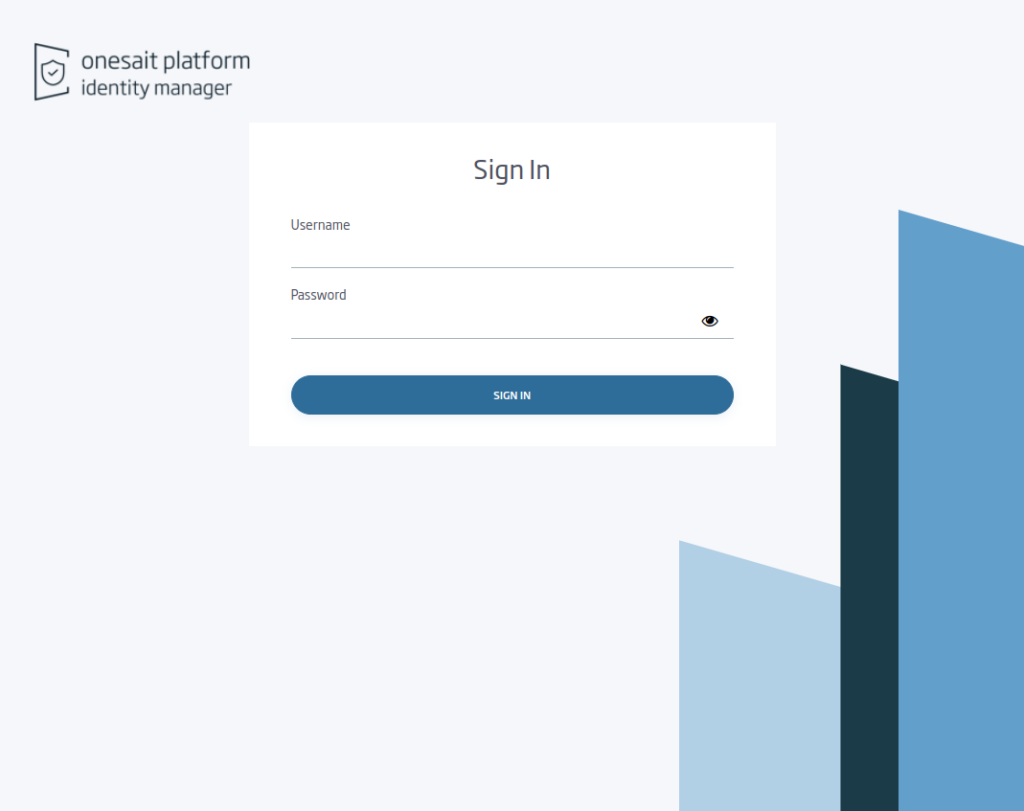
When starting from the Web Template, the first thing that will appear will be the Login user interface, which allows us to have the application secured against Onesait Platform’s Identity Manager.
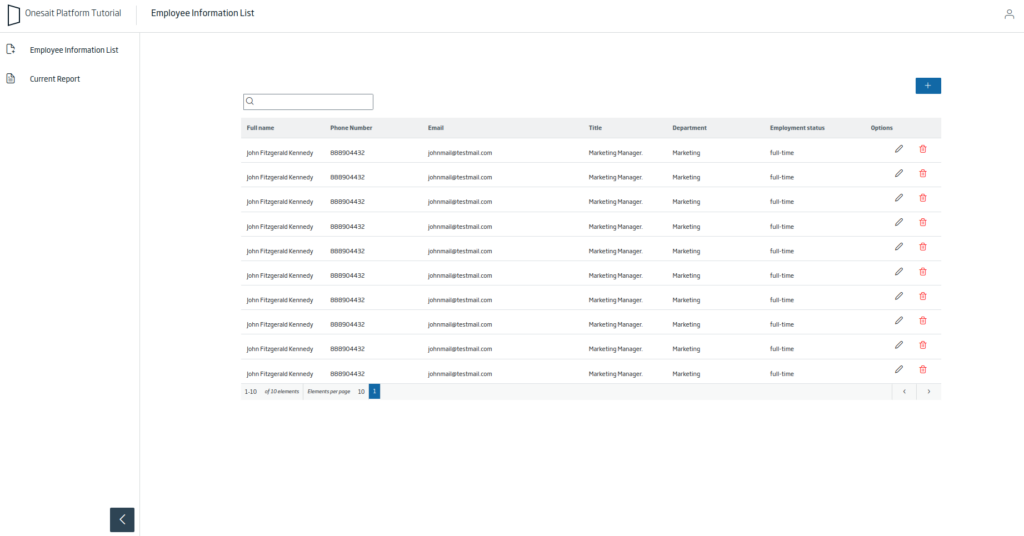
If we access with the user with the manager role “asset_user2“, the menu will appear with two entries, one with the form “employeeInformationList” and the other with “currentReport“.
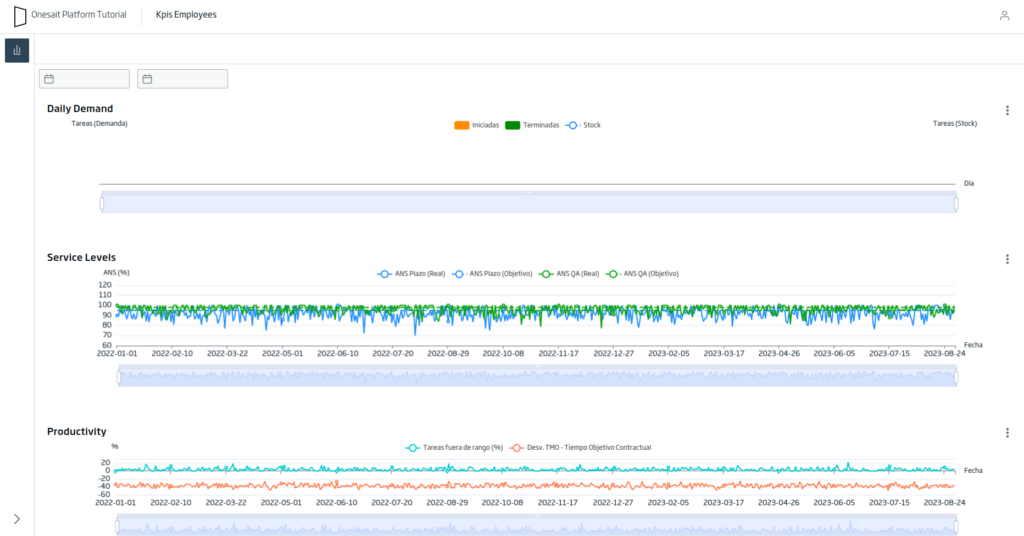
If we access with the other user, “asset_user1“, we will only have one entry in the menu: “kpisEmployees“.
Header Image: Tim Gouw at Unsplash.