OP Forms
In release 5.2.0-Topgun we have included a new functionality called OP Forms, whose objective is to support the development of web applications with a no-code approach within Onesait Platform. Thus, from the Control Panel, you will be able to create forms, assign Entities (and datasources) to them and navigate between forms.
These forms can be integrated into your Web application, whatever the UI technology we use, for example in the Platform’s Dashboards or in the ODS Vue applications.
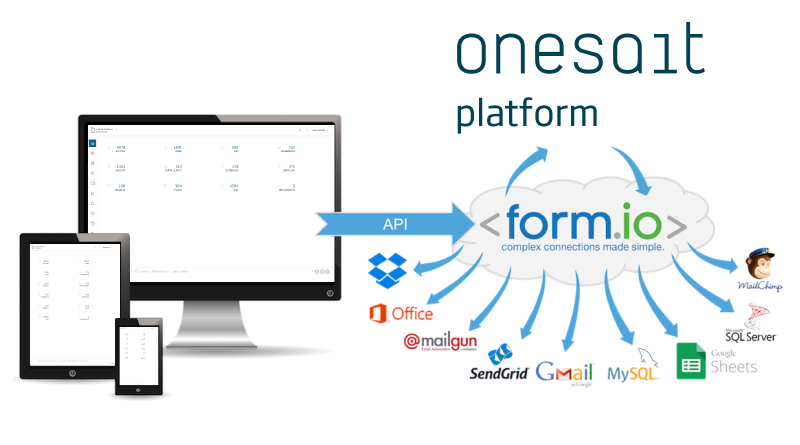
To build this functionality we have used Form.io as a basis. It is a JavaScript library that includes a Builder and a Renderer, and we have extended and integrated it with the platform capabilities, allowing us to manage the Platform Entities and their DataSources in a very simple way.
Main functionality
List of OP Forms
A new link has been added to the Control Panel menu:

This gives access to the list of forms:

From this list, you have access to the following options:
- Data Face View.
- Edit.
- Delete.
- Clone.
Creating an OP Form
After accessing the creation button «+» from the list, you will see the form creation screen.
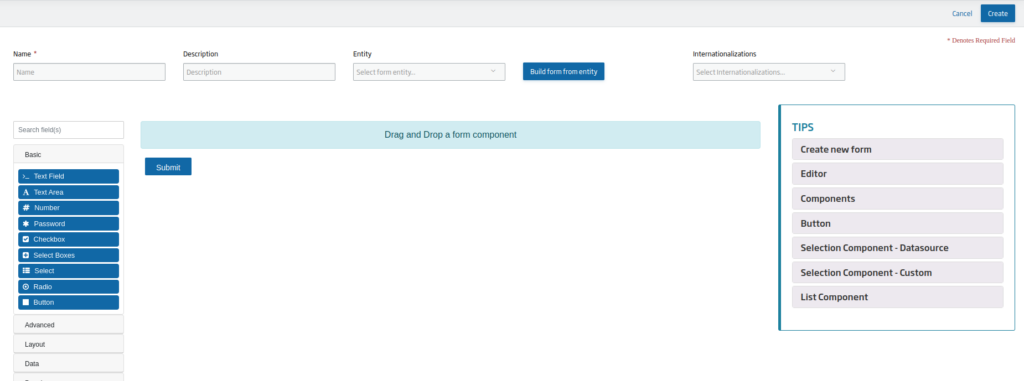
To facilitate their creation, we have incorporated a window with tips, which can be followed to prepare the form.
The necessary steps will be:
- Give a name to the form.
- Select the entity in which the records created from the form will be stored.
- Drag from the left panel of components, to the canvas, the elements necessary to compose the form. It’s best to first drag components of the layout to give the structure that has been designed and then drag the different elements such as text fields, selection fields, …
While dragging the different elements, a modal window is can be seen. For example, the one for the text field would appear as:
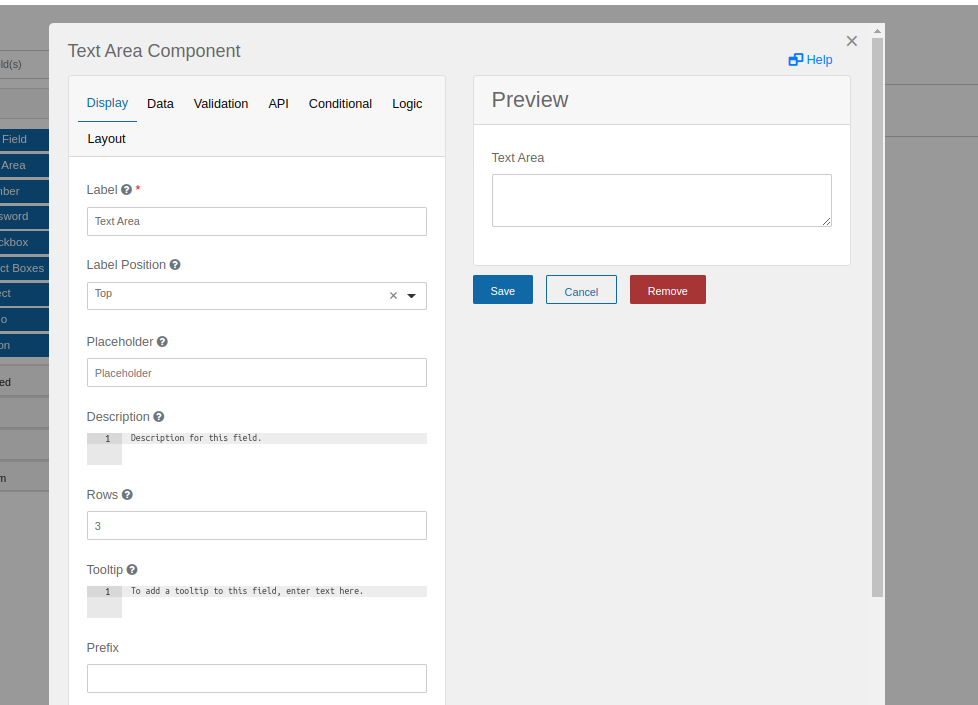
This modal window has two sections, the left one for the configuration and the right one for the preview. Everything is done by drag and drop and filling in the properties of the components. When you hover the cursor over the symbols with question marks, they will show a tooltip, which serves as a guide to know how each field works.
Finally, pressing the «Create» button will create a new form.
Form generation for an entity
On both the form creation and form editing screens, there is the «Build form from entity» button.

After selecting an entity,it will generate the fields of the relevant type in the form for each field of the entity.
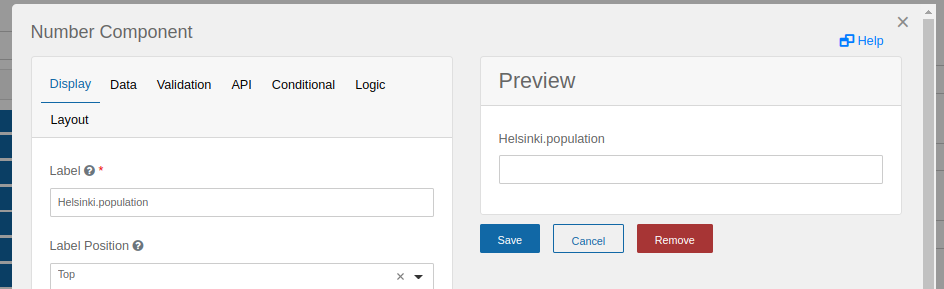
For example, for the entity «HelsinkiPopulation» whose fields are all of type number, this would be the result:
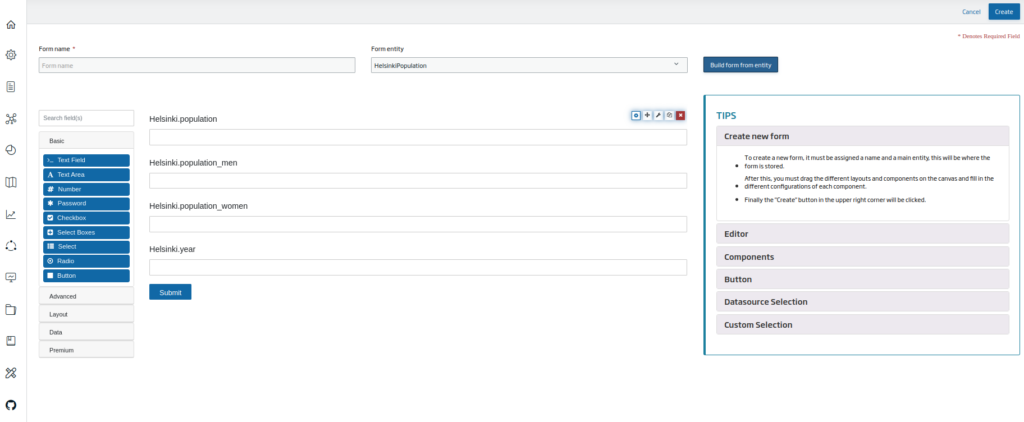
One of its fields would be:
Data load
From the list of forms, clicking on the eye button («View» option) of any of the forms, you will access the display and data loading screen.
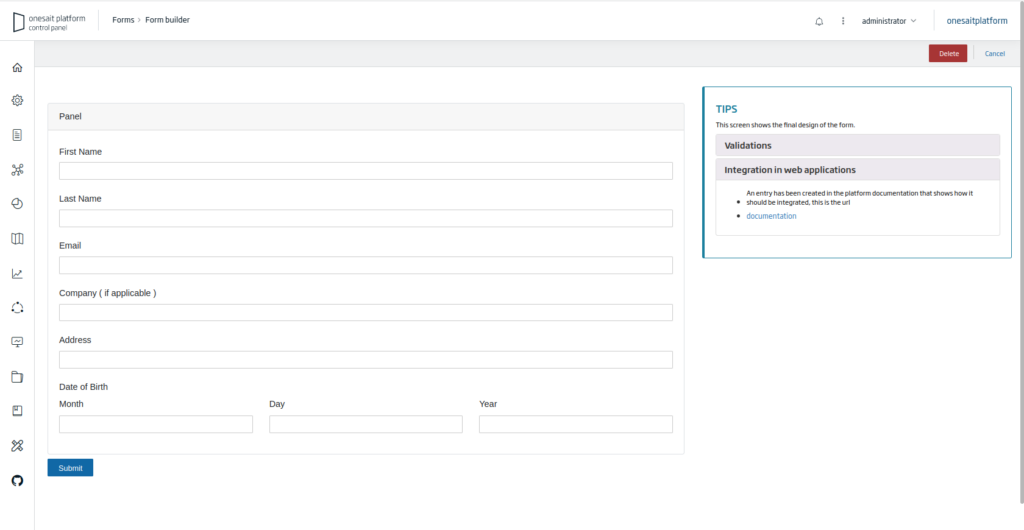
In that screen, you can first see the empty form and space with tips for the user and links to documentation to facilitate use.
The form can be filled out from this screen and sent to register the data in the entity defined for the form.
Navigation between forms
Different actions can be assigned to the buttons in the «Display» tab, one of them being sending the submit form.
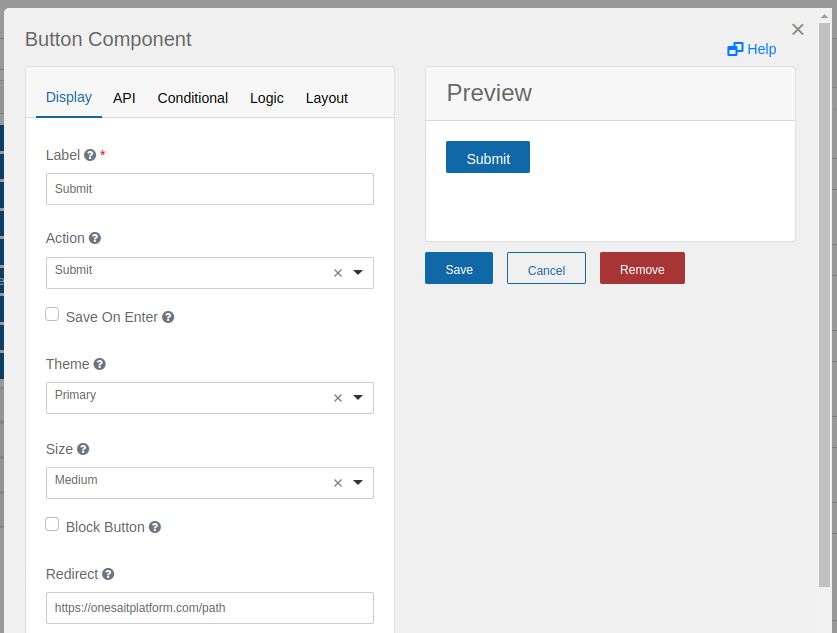
To continue with the platform’s no-code practices, the form buttons have been improved by adding the «Redirect» field, which, after successfully sending the form data, will load the url indicated in this field on the current page.
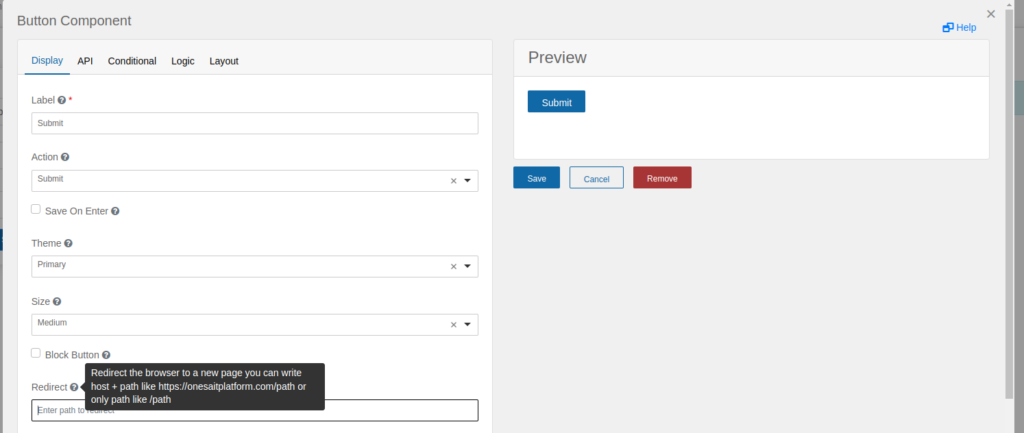
This field can be written in two ways: the complete url host + path such as https://<instance onesaitplatform.com>/path or just the path like /path, this last one is in case you are working on an application in which you have defined the variable “appbase”.
Loading data in a combo (SELECT)
There are many ways to load data into the SELECT component, but the simplest is using the Onesait Platform’s datasources.

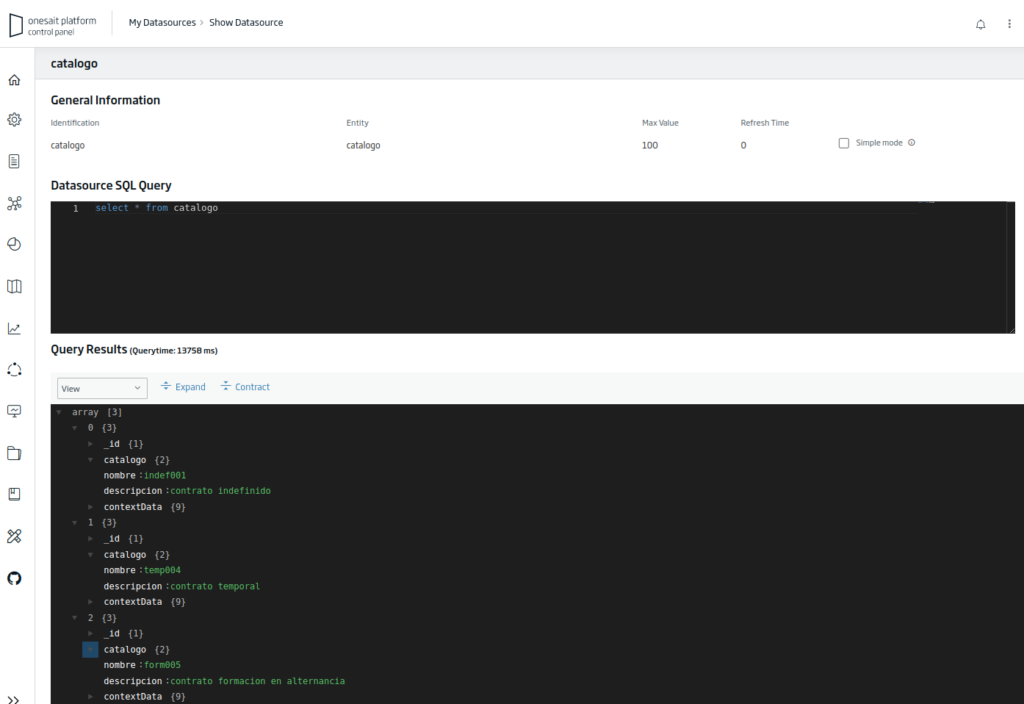
For this, first create the datasource. These are queries about one or more entities.
Then drag the SELECT into the form, and the window with the configuration appears:
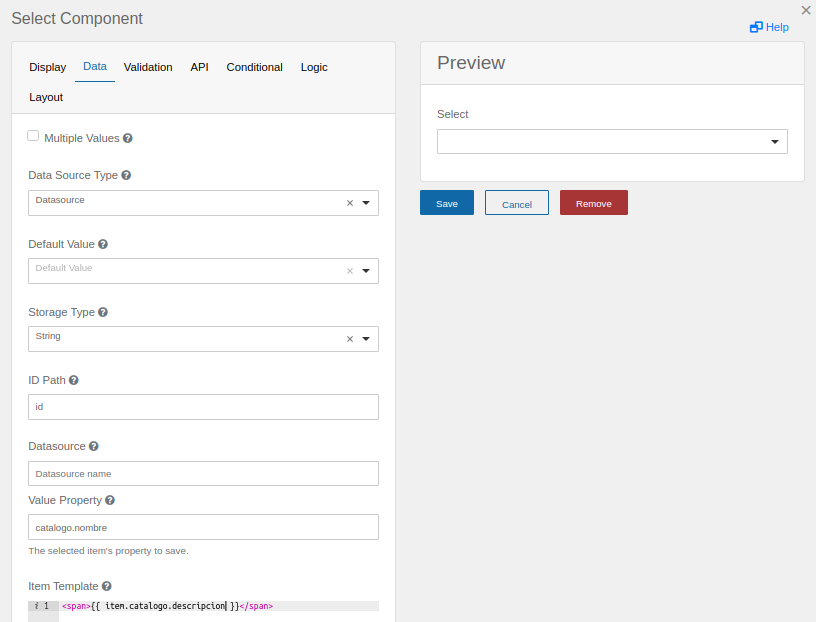
Access the «Data» tab and:
- In the «Data Source Type» field, select the value «Datasource».
- In the field «Datasource», the name of the datasource, in this case would be catalogo.
- «Value Property», the value of each selector option must match the path of the elements returned by the datasource, for example:
If the elements returned by the datasource have this form:
{catalogo:{nombre:"indef001",descripcion:"contrato indefinido"}}to use nombre as the value, fill it with «catalogo.nombre».
Fill in the description in «item Template». Just as before, the complete path must be entered. For the description, for example, it would be entered in the most basic way:
<span>{{ item.catalogo.descripcion }}</span>- Finally, in the «API» tab, fill in the «Property Name» with the path of the property of the entity where the selection made will be stored.
Loading data into a SELECT for expert users
In the case of more expert users, the Platform’s datasources can be used in a predefined JavaScript function that allows the operations project, filters, group, sort, offset, limit, param. With this, it is possible to obtain the data in the desired way, without modifying the datasource , by projecting the fields, ordering them, …
This is achieved by accessing the «Data» tab in the «Data Source Type» field, selecting the «Custom» value, then the «Custom Values» field appears, which you must fill in with this function:
from('catalogo').exec().then(function( msg ) {
  values =  msg.map((x) => x.catalogo) ;
  instance.setItems(values);
});
Where «catalogo» would be the name of the datasource that is intended to be used to obtain the data.
El restos de campos quedarán como en la carga básica anterior.
Tips for users
Both the creation and view screens have a space where tips are shown to make it easier for users to create the forms.

Internationalization
It is possible to internationalize the forms in a simple way. To do this, you have to select a previously defined internationalization.

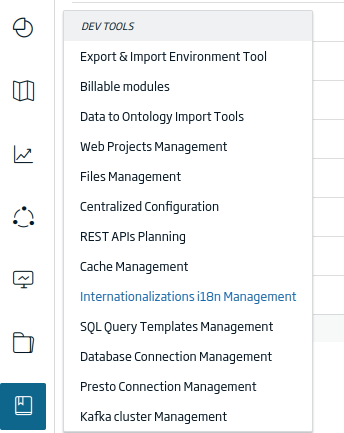
These internationalizations are defined from the Dev Tools > Internationalizations i18n Management menu.
Base technology
OP Forms are based, as said, on open-source Formio.js technology, which is a JavaScript library that includes a Form Builder for creating forms.
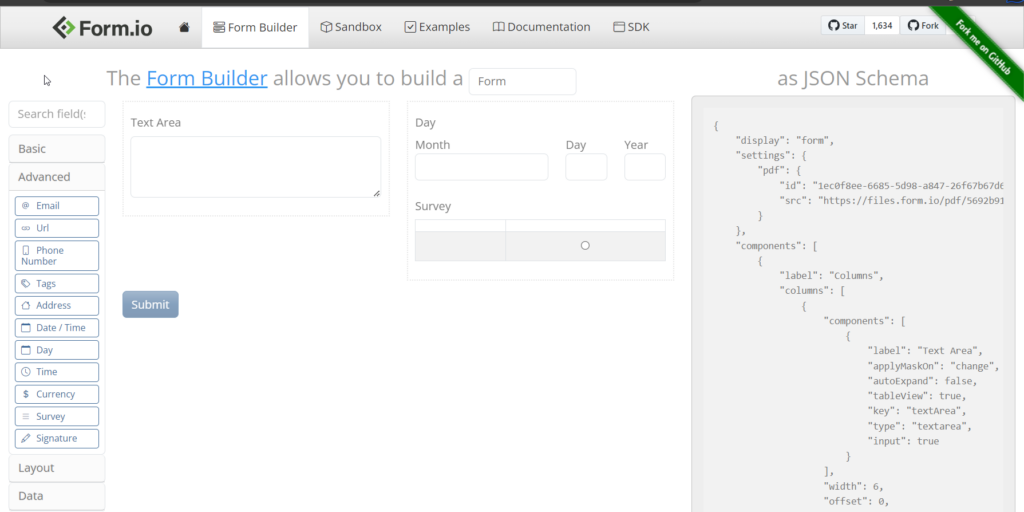
And a renderer and SDK that allows you to render the JSON schema forms produced by Form.io within your application using plain JavaScript, as well as providing an interface SDK to communicate with the Form.io API.
Numerous examples and documentation are also included.
If you are interested in learning more about this new functionality or in seeing a demo of how it works, do not hesitate to leave us a comment or send us a notice in our Onesait Platform support channel.
Header image: Form.io.