Git Projects in Onesait Platform
In this latest release 5.2.0-Topgun we have incorporated the concept of a Git Project, which will allow you to access a Git repository from the Platform’s Control Panel itself and perform typical Git operations from the Platform, including inline editing.
Let’s see how it is used.
How does it work
List of Git Projects
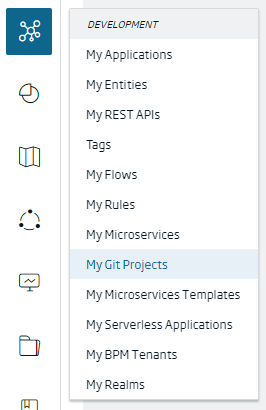
Access the Development > My Git Projects menu .
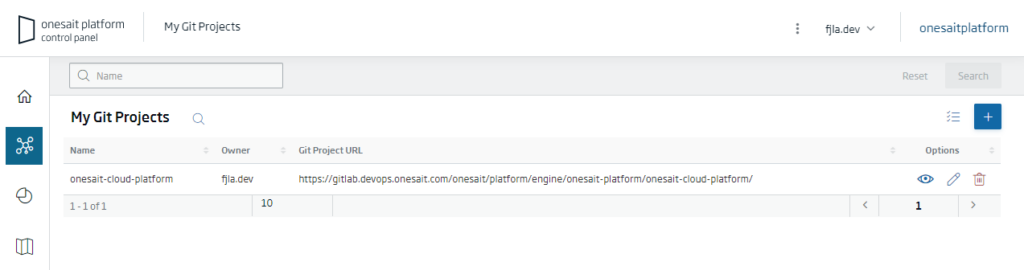
In the window that appears, you can see the list of registered projects.
Creating a Git project
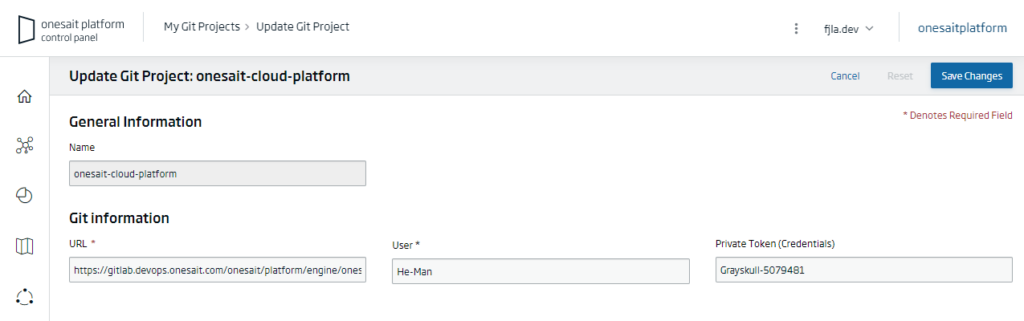
To register a new project, click on the «+» icon, located in the upper right. This will take you to the project creation screen, where you have to enter the requested information:
- Name: Your project’s name.
- URL: The Git repository’s URL.
- User: The repository user with which you will work.
- Private Token (Credentials): Authorization code for the repository user.
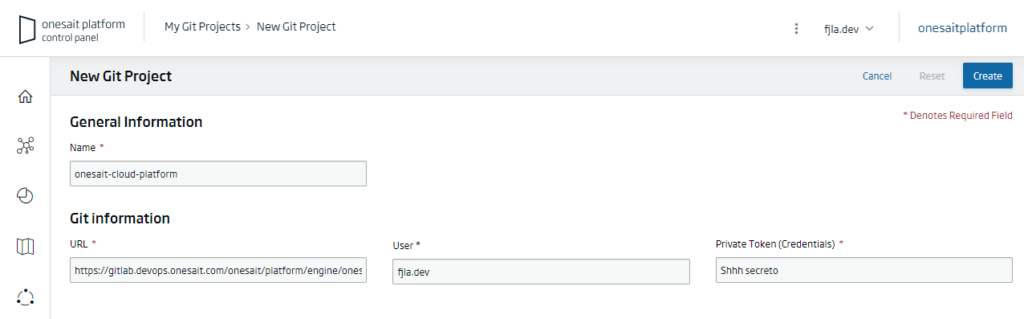
By clicking on the «Create» button, you will register the project and return to the list of projects, where it will be included.
Editing a Git project
From the list of projects, we will click on the «Edit» button (the pencil icon) to edit the project that you want to modify.
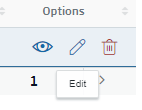
On the project editing screen, you will be able to modify the Git configuration of the project. The only property that cannot be changed is the name.
Working with a Git project
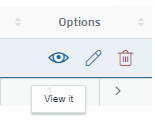
From the list of projects, click on the «View it» button (the eye icon) to start working with the project.
On the work screen with the Git project, the first thing you have to do is select the Git branch on which you are going to work. Once selected, on the left side, in the File Tree, you will see the structure of our Git repository and you will be able to edit the files:
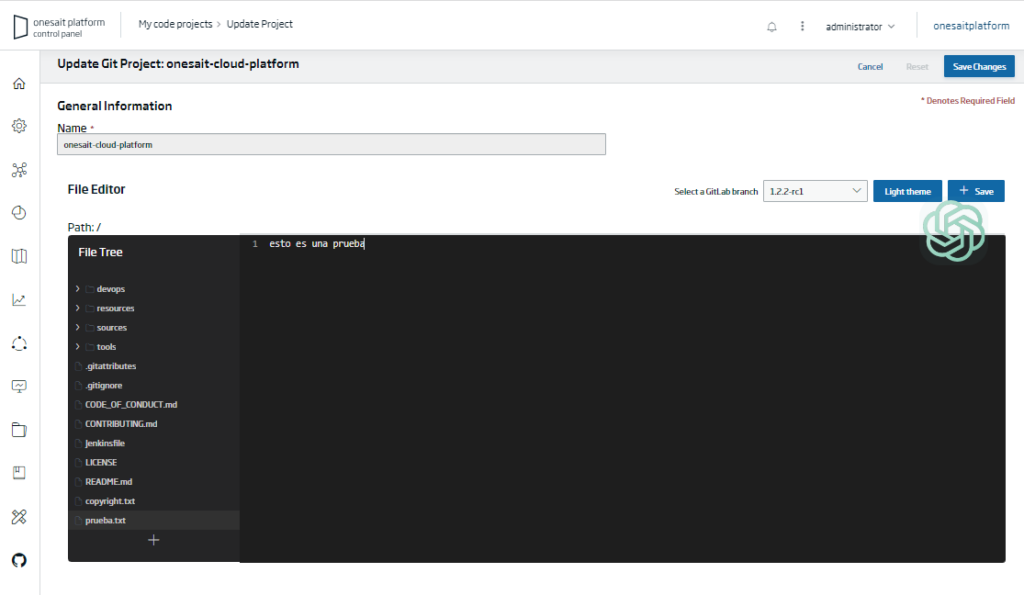
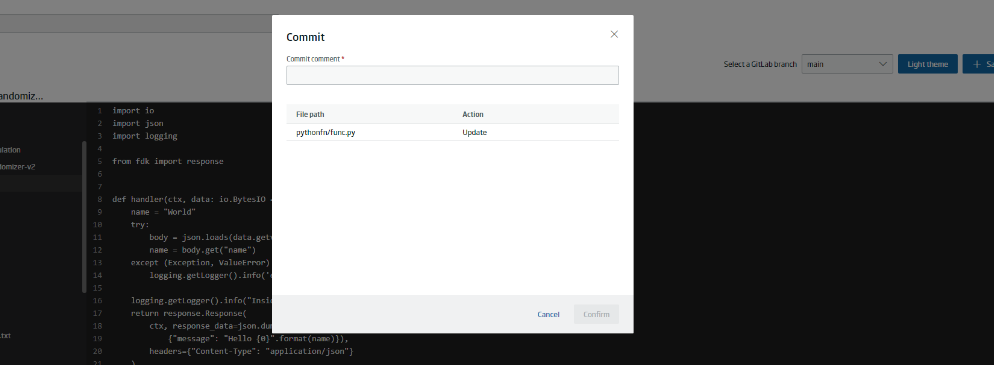
Once the changes have been made to the chosen file, click on the «Save» button. A pop-up will appear indicating that the changes will be made to the chosen branch. Indicate the files to be saved, and it will allow you to enter a comment on the commit.
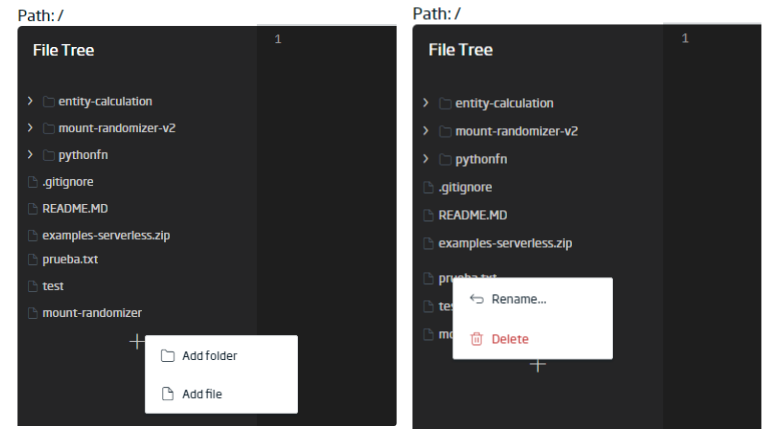
To add or delete files, click on the button that appears at the bottom of the file tree.
We have also incorporated generative artificial intelligence into this editor so that, once the artificial intelligence engine you want to use is configured, you can ask it to generate the necessary code.
If you are interested in learning more about this new functionality or in seeing a demo of how it works, do not hesitate to leave us a comment or send us a notice on our Onesait Platform support channel.
Header image: Emile Perron at Unsplash.