How to create a set of users from a CSV in Onesait Platform
The Flow Engine component of Onesait Platform, Minsait’s platform, offers a large number of connectors for automating the management of Platform users. Specifically, it includes particularly interesting components for generating new users on the Platform.
In this tutorial we are going to see how to use these components to:
- Read CSV files from the Platform’s File Manager.
- The processing of this information.
- The insertion of these for the generation of new users in the Platform.
As a working environment we are going to use CloudLab, our experimentation space in the cloud. We will use a developer type user.
Steps
1. Upload the CSV file to File Repository
In this example, the File Repository tool is used to store and access the CSV file containing the new users’ data.
To access the repository, navigate to the Dev Tools > My Files menu.
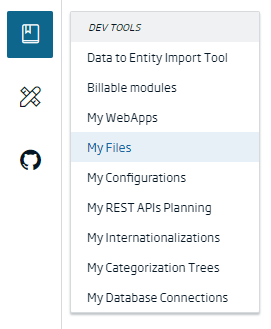
From the different storage options, we will choose MinIO.
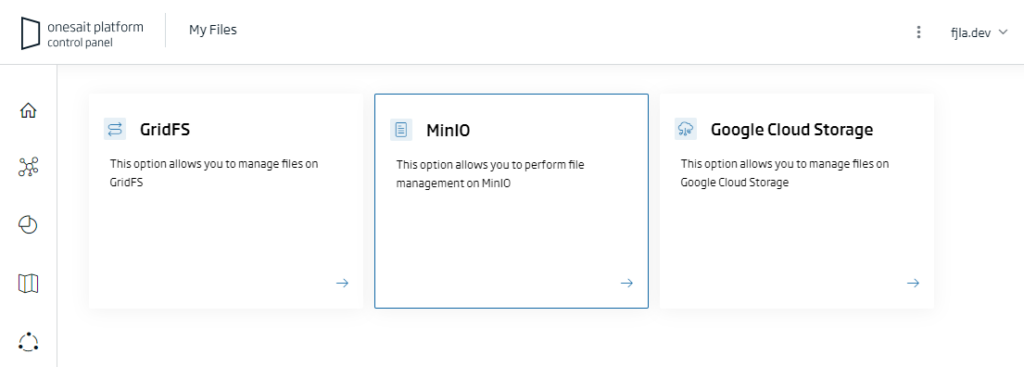
Once you have accessed the list of uploaded files, click on the “+” button to upload your file.

The file manager will open, where we will look for the CSV file to be uploaded.
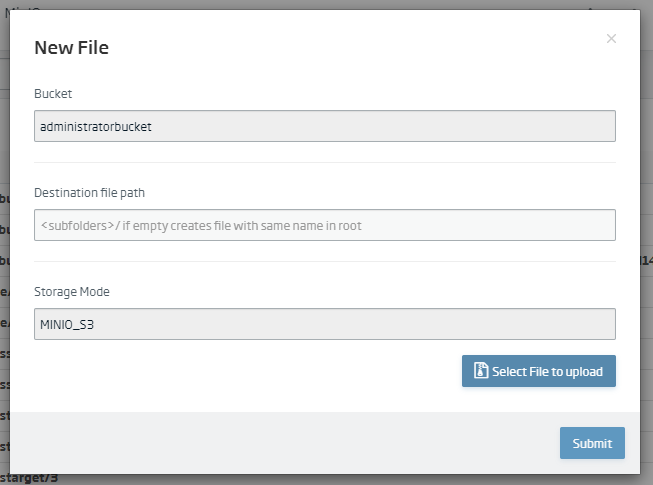
With this we would have already uploaded our CSV file of users.
2. Data collection in Flow Engine
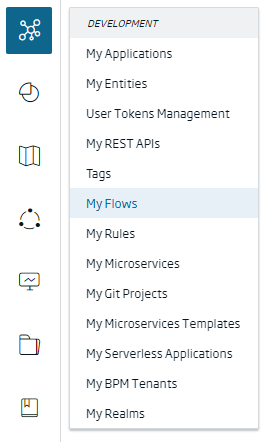
Navigate to the Development > My Flows menu.
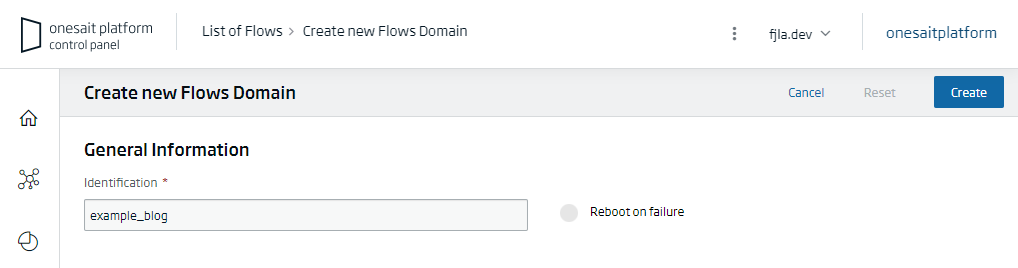
If this is the first time we access, we will see that we have not created any Flow Engine domain, so we will click on the “+” button to create it:
This will open a creation manager where we will have to indicate a name, and then click on the “Create”button.
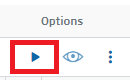
This will take us back to the DataFlows list, where we will see the one we have just created. However, it will be switched off, so we will have to start it by clicking on the “play” icon:
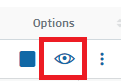
After starting it up, we can access it by clicking on the eye button, which is now enabled:
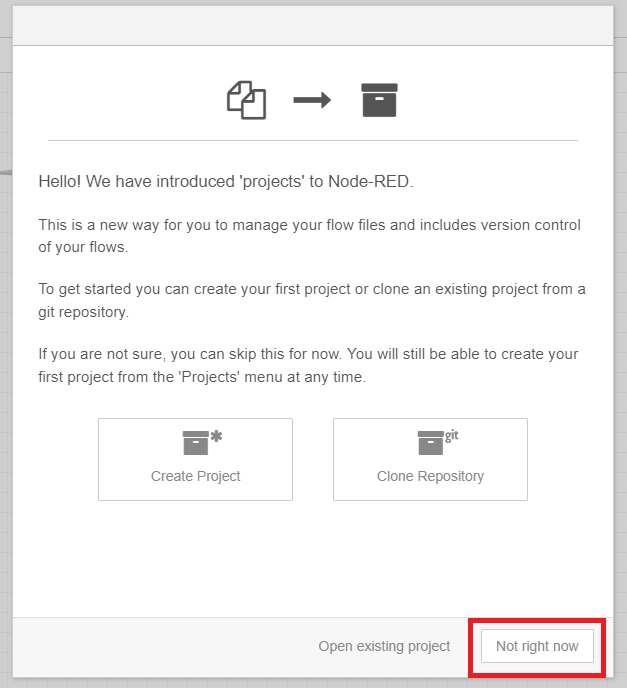
This will give us access to the Flow Engine palette. But first, we will have to indicate that we do not want to create any project in the modal that will appear:
To facilitate the visualisation of the Flow Engine environment, we can click on the arrows icon:

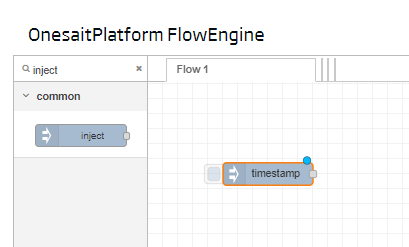
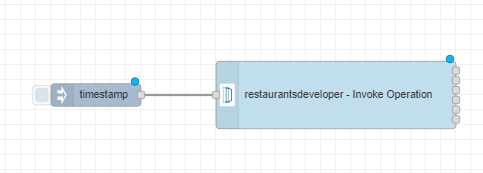
To start with the flow, we will need the “Injector” component from which we will be able to start our flow of actions. To do this, we will search for the component in the search bar and drag it to the working canvas.
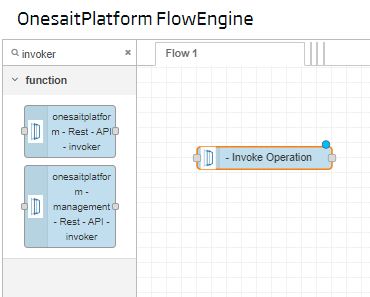
Next, search for the “Invoker” component with the search engine, and drag the “onesaitplatform-management-Rest-API-invoker” component onto the canvas:
To configure the component, double click on it. This will open the following screen:
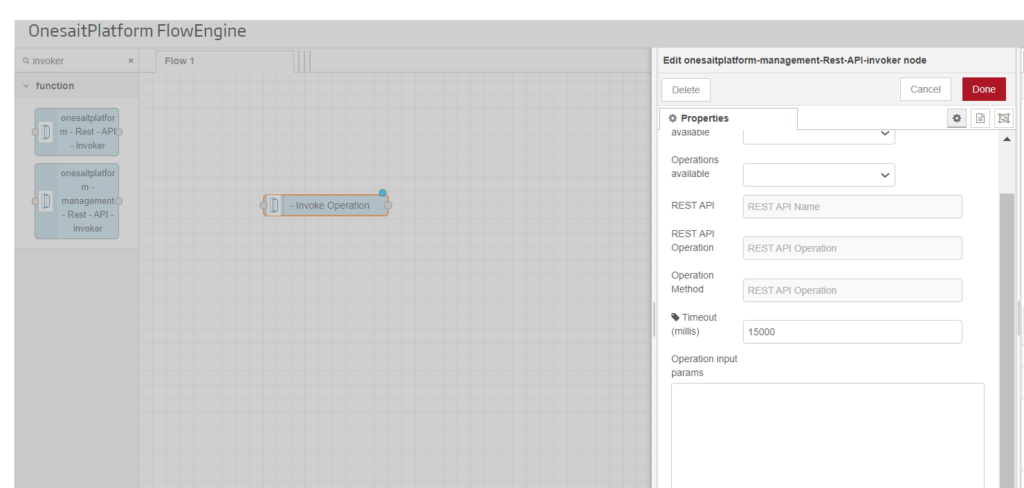
In this window we will have to select the available REST API. In this case, we want to access “Object Storage“, which corresponds to the file storage system of the Platform where our CSV is located.
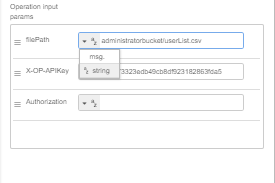
We will select the “GET – getBinary_2” operation and assign a timeout of 15000 ms. Finally, we have to add the path of our CSV. In this case administratorbucket/userList.csv and “X-OP-APIKey” which we can access through the three dots that you can see in the upper right corner, accessing the APIs option.
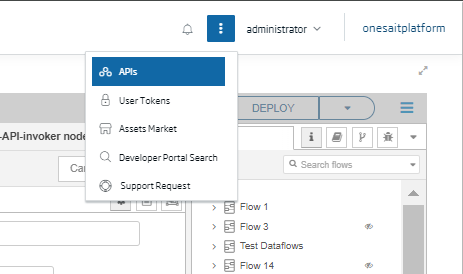
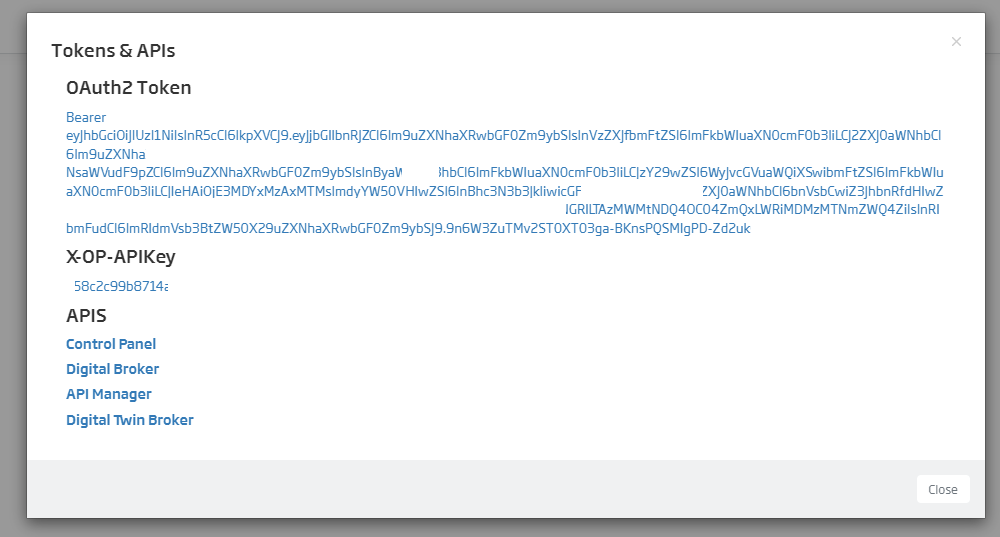
This will display a pop-up window where we will be able to access our “X-OP-APIKey”, which is used for authentication.
One point to bear in mind is that the input operators must be of static type at this point. To modify the type of operator, we will have to click on the drop-down menu offered in each of them, and select “String“.
In the end, the configuration window of the “onesaitplatform-management-Rest-API-invoker” module would look like this:

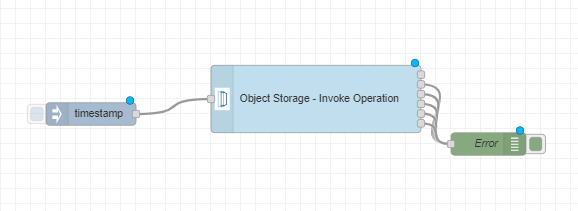
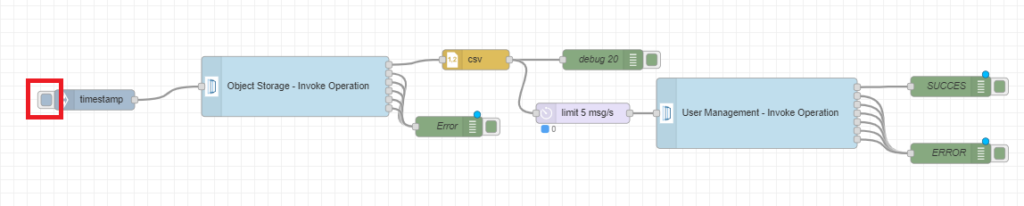
Finally, connect the “Injector” component to the “onesaitplatform-management-Rest-API-invoker” component by simply clicking on the output of the component, and dragging it to the input of the next component.
3. CSV processing
We can see that the “onesaitplatform-management-Rest-API-invoker” component has six outputs available; one for each HTTP response returned by the API invocation.
In this step we are going to generate a component of type “Debug” which is used to display a message through the debug console of the Flow Engine itself.
To do this, we will search in the search bar for this component and drag it into the framework.

By double clicking on this element, we will access its configuration window where we will be able to modify the output message in the debug console. Here we recommend keeping the following configuration:
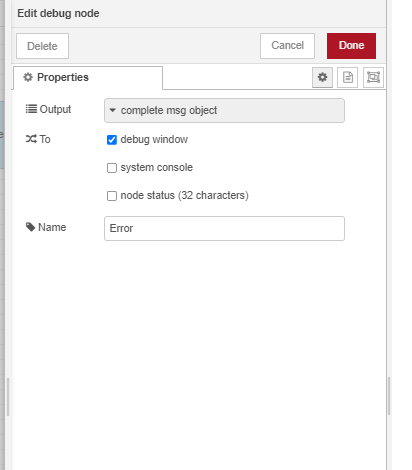
Now, we will connect the last five outputs of the “Invoker” component to this “Debug” component. This way we will be sure to receive an error message in case the API invocation is not consistent.
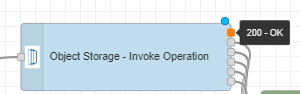
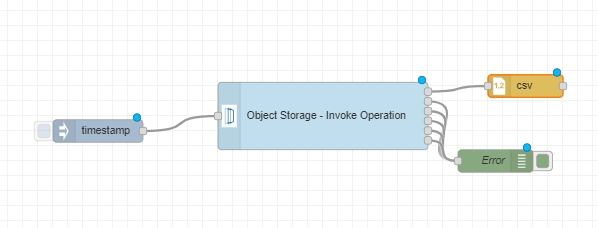
The first output of the “Invoker” component refers to the HTTP 200 response, which means that the API invocation has succeeded.
We are going to connect this output to a CSV component, which will transform the CSV information obtained by the “Invoker” into a JSON, thus managing the processing of our data.
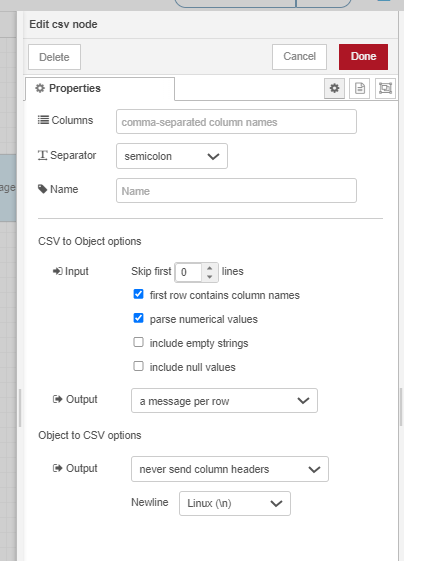
It is important that we access the CSV component configuration window and select the separator used in the CSV. In this case the separator used is the semicolon. The rest of the settings can be seen in the following image:
4. Insertion of new users
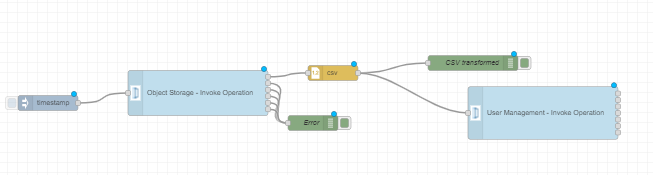
For the insertion of new users, the “onesaitplatform-management-Rest-API-invoker” component will be used again, only this time it will point to a different API Rest.
To do this, we are going to search again for the component in the search bar and link it to the output of the CSV component. You can also generate a new “Debug” component and link it to the output of the CSV component to make sure that everything has worked correctly up to this step.
Again, we will have to double-click on the new “Invoker” component and add the following configuration, using our own X-OP-APIKey. Here we must take into account that the body input operator is now of type “msg“.

Now we will add two components of type “Debug” on the outputs of the component as follows.
5. Overload control
At this point, the user insertion flow via CSV would be complete. However, if the volume of users to be inserted is too high, this could lead to an overload of the system.
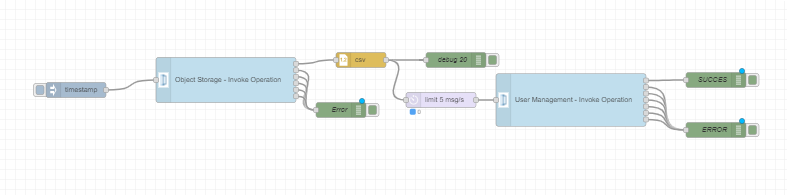
To avoid this, we will have to include a “Delay” component, which allows us to control the limit of messages sent to the API per second. We will look for the component and add it in the connection between the output of the CSV component and the Invoker.
Double-click to access the component’s configuration window, where you will be able to configure the number of messages per period that you want to be sent to the API.

6. Automated process execution
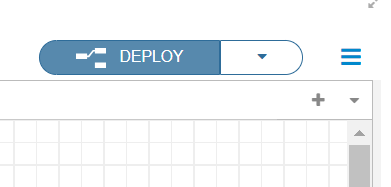
Finally, click on the “Deploy” button in the top right corner to save your changes.
To execute the process, click on the “Injector” component button.
You can see the response and “Debug” messages in the debug window on the right-hand side of the screen, accessible via the following icon.
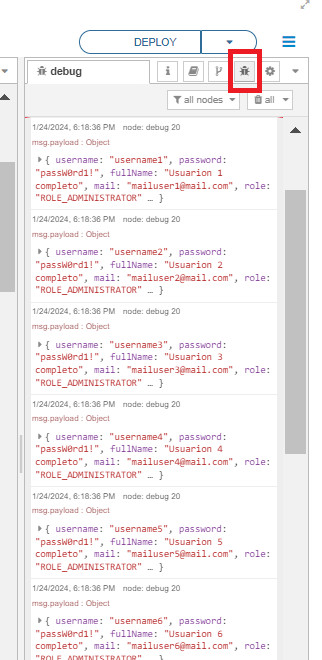
If the whole process has been successful, we will see the response messages of type 201. To test the correct execution of the flow, we can try to access the Platform through one of the managed users.
Header Image: modified from Vidar Nordli-Mathisen at Unsplash