
Centralised configuration
Up until now, the centralised configuration was focused for use by Platform administrator users, and internally by the Platform. With this module, an administrator can visually define configurations for Deployments (Rancher & OpenShif), social networks (Twitter), process scheduling, etc.
In release 2.3.0, the functionality has been remodelled so that developer users can create their own configurations and, moreover, they can use them from their own microservices or applications.
The following video shows the creation of an external configuration by a developer user, and the easy access to it through a REST API from a Java application.
Creation through the Control Panel
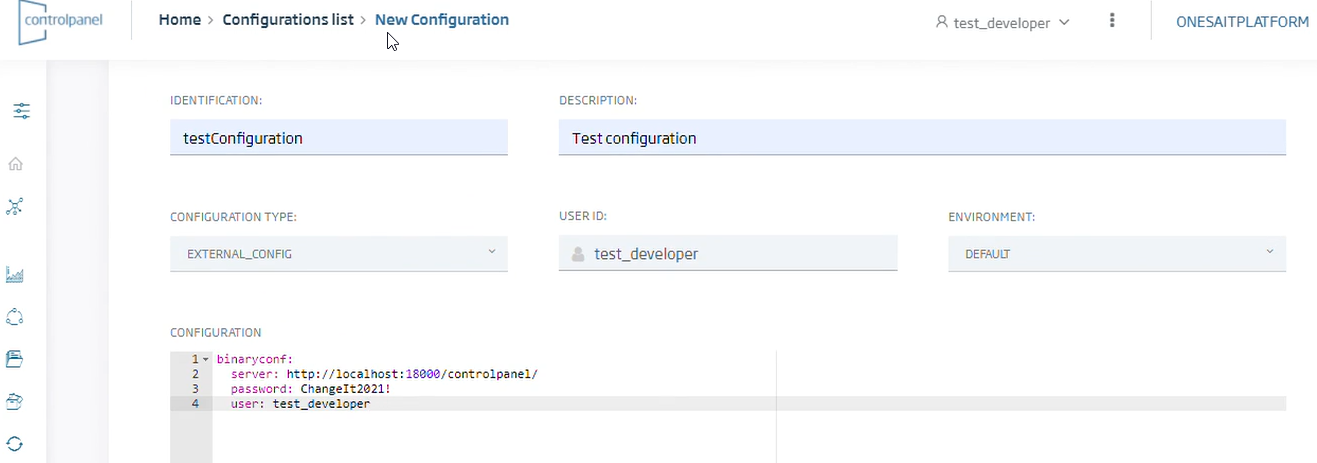
First we can see the creation of the new configuration through the Platform.
To do this, you must go to the menu Development Tools > Centralised Configuration and fill in the creation form, where the only option available for developer users will be the creation of «EXTERNAL_CONFIG» type configurations.
Extracting data, creating and editing configurations via the REST API
In the following steps of the video, you can see the Java application calling the REST API to firstly extract the configurations created by a user in an environment. There you can see the value of each configuration extracted from the Yml for their later use in the application.
In successive steps, the creation of a new configuration through this REST API is presented, showing the retrieval of that object by either its «id», its name (identification), the environment or the type of configuration. It also shows how to edit one of the fields, in this case the description, and how to delete this external configuration.
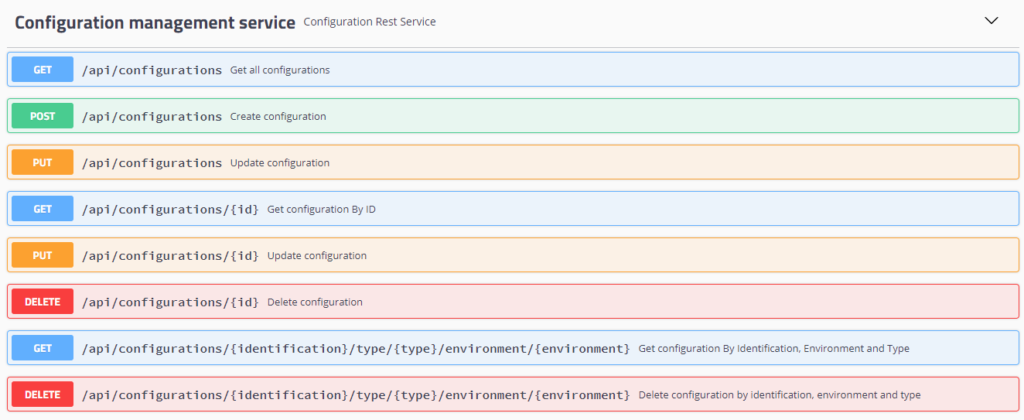
To know the available APIs, you can access them in the «Configurations» section of the ControlPanel APIs:
* You can find more detailed information on the use of the Java client in the section: How to use Central Configuration util on your application?
Header icon: Freepik