OF Forms Enhancements
During these months we have continued working on the Platform Forms (OP Forms), incorporating in this release 5.3.0-Ultimate of Onesait Platform a series of improvements, incident resolution and new functionalities that we are sure you will find very interesting.
Let’s take a look at the main new features.
Nuevas funcionalidades
Forms integrated with web templates
The web templates offer us a web template that integrates different transversal aspects to the application, such as login, authorization, menus, Dashboards, etc.
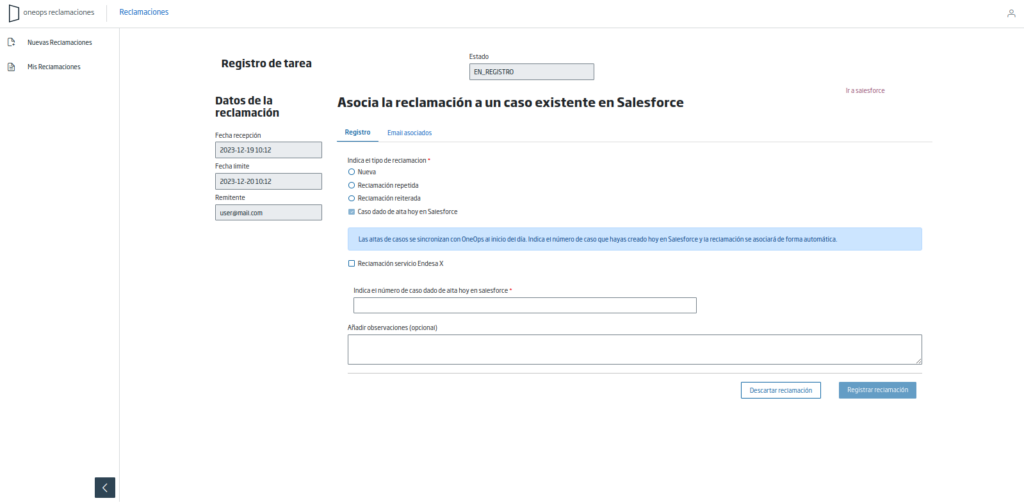
In this release we have integrated the forms with the web templates, thus speeding up the development of web applications that use the forms and Dashboards.
In the following image we see different forms in a web application created from the web template:
Tutorial on using web templates with Forms
In addition, we have created a tutorial that exemplifies the use of these templates to create a web application that has:
- Login integrated with the Platform.
- Use of Realms for user and role management.
- Use of centralized configuration for internationalization.
- Integration of Dashboards in the Web Application.
- Integration of Forms.
Complete overhaul of the Forms styling
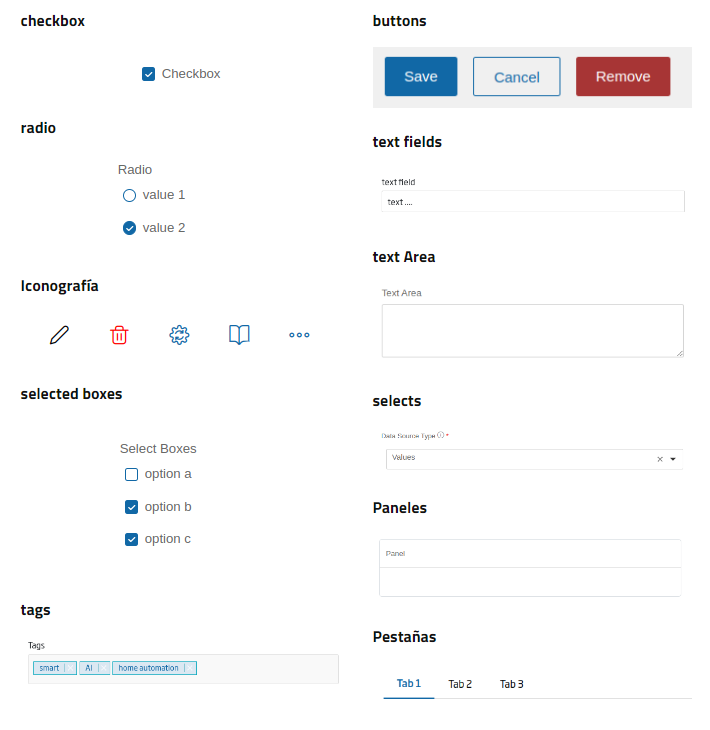
During these months we have made a complete revision of the Forms styling, adapting the different components to the Onesait Design System (ODS).
The visualization of the different components is shown below:
Responsive Design
We have also improved the adaptive design of the forms, so that the form is resized to take into account the size and resolution of the screen.
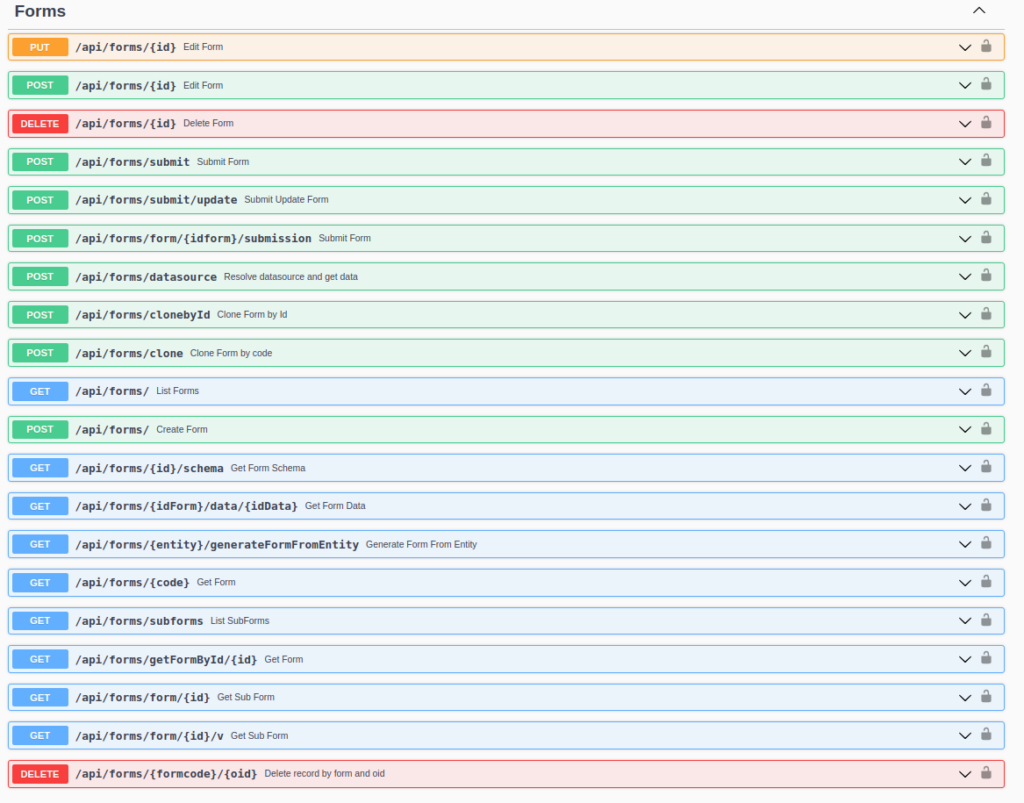
New Forms Management APIs
We have updated the APIs to be able to manage both Form templates, allowing their creation, cloning, deletion, etc., and the information or records that are stored or displayed collected in the Entity that we assign to the Form template.
With this we can work with Forms in different types of web projects, being able to represent the Forms in most of the existing web technologies.
Form Cloning
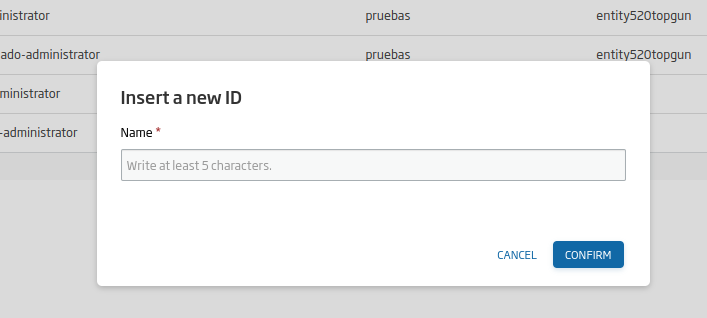
Another new functionality that we have added is the possibility of cloning an existing Form to be able to develop in a more agile way. To use it, click on the options icon on the list of forms and the cloning option will appear.

After selecting it, we will have to indicate a new identifier to clone the form:
New components
Paginated Table
The paginated table is a component that will allow us to create a table component from a Datasource, from which it will take the data.
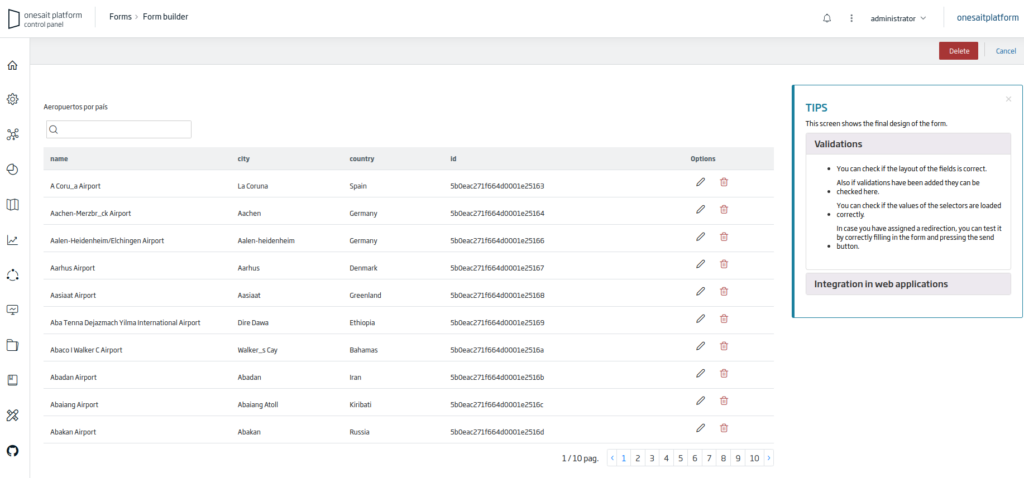
- The table can be searched using the magnifying glass component in the upper left corner.
- Like the other components, it can be internationalized, showing for example the literals of the column headers in the selected language.
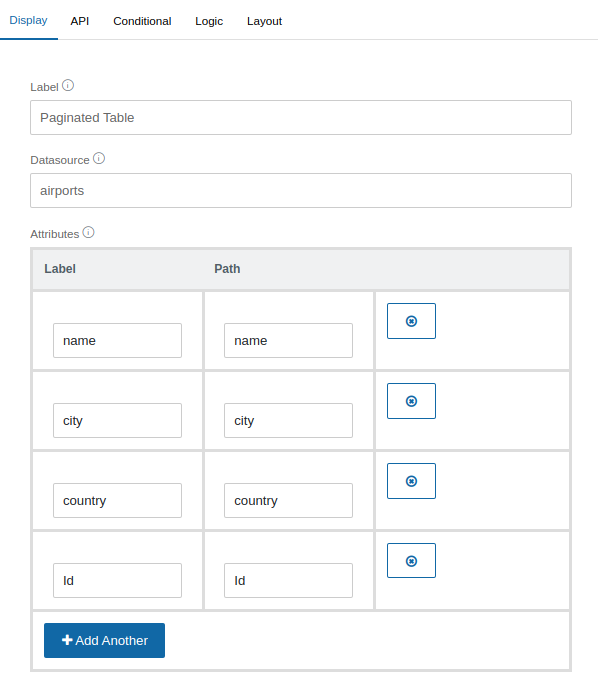
After dragging it to the canvas, we indicate the Datasource in the “Display” tab and the attributes that correspond to each of the columns to be displayed.
Then, in the “Display” tab we can create the different options for each record in the table. For example, we have an option to edit the record and another to delete it:
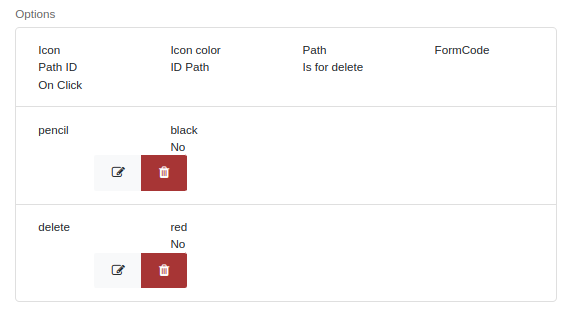
For each new option this form will appear and we will fill in the function associated to that button:
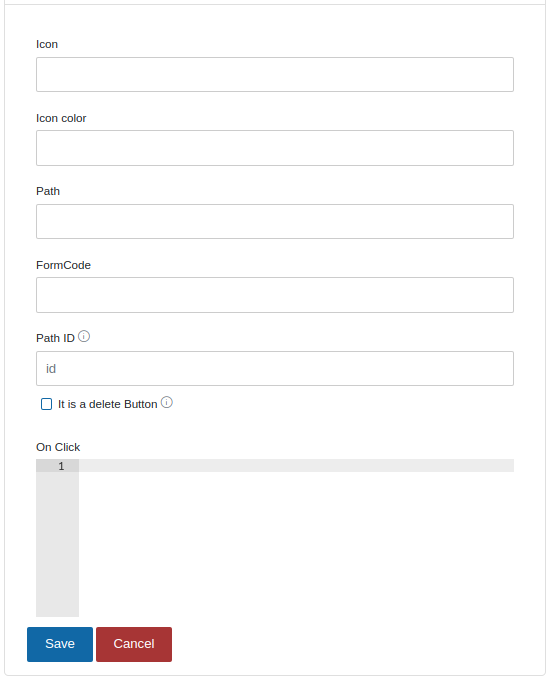
- Icon : name of the icon we want to display, such as “pencil” or “delete”.
- Icon color: the color of the icon.
- Path: if we want to redirect to another URL, we would indicate it here.
- FormCode: if we want to click on the icon to be redirected to another form to display the registration data, for example, here we would put the form code.
- Path ID: this field is filled in with the attribute of the Datasource that corresponds to the record identifier, in order to know on which record we are performing the action.
- It is a delete Button: if this checkbox is checked, it will indicate that when the button is pressed the record will be deleted. Note that in order to delete records, the form must have an Entity assigned to it.
- On Click: in this area we could add JavaScript code that will be executed when the button is clicked.
Button
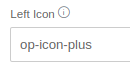
In addition to improving its styling, we can now create buttons without a label in order to display buttons with only an icon. For example, for the following button:
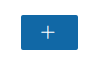
We will be able to select the iconography from the icon list.
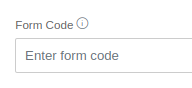
Regarding functionality, a new action called “Only Redirect no Submit” has been added:

With this action we can make redirections between forms or other pages without storing any data. This functionality is important if we want to cancel and return to the previous form. In the following field we would put the code of the form to which we want to return:
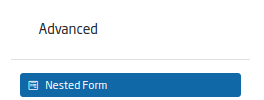
Nested Form
In the Advanced option of the edition menu we have the “Nested Form” component, or subform.
This component allows you to use in the current Form or previously created Forms so that they are nested:
For example, we could use the tabs component with several tabs, and that each tab contains a previously created subform, achieving with this the reuse of previously created components, speeding up the development.
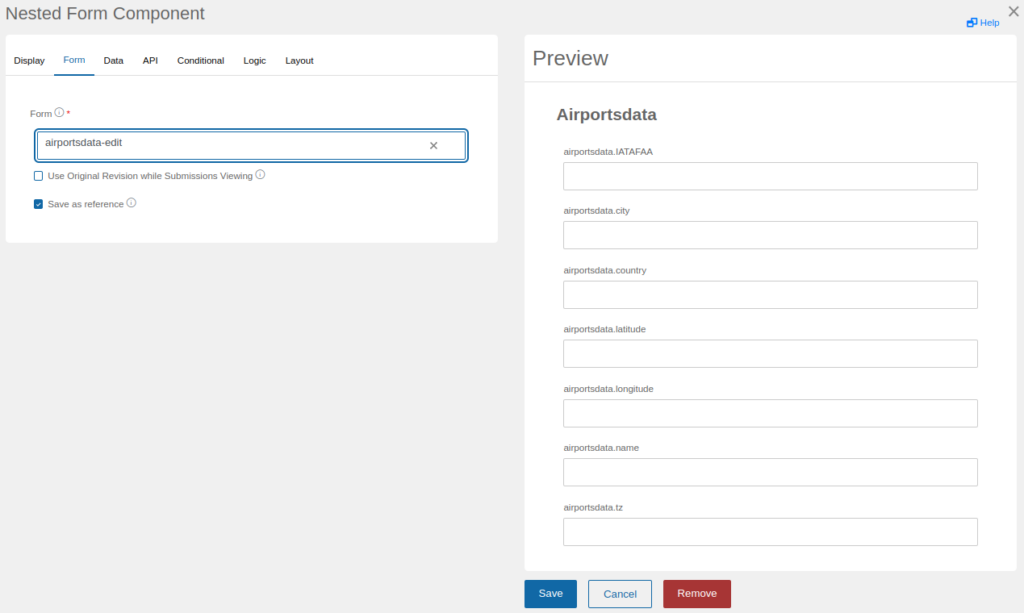
To work with this component, we will have to drag it to the part of the canvas we want, and then in the Form tab we will select the form to reuse.
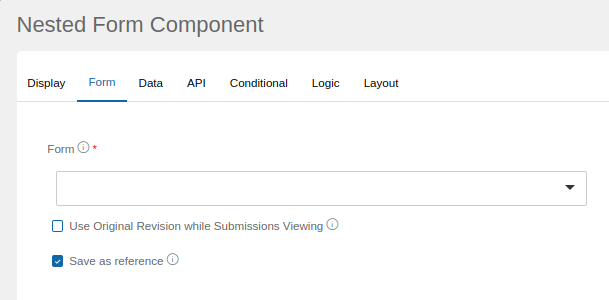
After selecting a form, it will appear on the right in a preview:
On the canvas, during editing, it will be displayed as a rectangle with dashed edges and in the center of it the word “Form”:

In view mode if the subform will be displayed in the parent form.

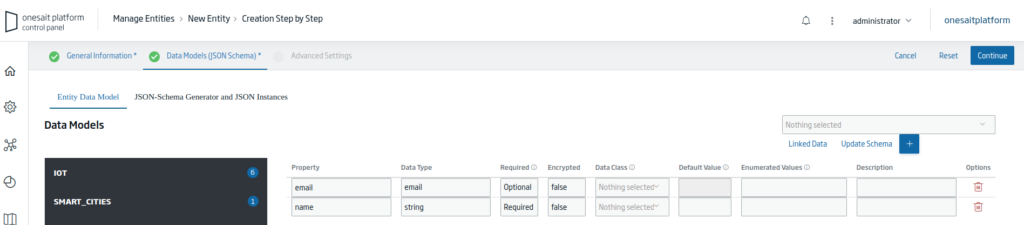
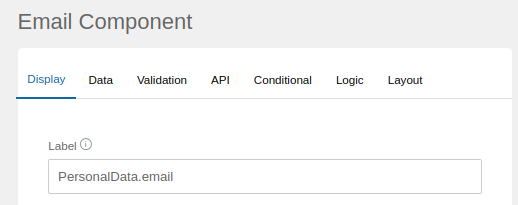
In this release a new data type has been added to the Platform Entities: the email type, and the email visual component that represents it has also been created.
If we create an Entity and associate this type to it, it will automatically validate when making insertions, updates, etc., that the value contained in this field has a valid email pattern.
During form creation, if we click on the “Build form from Entity” button and the Entity we select has an email field, it will automatically create the field with the email component of the forms.


Date/Time
As we have already seen, if we use the email field in an Entity, when we click on the “Build form from Entity” button, it creates a field in the form with the email component.
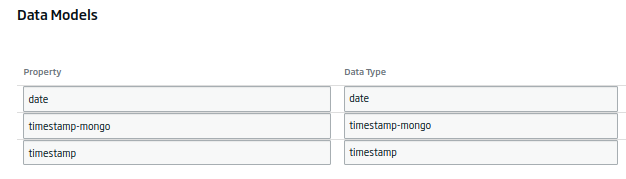
This has also been implemented for date types, so if we define an entity attribute with the types “date“, “timestamp-mongo” or “timestamp“, when clicking on the “Build form from Entity” button in the form edition, a component of the type “Date Time” will also be created with the specific configuration for each of these types.
If we define an Entity with three attributes, each of these three types:
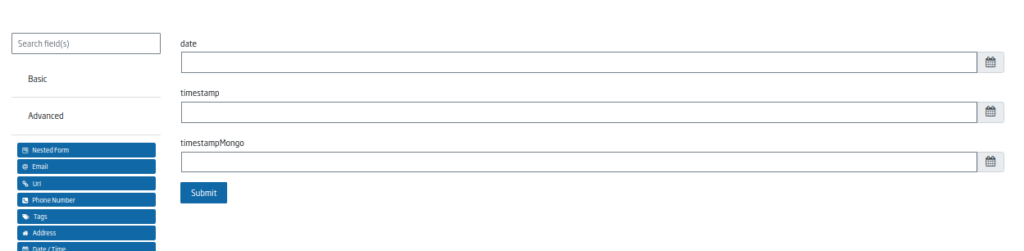
We will see that in the form the components have also been created:
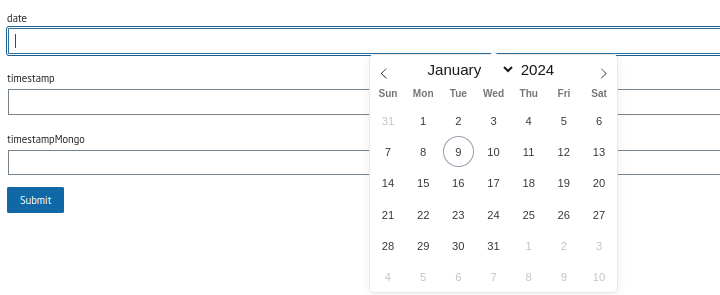
If we click on the “Date” type, we see that the hour/minutes do not appear at the bottom, as they do for the “timestamp-mongo” or “timestamp” types:

If you are interested in learning more about these enhancements to the Platform Forms, feel free to leave us a comment or send us a notice on our Onesait Platform support channel.
Imagen de cabecera: Leon Dewiwje at Unsplash