Onesait Platform vs. ThingWorx (Part II)
This is the second in a series of articles where we will compare two digital IoT platforms: our Onesait Platform and ThingWorx. Our aim is to create a basic IoT flow in which we will simulate a building with devices to read energy consumption and temperature. Later, we will create a dashboard to visualize those data.
In order to get a better understanding of this comparison, we will structure the steps to follow, that are common to both platforms, in four entries:
- Registration and Login. Data modelling.
- Connect your device.
- Simulate input data.
- Create Applications.
This article will continue with the tutorial, and we will connect our devices with both platforms. Let’s get on with it!
CONNECT YOUR DEVICE
Onesait Platform
Once you have defined the data model and you have translated it into an ontology, you need to create the Digital Client, which, as you saw in the previous entry, represents each of the elements interacting with the Platform. In the Onesait Platform, this creation takes place easily by following these steps:
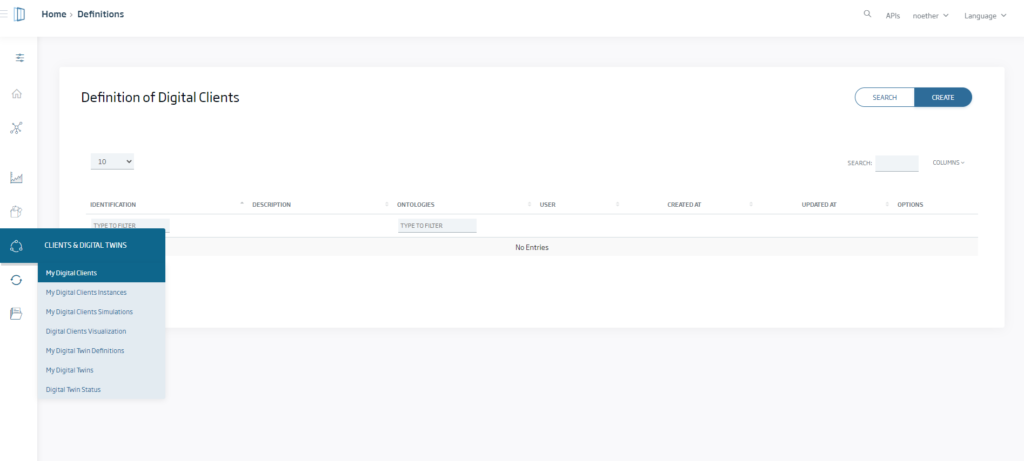
First, access the menu of our Digital Clients.
Click on Create and give the Digital Client the name «AppSmartBuildingDC» and a description. Now select the ontology «smartbuildingjfg» that it is going to use, and click Add ontology. At this point, you can already click on New. From the Onesait Platform, you have the possibility to link a Digital Client with more than one ontology and give each of them a different access level.
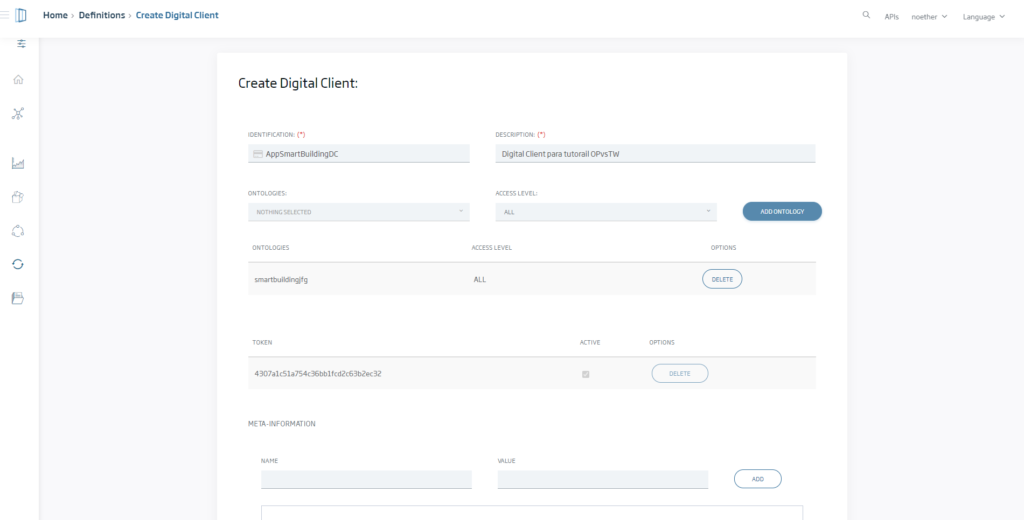
You can see our tokens from the list of Digital Clients by clicking on the digital client whose associated token you want to know.
ThingWorx
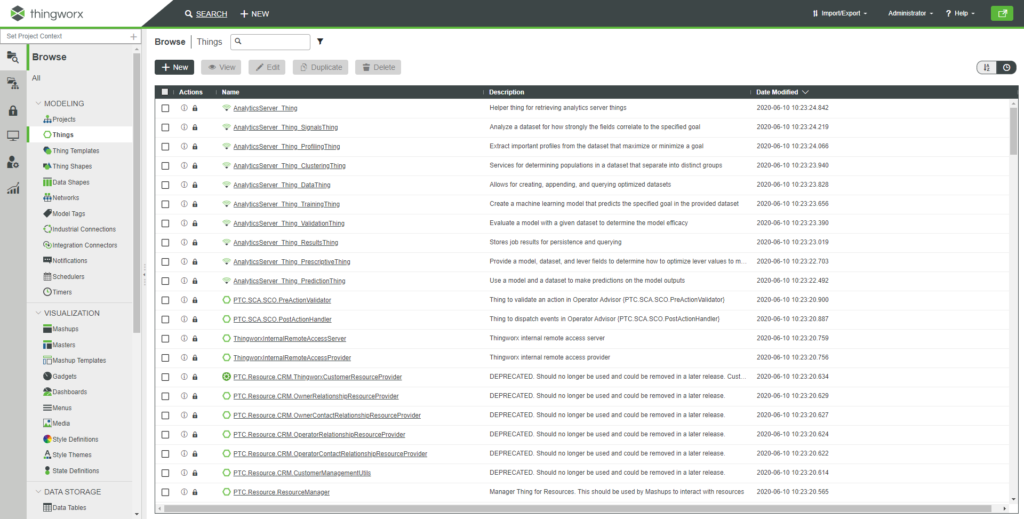
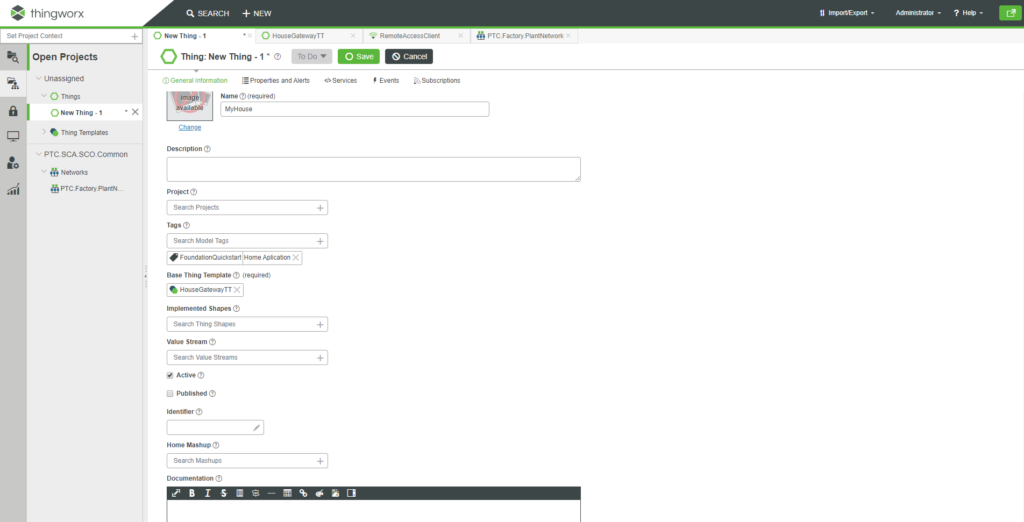
Thingworx works with the concept of Thing. A Thing is a digital representation of a physical device. In terms of programming, it is similar to a class instance. Let’s create a Thing based on the data model you created earlier, your Thing Template called «HouseGatewayTT».
The first step is to go to the Thing section and click on New.
Insert the fields: name, tags and thing template.
Now that you have created the data model, you must create a storage destination for the data that is transmitted from the devices. The Foundation server offers several ways to store this data. Use a value stream, which is a quick and easy way to store time series data.
To do this, go to Data Storage > Value Streams and click on New.
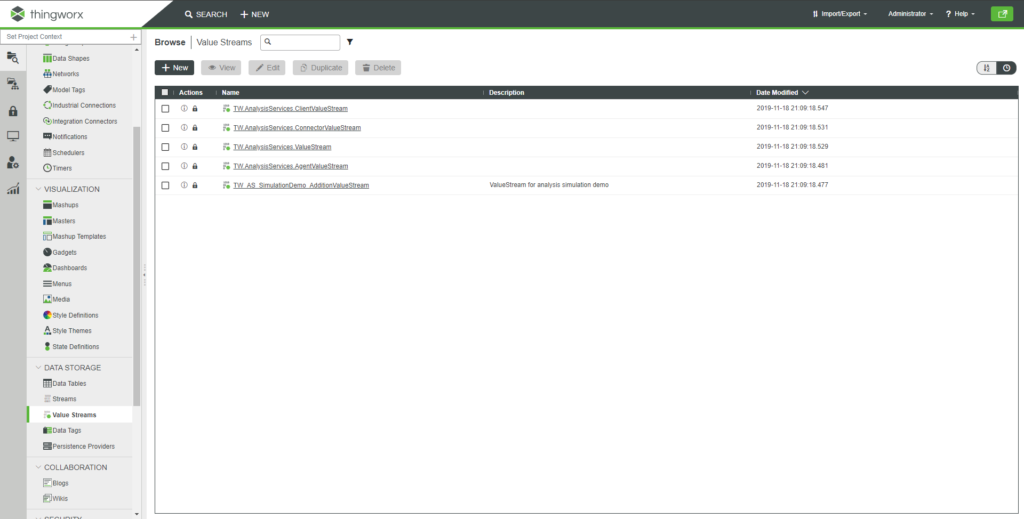
You will see a combobox to choose the type of stream you want. Choose Value Stream. Associate it with your tag and give it the name «FoundationQuickstartValueStream».
Now you only have to edit your ThingTemplate to link it to the Value Stream you have just created.
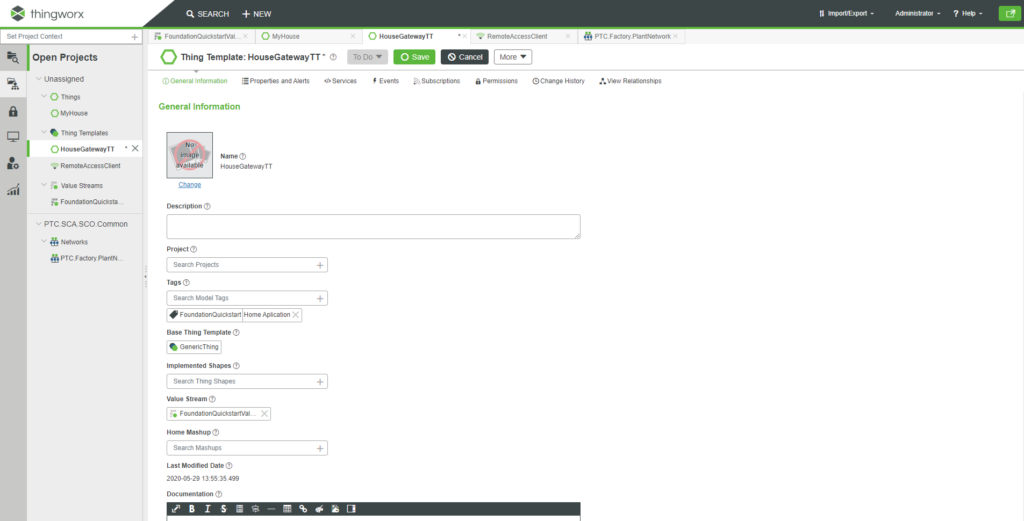
To do so, edit your ThingTemplate, HouseGatewayTT, and add the «FoundationQuickstartValueStream» value stream to it.
As we have seen, the last two steps are not necessary in the Onesait Platform, since when creating the Ontology, the Databases where the data will be persisted are configured by default. Besides, you can configure them under Ontologies > My Ontologies and by clicking on your Ontology «SmartBuildingjfg» in the Advanced Options tab.

And this was all for this week’s entry, where you have seen how you can create a virtual device and connect it to the data model.
Next week, we will see how to simulate data to populate the data model through the device you created today. Hope to see you there!

Pingback: Onesait Platform vs. ThingWorx (Part III) – Onesait Platform Blog
Pingback: Onesait Platform vs. ThingWorx (Part IV) – Onesait Platform Blog