
Onesait Platform vs. ThingWorx (Part III)
This is the third in a series of articles where we will compare two digital IoT platforms: our Onesait Platform and ThingWorx. Our aim is to create a basic IoT flow in which we will simulate a building with devices to read energy consumption and temperature. Later, we will create a dashboard to visualize those data.
In order to get a better understanding of this comparison, we will structure the steps to follow, that are common to both platforms, in four entries:
- Registration and Login. Data modelling.
- Connect your device.
- Simulate input data.
- Create Applications.
In this Post we will continue with the tutorial and we will use the data simulator of each platform to populate the data models, ontologies and thing templates. Let’s get on with it!
Simulate input data
Onesait Platform
Since you do not have a real device that inserts information into our ontology, you will simulate the data that your Smart Building sensor would theoretically send. The Onesait Platform has a functionality implemented in the administration console called “My Digital Client Simulator” that allows you to simulate data to insert them in an ontology. This simulator will generate data in a list of values, with a fixed value or random data, where you can choose between several types of data depending on what you want to generate.
These are the steps to follow to create a simulator from the Onesait Platform
- Search for “Digital Client Simulations” in the control panel search engine.
- Click on “Create”.
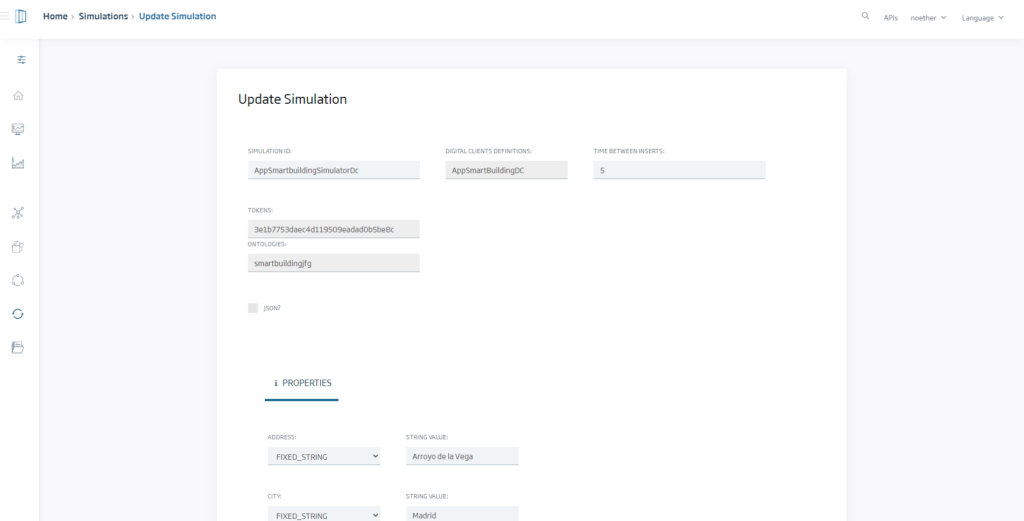
- Give the simulator a name and choose your digital client, smartbuildingdc in this case. When you do this, you will see the drop-down menus to choose the tokens and ontologies associated to the Digital Client.
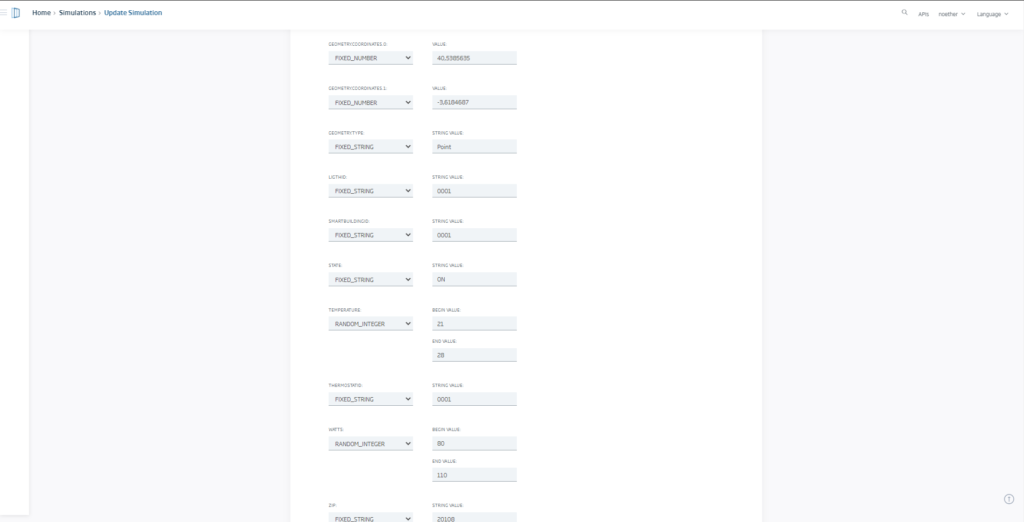
- You will also see the ontology attributes and a drop-down list with the possible values that you can insert in that attribute.
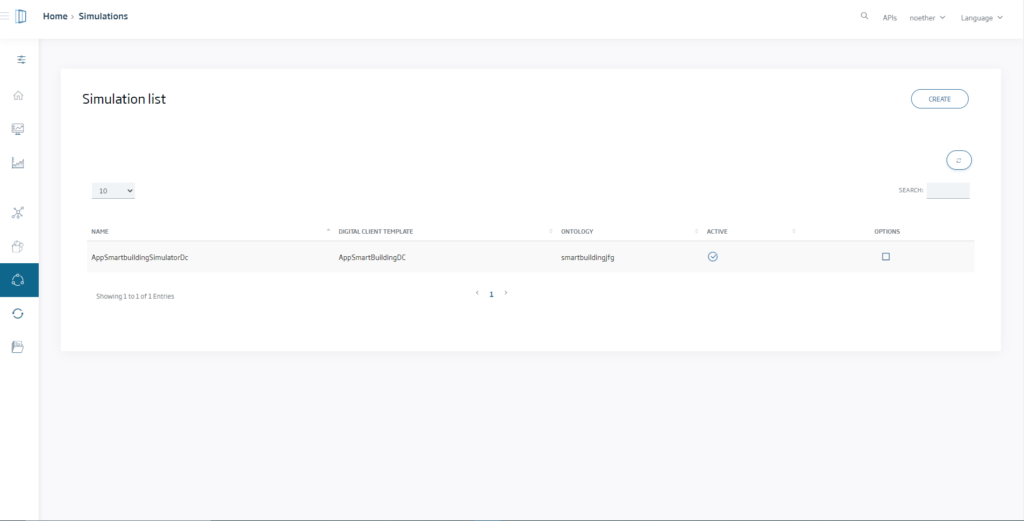
If you click on create, the simulator will be created and you can stop or start it at any time.
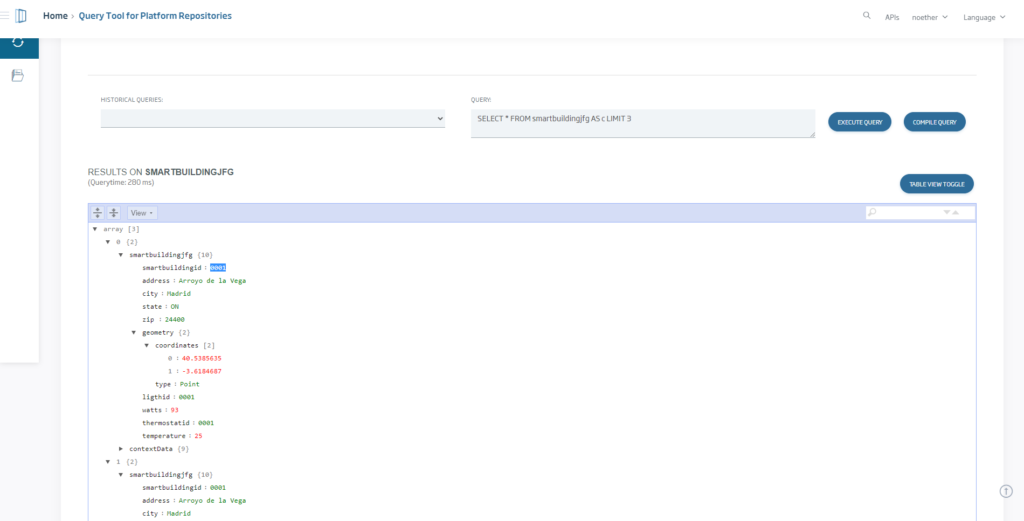
To see that you are inserting data, chek the Query Tool, a Platform tool that allows you to launch queries both in SQL and in native language on your ontologies.
At any time, you can modify the parameters of your simulator.
ThingWorx
In ThingWorx, you can not create a simulator directly as you have done in the Onesait Platform. Instead, you have to create a code that updates and inserts data in the Thing then automate that code’s execution.
You can do that with the concept of Timer. Timers offer the possibility to execute JavaScript code on the platform and automate it as if it were a cron task.
To do this, follow the next steps:
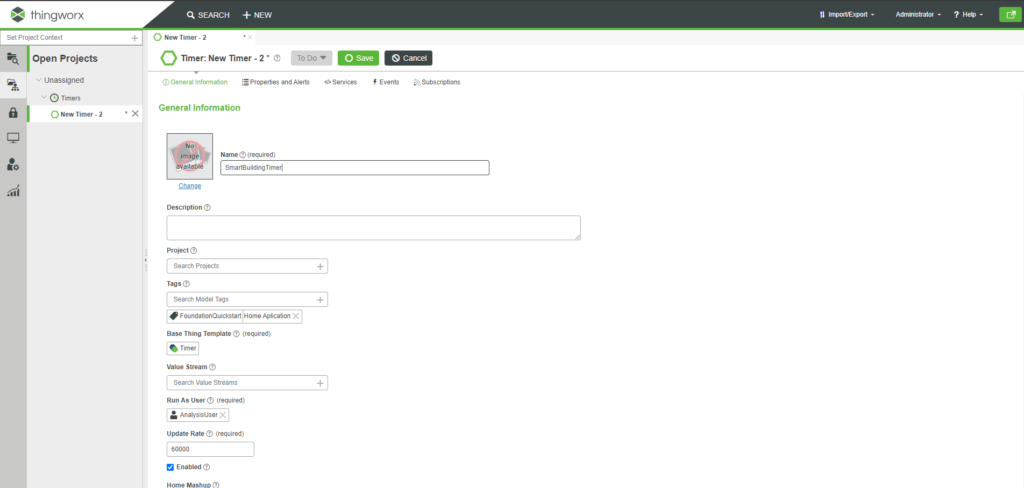
- From the Timers tab, click on “new“, choose the timer type and click on “Accept“.
- Give it a name, add the label you have created in the first entry of this series and click on “Save“.
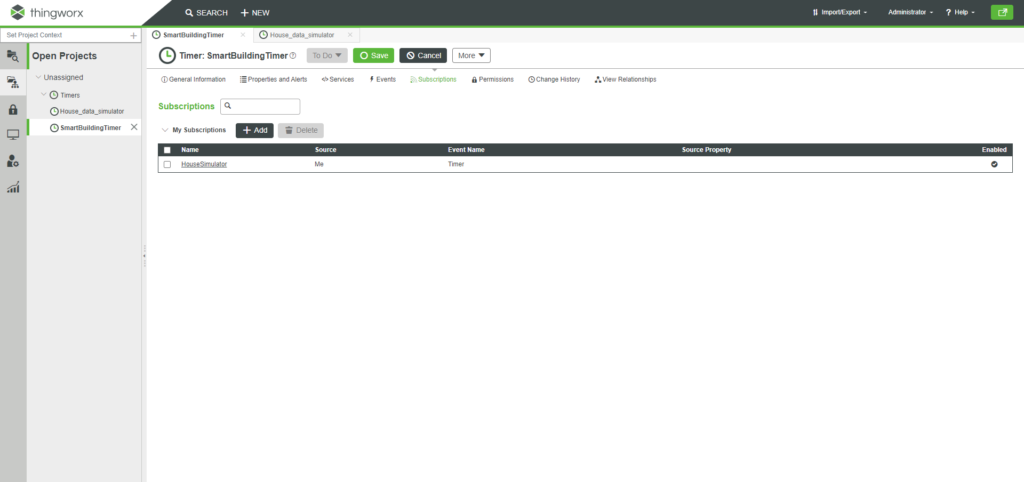
3. Click on “Subscriptions” and create a new subscription with this code, in which you will include a reference to your “MyHouse” thing.
// Populate properties for the house the first time the service runs only.
if (!Things["MyHouse"].HouseId) {
    Things["MyHouse"].HouseId = "12345";
    Things["MyHouse"].house_lat_long = "40.4,-3.61,0";
    Things["MyHouse"].temperature = 70;
    Things["MyHouse"].city = "Alcobendas";
    Things["MyHouse"].address = "Arroyo de la Vega";
    Things["MyHouse"].lightID = "54321";
    Things["MyHouse"].state = "Spain";
    Things["MyHouse"].zip = "24400";
    Things["MyHouse"].thermostatID = "00001";
}

// Thermostat logic
// If temperature is above 72, turn AC on,
// If temperature is below 70, turn AC off
var temp = Things["MyHouse"].temperature;
if(temp > 72){
    me.isACrunning = true;
    Things["MyHouse"].watts = 100;
}

if(temp < 70.1){
    me.isACrunning = false;
    Things["MyHouse"].watts = 0;
}

// Simulate temperature change based on AC status
// decrease temperature if AC is on,
// otherwise increase temperature a small amount
if (me.isACrunning){
	Things["MyHouse"].temperature = temp - 0.5;
} else {
    Things["MyHouse"].temperature = temp + 0.2;
}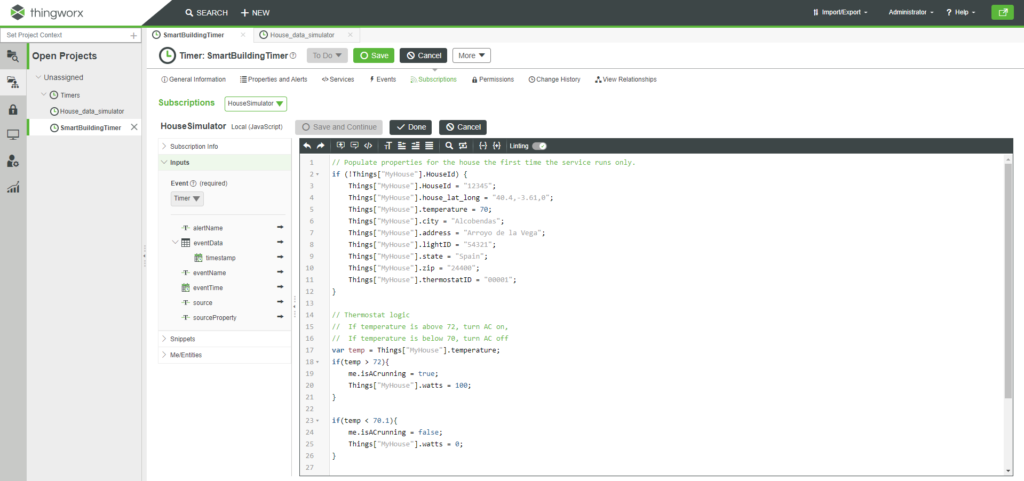
Make sure that the “Enabled” box is on, and select timer as event type, within the input dropdown.
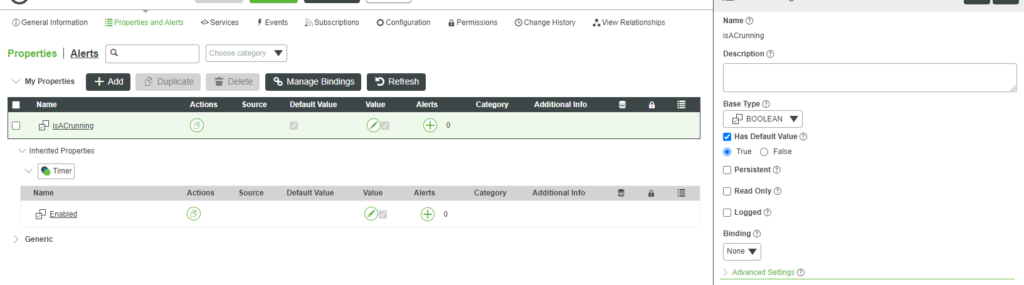
You also need to create the boolean variable “isACrunning” because your code will use it. You can to create it from the tab “Properties and Alerts” in the timer.
And your simulator is ready, up and running.
You can see that data are being inserted if you place yourself on your Thing, clicking on the tab “Properties and Alerts“.
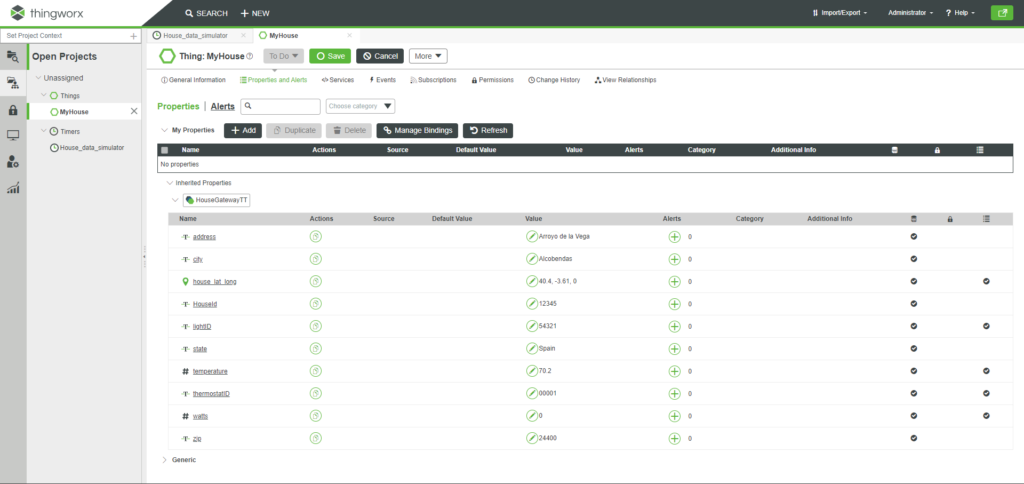
Every 30 seconds, the temperature and power values will be updated following the code you have written.
And that’s it for this week’s entry. For the next one, which will be the fourth and last one, we’ll see how to visualize the data you’ve generated today in a Dashboard.
We hope you liked it, and see you next week!


Pingback: Onesait Platform vs. ThingWorx (Part I) – Onesait Platform Blog
Pingback: Onesait Platform vs. ThingWorx (Part IV) – Onesait Platform Blog