Onesait Platform vs. ThingWorx (Part I)
This is the first in a series of entries in which we will compare two IoT digital platforms: our Onesait Platform and ThingWorx. The goal is creating a basic IoT flow in which we will simulate a building with devices reading energy consumption and temperature. Later, we will create a dashboard to visualize this data.
To get a better understanding of this comparison, we will structure the steps to follow —common to both platforms— in four entries:
- Registration and Login. Data modelling.
- Connect your device.
- Simulate input data.
- Create Applications.
Today we start with the first part, so… let’s go!
REGISTRATION AND LOGIN
Onesait Platform
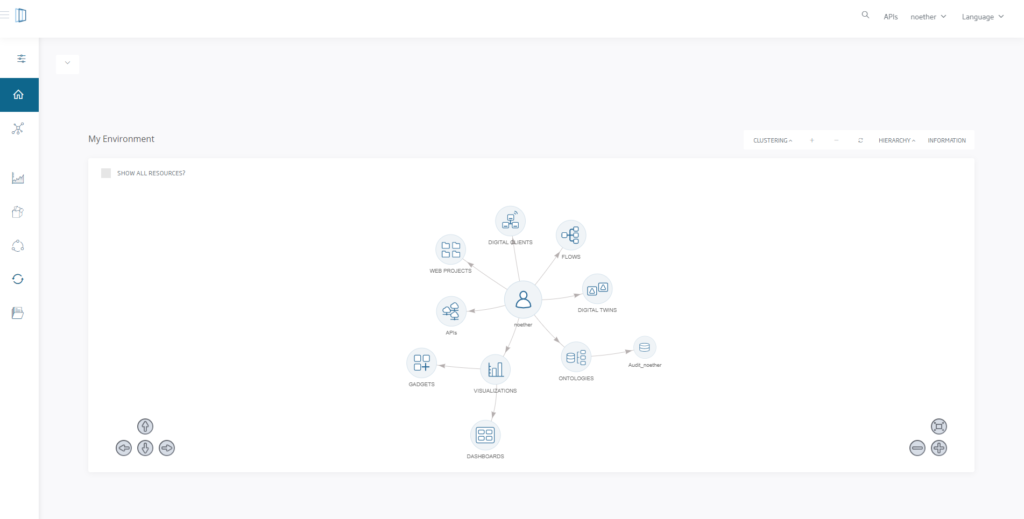
The Onesait Platform offers a free environment in which you can create a user and start developing without any time limit. It is called CloudLab.
Creating a user is as easy as registering on any other website: When you click Sign Up, you will be asked to fill in a small form, after which you will receive an email with a URL to activate your user.
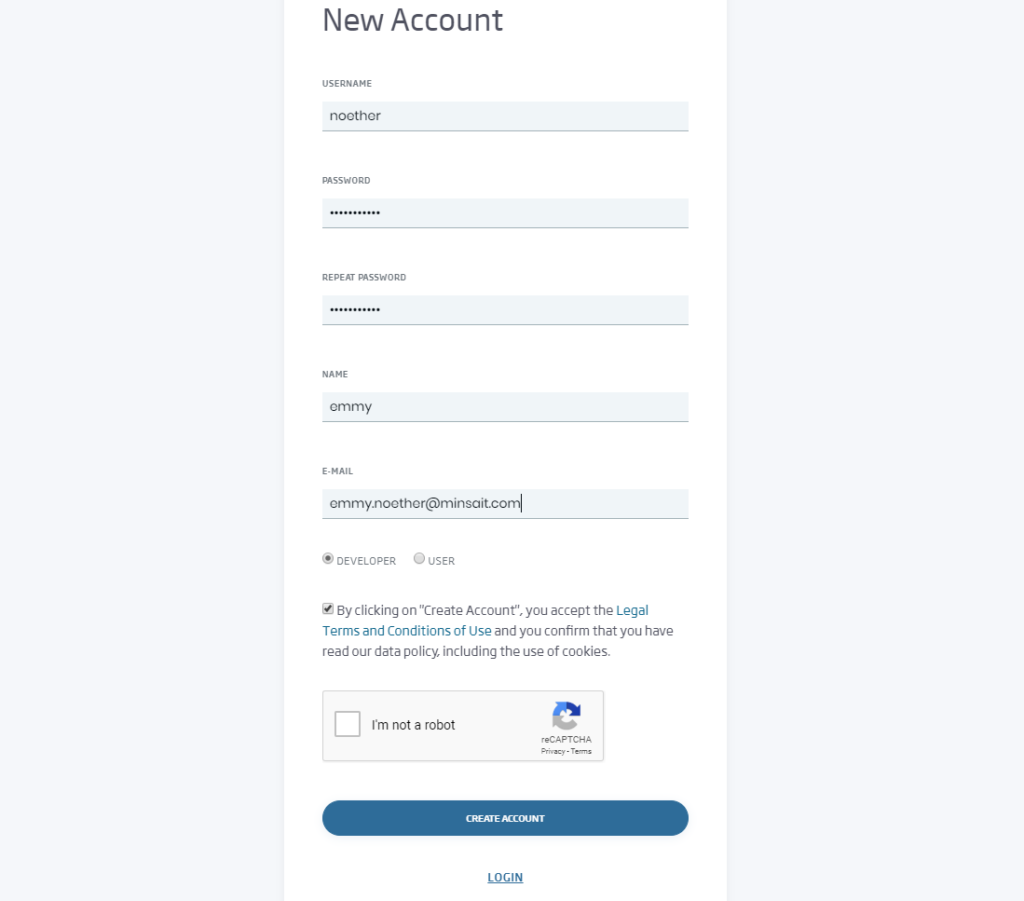
If you have chosen the role of developer when creating your user, you will already have access to the creation of the resources that are necessary for this tutorial.
ThingWorx
The first thing you have to do is register on their website.
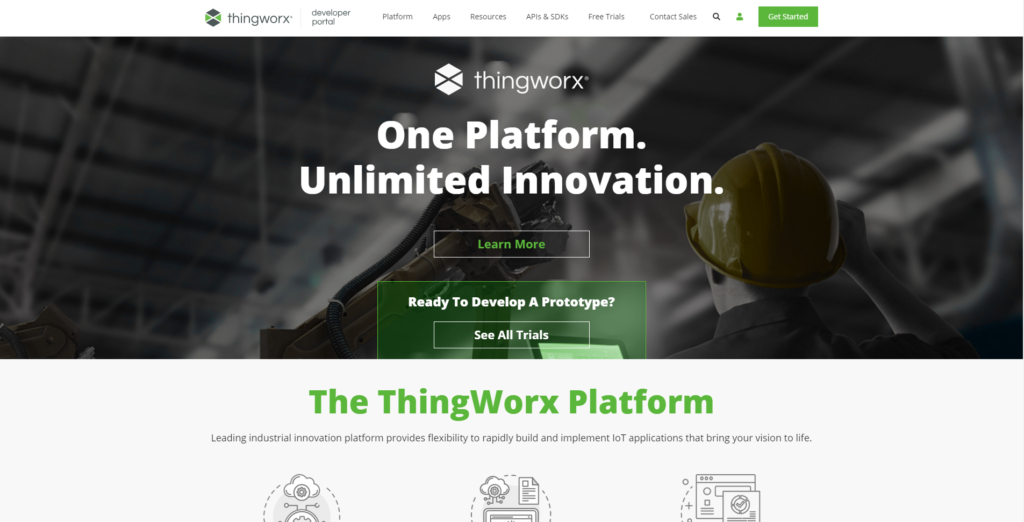
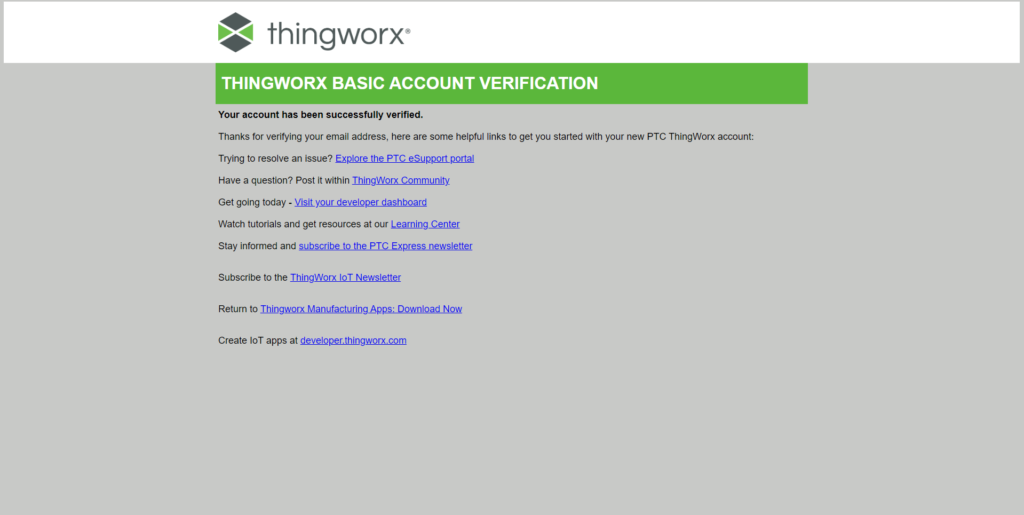
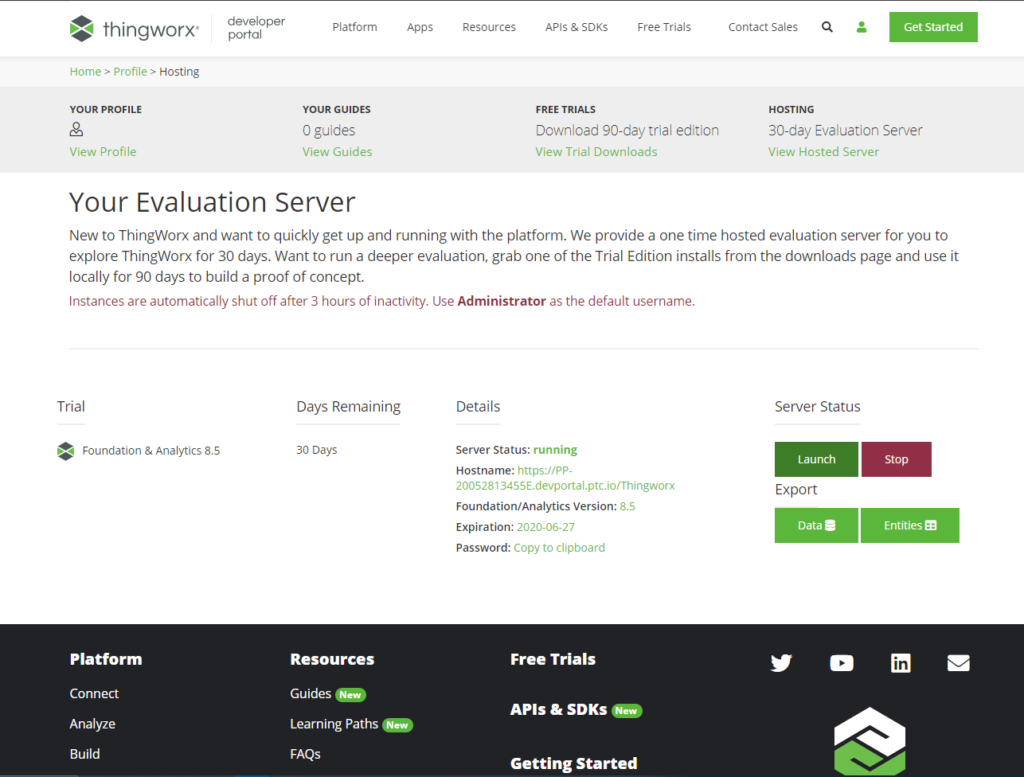
You will have to fill in a form in which you must include your mobile phone number. To activate the account, you will be asked for confirmation by mobile phone and email. Once the steps are completed, you will reach this screen and you will have access to a trial environment with a 30-day limit.
At this point, you will have permission to create the test environment, and you can start with the developments of this tutorial.
Data modelling
Onesait Platform
The Onesait Platform is data-centric. Any event, measurement, command or data in general is managed in the Platform as an entity that is stored, can be queried and can also trigger certain actions: notifications, execution of rules/flows, etc.
The Platform also works with the concept of Ontology as an entity. An Ontology represents the domain model that handles a Digital Client: a Device (in Onesait Platform terminology, we talk about a Digital Client) represents each of the elements that interact with the Platform, either by publishing or by consuming information.
A Digital Client can represent anything from a simple device (an Arduino or an iBeacon) to a Gateway (a Raspberry) or an Enterprise System (Backend Java). A Digital Client can handle one or several Ontologies.
Ontologies are represented in JSON format and can represent a basic model (as if it were a table) or a complex model with relationships (as if we had a set of related tables). When a device sends a measurement, we call it an Instance (Ontology Instance). Ontologies can be created in different ways: visually in a UML class diagram, through a JSON or XML schema, field by field or from a CSV/XLS.
Therefore, an Ontology has the following purposes:
- Semantically defining the data type, with its attributes and restrictions.
- Defining the physical support (collections, tables, etc.) for data storage in both real time and historical databases.
- Defining the security rules in the access to the information contained in the ontology.
To know more about the ontologies, you can check the following documents:
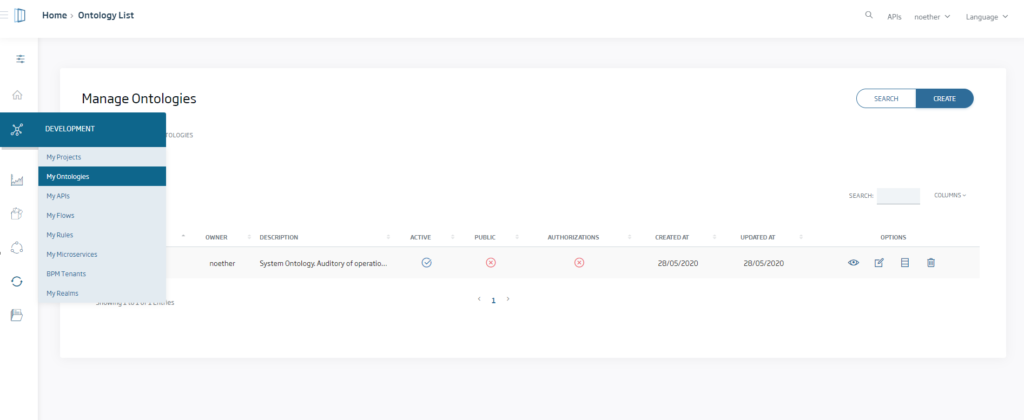
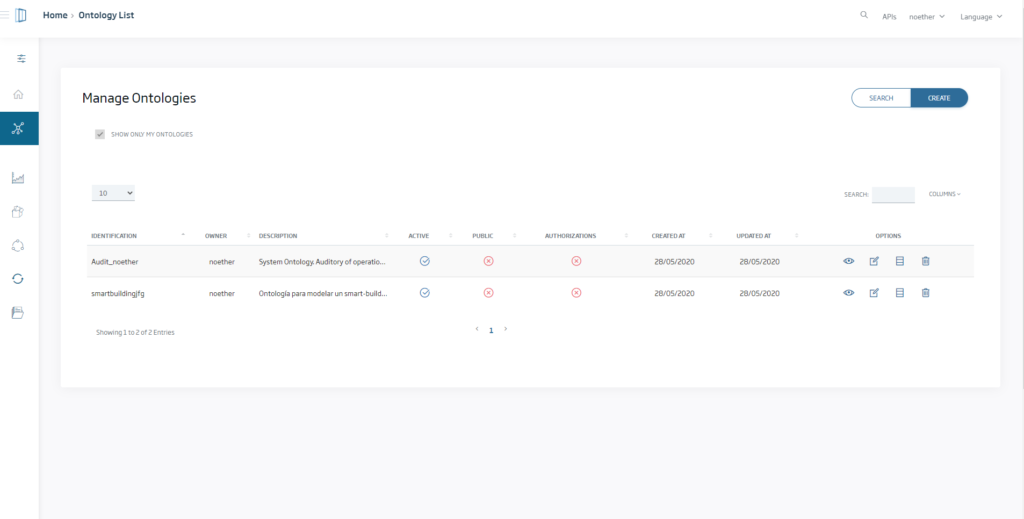
The Onesait Platform management console has different alternatives to create an ontology. In this case, use the option to Create Ontology step by step.
First, click on My Ontologies > Create.
Select Create Step by Step. Next, introduce the required fields such as name and description, and choose the type of template you want to use. In this tutorial, you will create it from scratch by clicking on General > EmptyBase and entering the attributes we want manually.
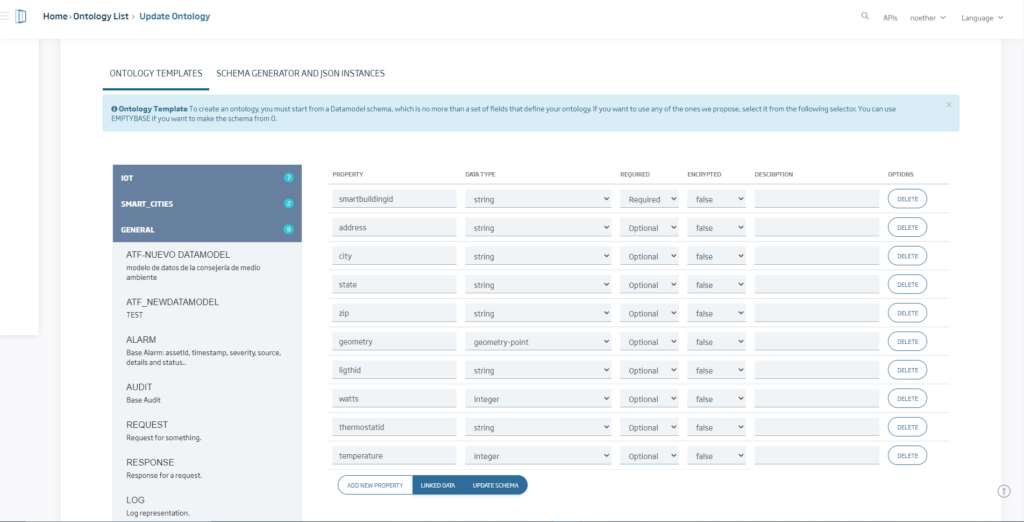
Once we have inserted the attributes and their characteristics, click on Update Schema > Generate Instance > New. With this, you will have already created your data modeling or ontology. You can now query it and modify it from the list.
At the end of this step, you will have registered in the Platform an ontology, characterized by
- Defining the smartbuildingjfg data type – so that the platform will admit Instances that contain data in JSON format such as:
{"smartbuildingjfg":{ "smartbuildingid":"string","address":"string","city":"string","state":"string","zip":"string","geometry":{"coordinates":[28.6,28.6],"type":"Point"},"ligthid":"string","watts":1,"thermostatid":"string","temperature":1}}- Real-time database definition of the storage medium for the ontology. In a reference installation (with MongoDB as the real-time database), this is materialized in a collection called smartbuildingjfg. The data will be stored there in real time.
- Ontology permissions definition. In this case, only the owner has permission, since the ontology had been declared as private. However, the owner can, from the ontology menu, give permissions (Read, Write or Both) to specific users, or to groups of users with whom she has common projects.
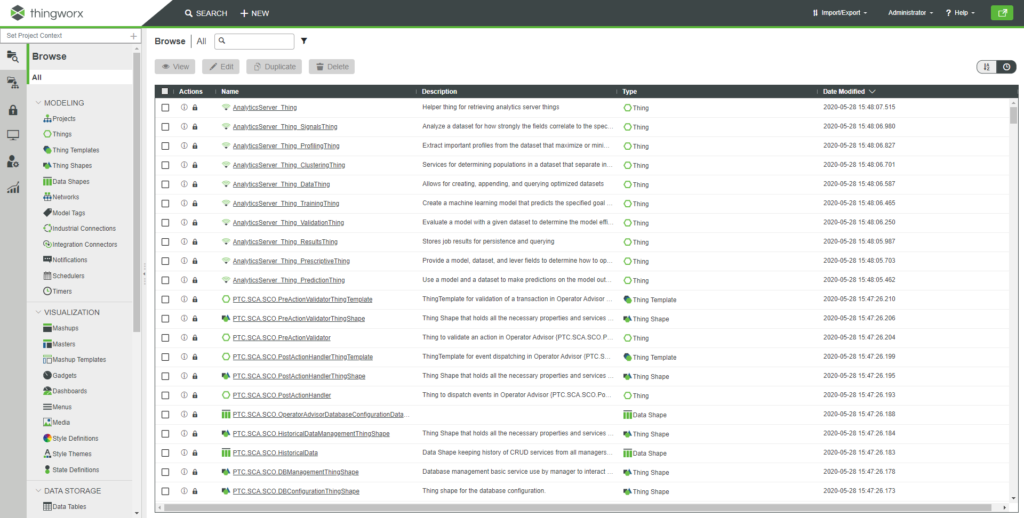
ThingWorx
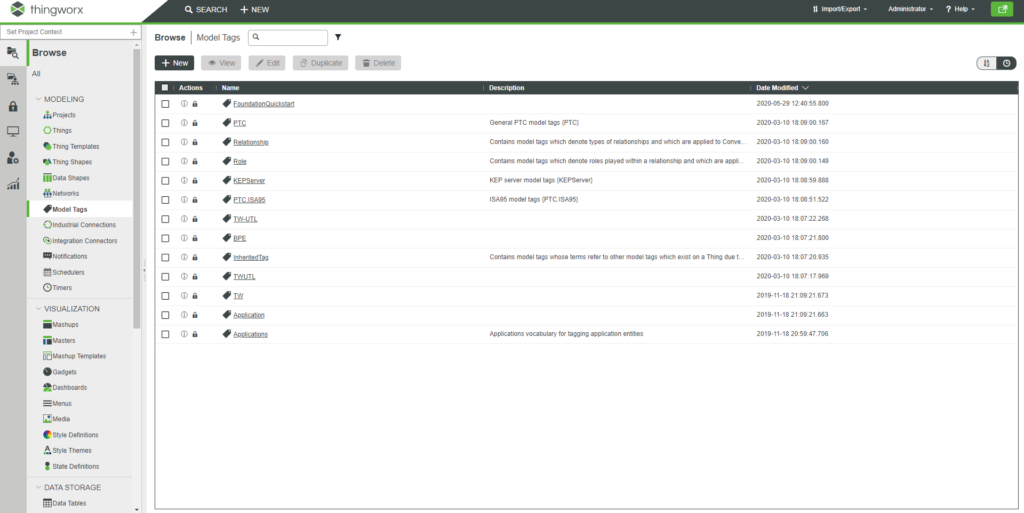
In ThingWorx, before you start creating entities on your platform, it is useful to create Model Tags so you can export and save the entities you have created. Model Tags are terms used to categorize and group elements across the platform. These tags can be used to group, version control, search and migrate entities. Model Tags consist of a “vocabulary” and a “term” (vocabulary: term). For example, “Color: Blue” or “Department: Finance”.
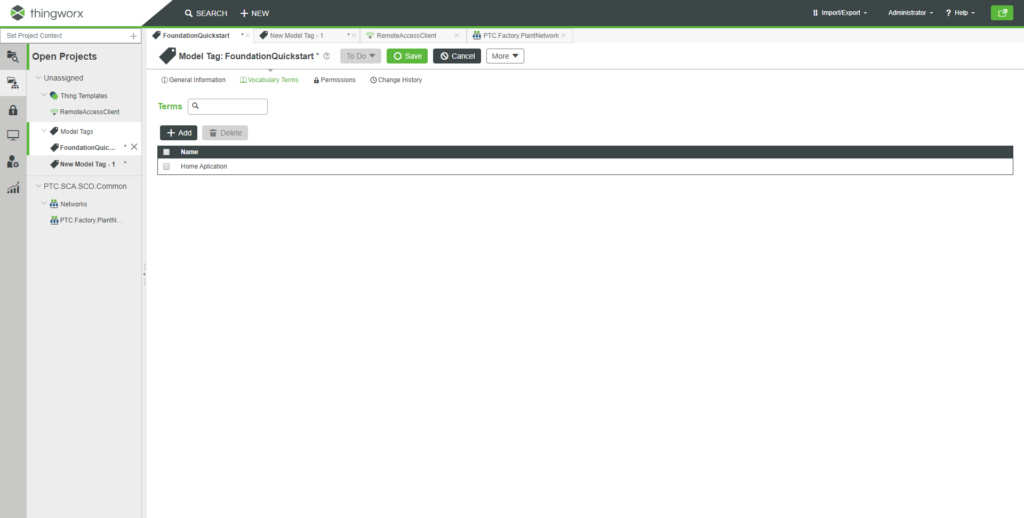
The first step will be to create this model tag. To do this, go to the “Model Tag” window, click on “New”, give it a name and save it. For this tutorial we have created the “Model Tag” FoundationQuickstart.
Open the model tag you just created, click on Vocabulary Terms and add one named Home Aplication.
With this, you already have a Vocabulary and a Term. Now you will create the equivalent to the ontology of Onesait Platform. In ThingWorx it is called Thing Template.
To do this, place yourself on Thing Templates, click on New and create one as shown in the image.
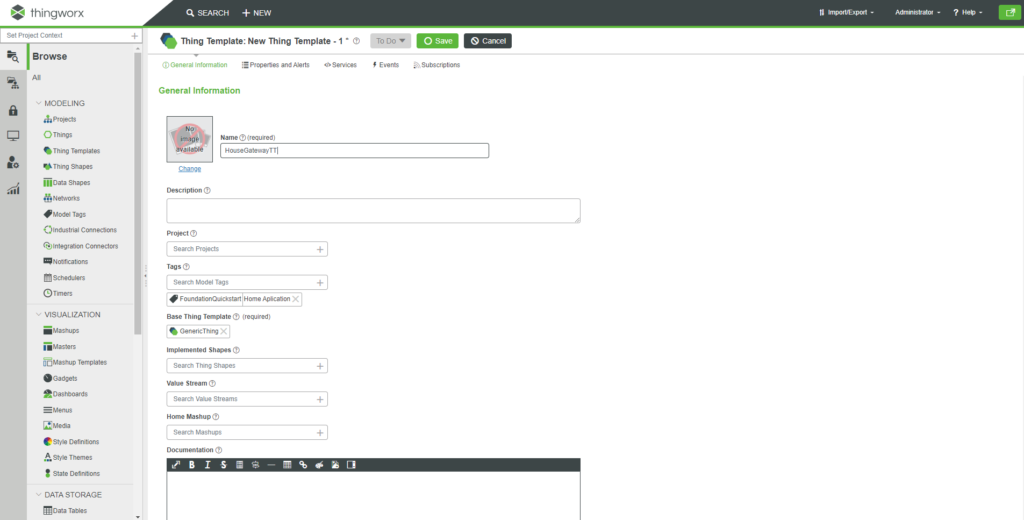
Clicking now on Properties and Alerts in the upper menu and clicking on Add, you can begin to introduce the attributes that will form your scheme. To do this, introduce the name (Name), the type of data (Base Type) and select the different aspects that you want them to have:
- Persistent: the properties that are not persistent will reset their values to their default value after a Thing or system restart.
- Logged: It specifies whether the property value should be automatically registered in a value flow whenever the data changes (depending on the data change rate) or not.
Press Done and Add and repeat these steps for each property. For the last property, press Done and then Save.

In this way, you will have defined your data model in ThingWorx.
In the next article of this series, we will see how to connect our devices to the two platforms, so… we hope to see you next week!


Pingback: Onesait Platform vs. ThingWorx (Part III) – Onesait Platform Blog
Pingback: Onesait Platform vs. ThingWorx (Part IV) – Onesait Platform Blog
Pingback: Onesait Platform vs. ThingWorx (Part II) – Onesait Platform Blog