
Getting to know Fn (part III): creating a Python function
In this third entry dedicated to the Fn Project (part 1, part 2), we are going to see how easy it is to create an Fn function with Python by following a few simple steps.
Starting Fn
Firstly, launch Fn with the following line of code:
fn start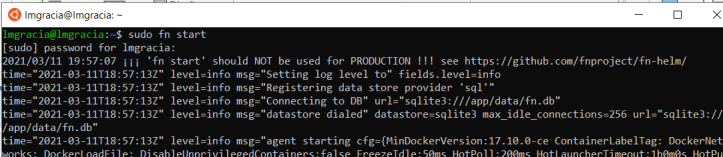
Creating the function
Once you have Fn running, create the function with the Python runtime, and move to the created directory. You can do this with the following code:
fn init –runtime python mypythonfunction

cd mypythonfunction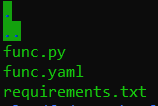
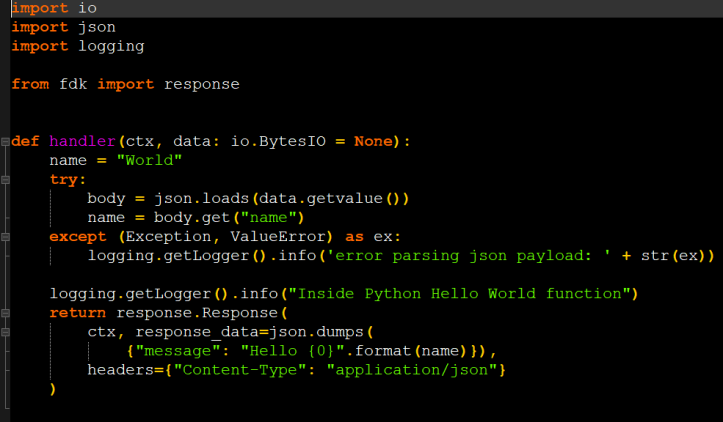
Here you can see that Fn has created the code for a «func.py» function that composes an output JSON in the form {“message”:”Hello Luismi!”}, from the name passed in the input JSON, which has the form {“name”: “Luismi”}.
You can also find a «func.yaml» file with the configuration of the function, and a Python text file «requirements.txt», which contains the FDK (Fn Development Kit) dependency for Python.
You can find more information about the use of the FDK for Python in this link.
Creating the Fn application
Once the function is created, you must create the application that groups all the functions you are going to create. This is something you can do with the following line of code:
fn create app mypythonappDeploying the function in the application
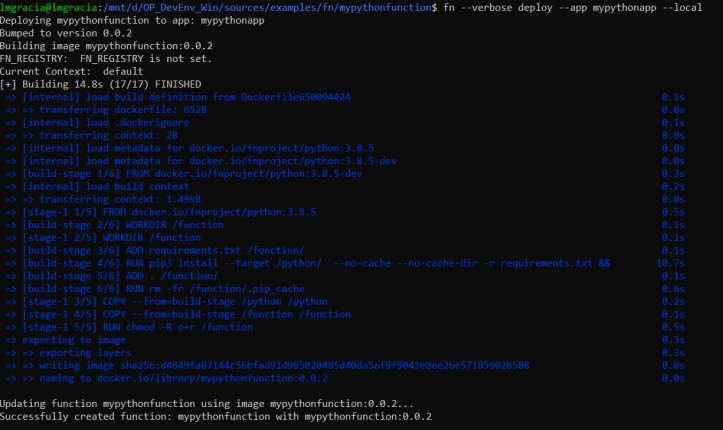
When you are deploying the function, you are actually publishing it to make it accessible to other users and systems, meaning that you can use the -verbose flag to see the detail:
fn –verbose deploy –app mypythonapp –localThe first time you build an Fn language function, it takes a while because it downloads the necessary Docker images. Subsequent times, it will be faster.
In order to see the generated image, use the following code:
docker images | grep python
Invoking the function with CLI
The easiest way to invoke the function is from the Fn CLI, using:
fn invoke mypythonapp mypythonfunctionAnother possibility is to invoke it with parameters:
echo -n ‘{“name”:”Luismi”}’ | fn invoke mypythonapp mypythonfunction –content-type application/json
Invoking the function with Endpoint
As you have already seen, you can also invoke Fn by its endpoint. To do this, firstly get the URL of the endpoint using an «inspect»:
fn inspect function mypythonapp mypythonfunction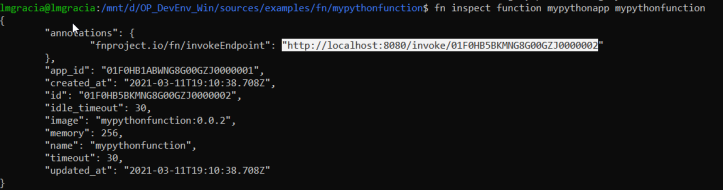
Next, invoke the function as follows:
curl -X “POST” -H “Content-Type: application/json” -d ‘{“name”:”Luismi”}’ http://localhost:8080/invoke/01F0HB5BKMNG8G00GZJ0000002Completing the function a little bit
So far, we have focused on understanding how to develop Fn functions in Groovy, but obviously these functions can be much more complex. To get a simple idea, we will change the example to ask for the input URL to a file and return the describe of the panda DataFrame.
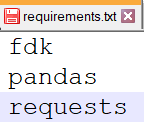
For that, in the text file «requirements.txt» of the function, will add the necessary dependencies. For what you are going to do, you will use «pandas» and «requests»:
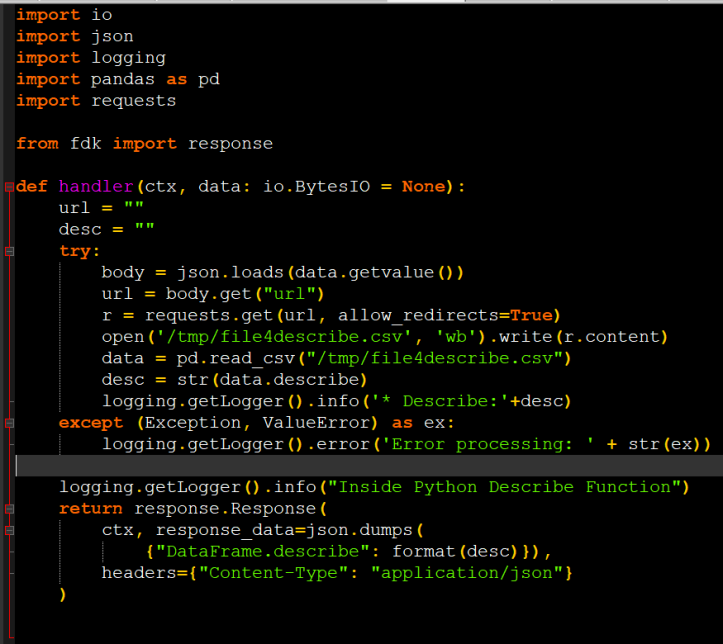
You are going to modify the function’s code, resulting in something like this:
You’ll build the function with a «build» (remember that, if you deploy, the function’s version is incremented):

To invoke all that, use the following code:
echo -n ‘{“url”:https://media.geeksforgeeks.org/wp-content/uploads/nba.csv}’ | fn invoke mypythonapp mypythonfunction –content-type application/jsonIt should return something similar to this:

Are you wondering where you can see the traces that you have indicated in the code of your function?

Well, you can see them in the console log where you did the fn start. In case you want to see them in more detail in the logs, you can boot it with log level to DEBUG with the following line of code:
sudo fn start –log-level DEBUG
Next steps
Given this, you can see that with a little more effort you can create an App that encapsulates a model, so there will be a function to train the model by passing it, for example as a parameter, a file with the training data, and another function to run the trained model… but we will see that in a future entry.


Pingback: Creating a Spring Cloud Function on Fn Project – Onesait Platform Blog