Creating a Spring Cloud Function on Fn Project
We are resuming our posts about Fn Project. In the previous post we saw how to create a Python function in Fn, and today we want to tell you how to create a Spring Cloud Function on the Fn runtime.
To do this, we are going to follow a number of steps.
Preparation
Let’s start by booting Fn (in this post we explained how to install Fn). Any of the following ways works:
- With «fn start» in Windows:

- With «sudo fn start» in Linux:

Next, download the latest JDK runtime image for Java, which includes Spring support (to do the pull you must have logged into Docker with «docker login»). You can do this with:
docker pull fnproject/fn-java-fdk:1.0-latestCreating the App and the function
To create a Spring Cloud type Function, you will use the Java Runtime launching something like this:
fn init --runtime java springcloudfunction-fn
This will initialize the Java runtime and create the sample app. Next, you must create the app with the following command:
fn create app springcloudfunction-appHaving done this, move to the «springcloudfunction-fn» directory, which will have created a pom.xml file (Maven project), a func.yaml (Fn Descriptor) and a src folder for the sources (with a function and a test).
To use Spring Cloud Function, you must add the dependencies in the pom.xml. To do that, the easiest way is that you copy the dependencies from Spring’s Spring Cloud example repository, which is an example Spring Cloud Function application, and then add the following dependency specifically:
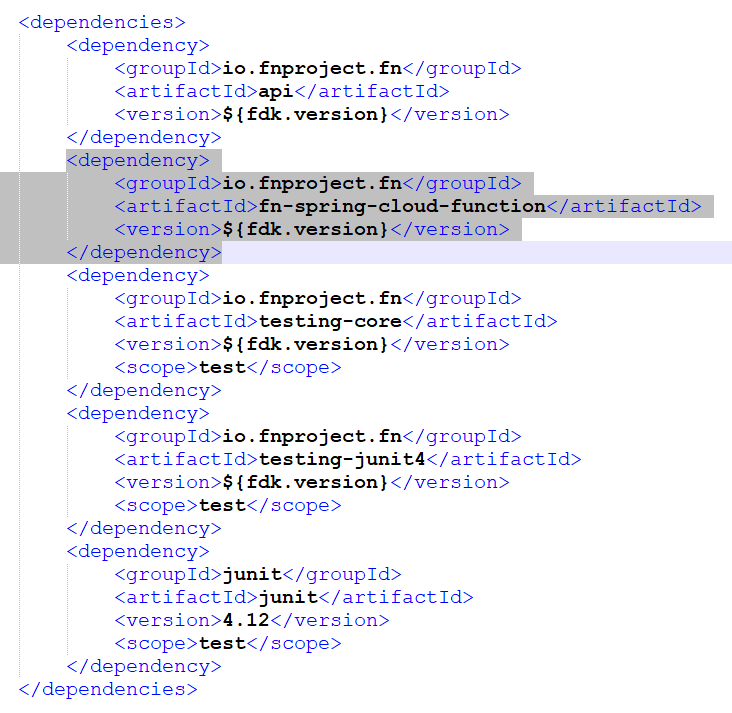
Note: just when I was writing this article (version 1.0.124), the fnproject project has moved from com.fnproject.fn to io.fnproject.fn, so you may need to update the generated pom.xml.
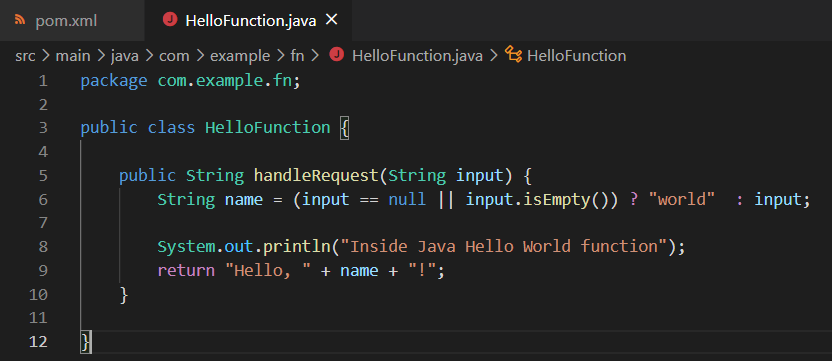
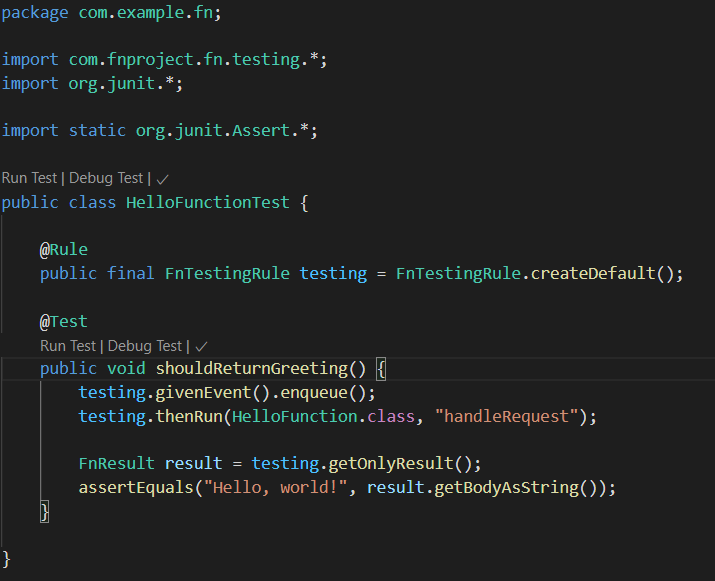
Next, change the example function that was previously created:
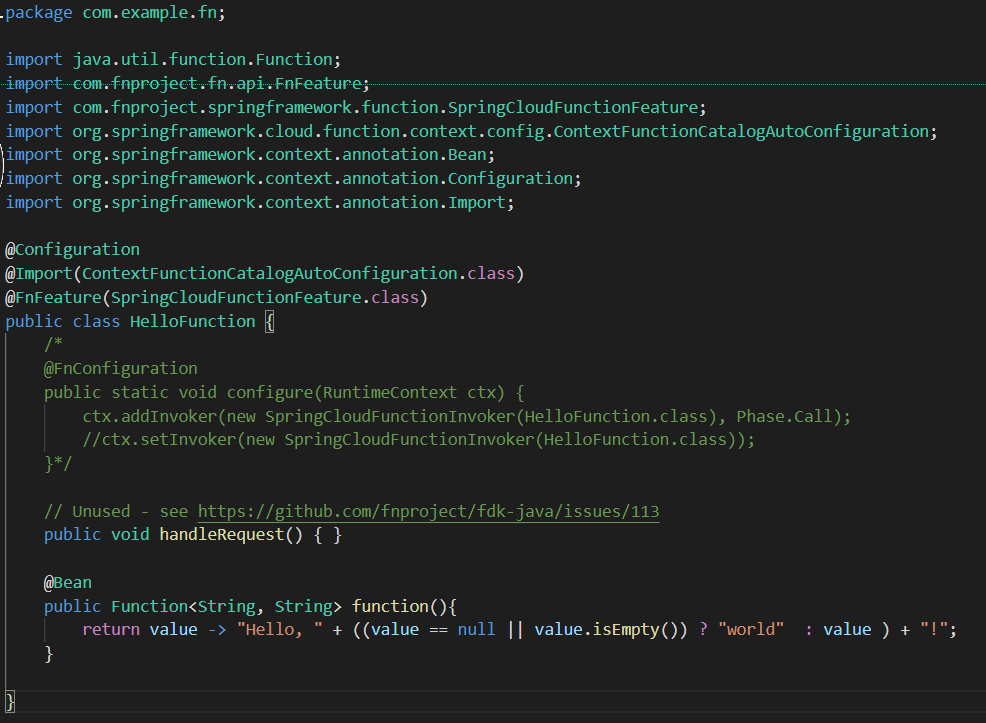
Let’s convert it to the following:
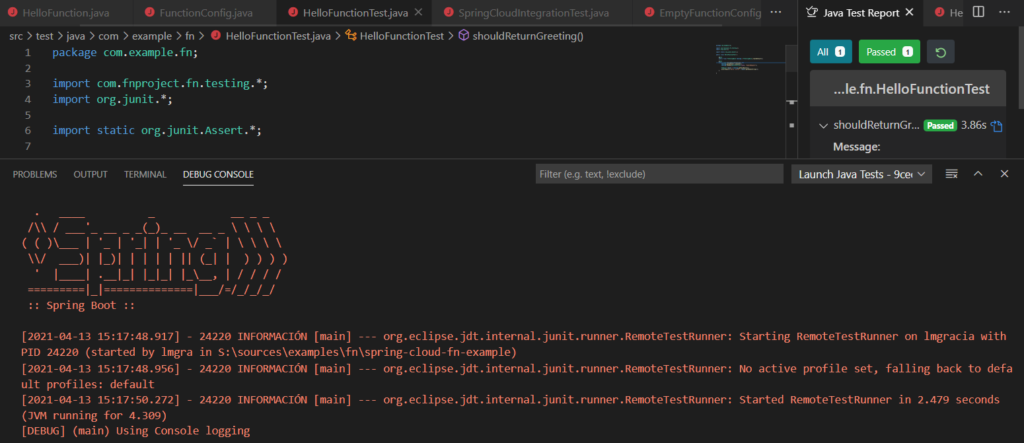
To check that it works correctly, you can run the Test:
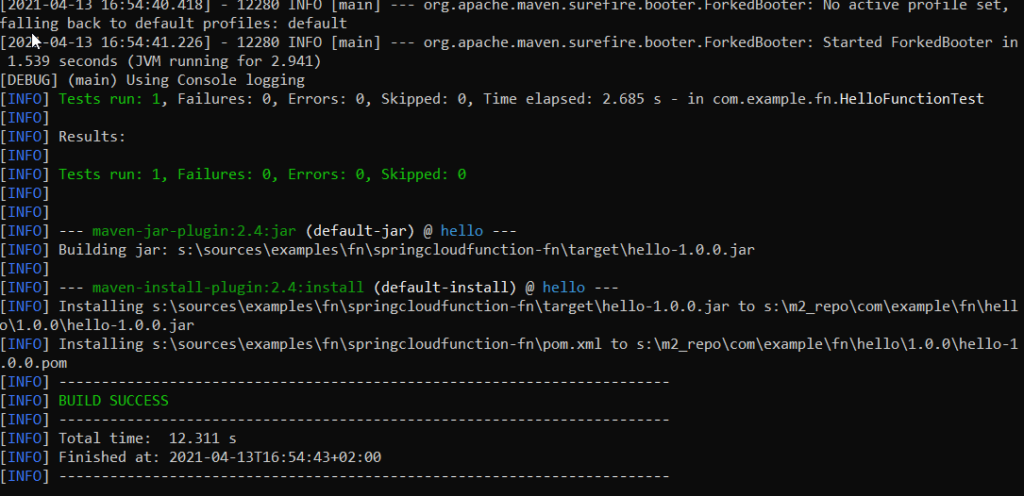
Another option you have is to run a «mvn clean install»:
Once this is done, you can already do the build of your function with a «fn build»:

To carry out the deploy, you can do that by means of:
fn deploy --local --app springcloudfunction-app
And how can you invoke it? Well, in two very simple ways:
fn invoke springcloudfunction-app springcloudfunction-fn (de fn invoke <app> <function>)

Another possibility you have is to make a fn inspect function to extract the direct invocation URL:
fn inspect function springcloudfunction-app springcloudfunction-fn (de fn inspect function)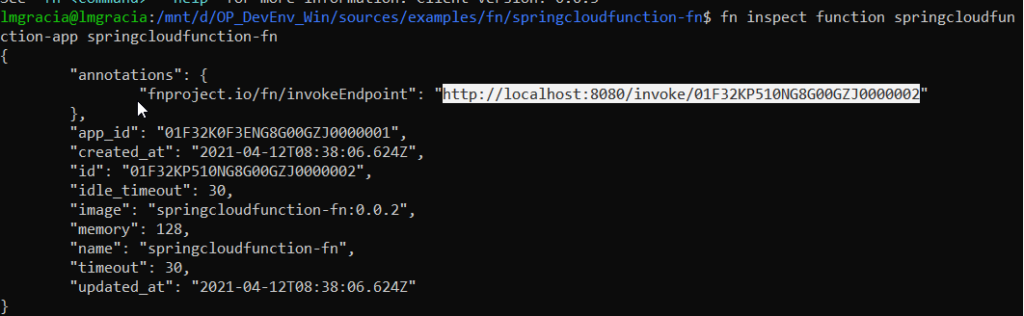
To then invoke it with curl -X “POST” of the style of_ http://localhost:8080/invoke/01F32KP510NG8G00GZJ0000002

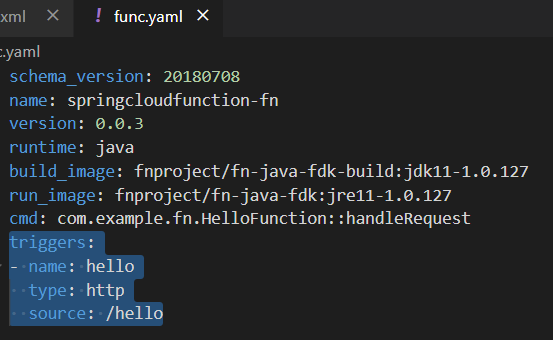
Finally, you will create a «Trigger HTTP» of your function to be able to invoke it from http with a url like «http://localhost:8080/t/springcloudfunction-fn/hello». To do that, in your func.yml you will add the following:
Next, carry out a new deploy:
fn deploy --local --app springcloudfunction-appYou can check that the trigger has been created without problems via:
fn list triggers springcloudfunction-app
Now, you can invoke our function through this endpoint with: curl -d “Luismi” -X “POST” http://localhost:8080/t/springcloudfunction-app/hello

You can find the complete example created in this post in my repository.