Backups of the Platform with Velero
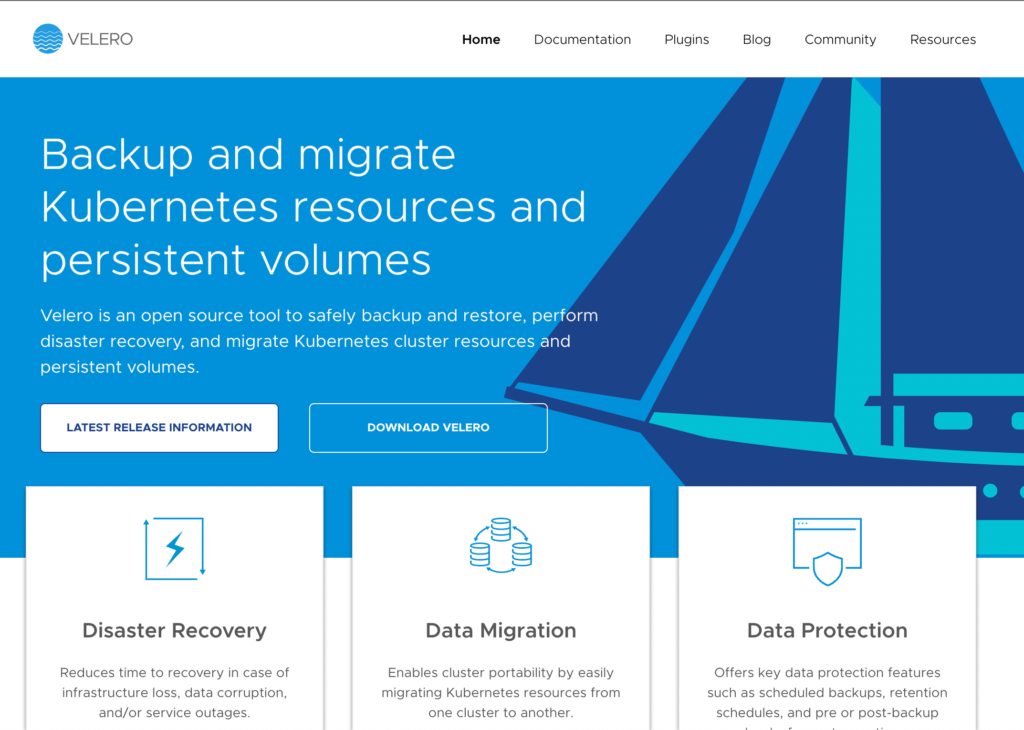
Velero is an open source tool that allows us to backup, restore and migrate clusters in a safe way.
Storage configuration: GCP buckets
There are different storage providers to integrate with Velero, such as vSphere, Amazon Web Services (AWS), or Google Cloud Platform (GCP). In this post, we are going to use the configuration for GCP.
The first thing we are going to need is to create a storage bucket to store the Velero backups:
BUCKET=stable-env-backup
gsutil mb gs://$BUCKET/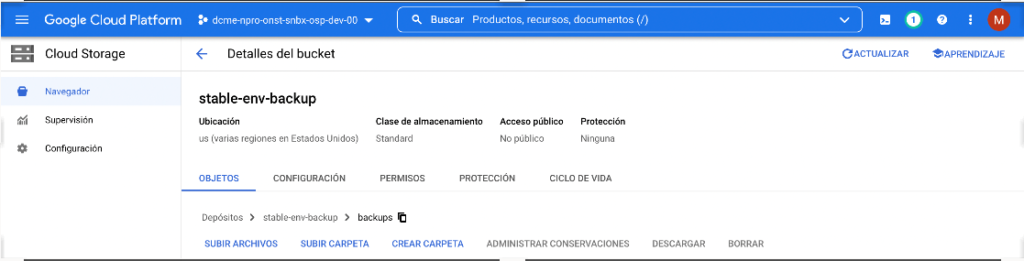
Once we have the storage bucket where Velero will store the backups, we can proceed to configure the service account that Google needs to give permissions to said bucket.
gcloud iam service-accounts create velero --display-name "Velero service account"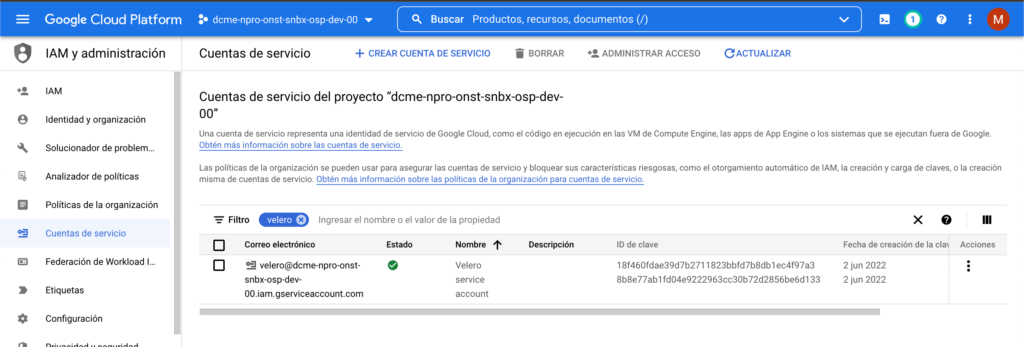
Once we have created it, we will associate our user with Google permissions, and assign the necessary permissions to the bucket. To finish the configuration process before installing, we only have to create the file in JSON format with the credentials to access the bucket from Velero.
Velero Installation
We will need to download the binary files and move the velero binary to the path:
/usr/local/binTo install Velero, we will use the following command, in which we indicate the provider, the plugin necessary for the provider, the previously created bucket, and the file with the credentials:
velero install \
--provider gcp \
--plugins velero/velero-plugin-for-gcp:v1.1.0 \
--bucket $BUCKET \
--secret-file ./credentials-velero
We can now proceed to make the backup with a simple command:
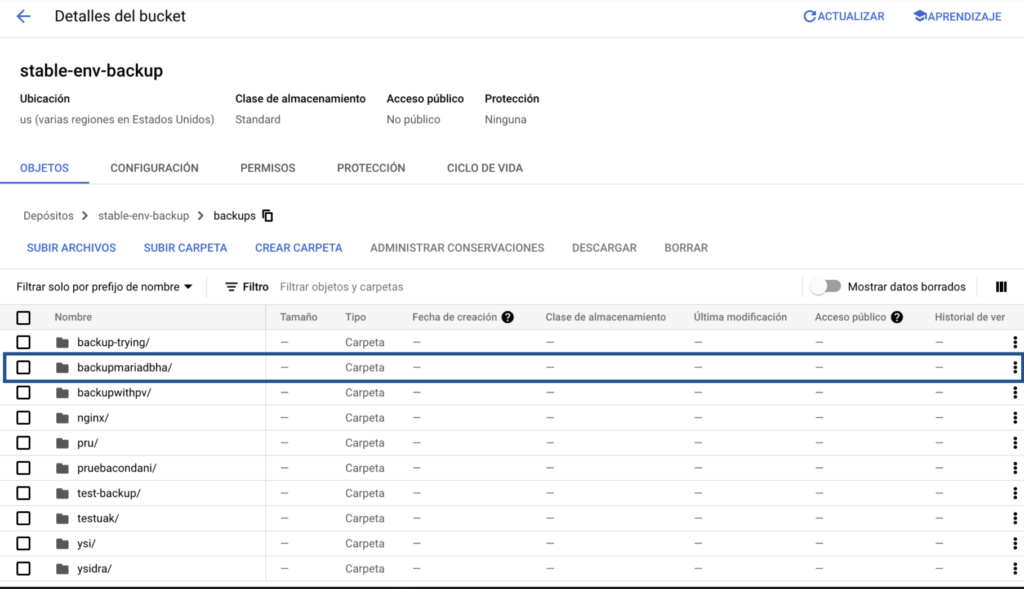
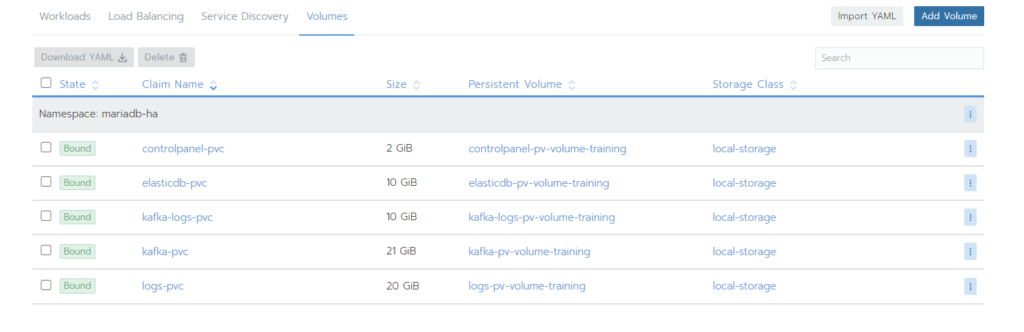
velero backup create backupmariadbha --include-namespaces mariadb-haNext we can see the backup in our bucket:
It is also interesting to know that backups can be scheduled daily, or every minute, as follows:
velero schedule create minute backup --schedule="@every 1m" --include-namespaces mariadb-ha

velero schedule create daily backup --schedule="@every 24h" --include-namespaces mariadb-ha
The next step will be to see how to delete the entire namespace, and verify that it has been deleted and we do not have any resources:

With this, we can now proceed to restore the entire namespace using the command:
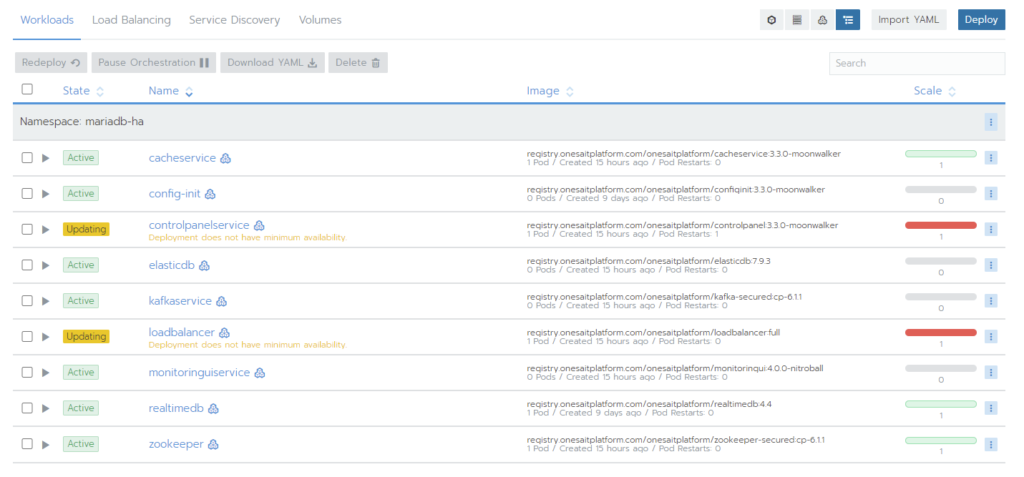
velero restore create --include-namespaces mariadb-ha --from-backup backupmariadbhaNext, we will see how the entire namespace is recreated:
As we can see, the procedure is something simple and quick to carry out. If you have any problems or doubts, leave us a comment and we will respond as soon as possible.
Header image: Tim Gouw at Unsplash.