How to create a multi-language Dashboard
Nowadays any service that’s worth its salt needs to be localized not only in the language of their main target but in the most spoken languages. Examples of this come in form of web pages, videogames, streaming services, etc.
Of course, this also translates to our products and projects, in which because of the current needs for globalization, we at least must have English as a linguistical option, beyond the rest of the languages that interest us.
Therefore, Onesait Platform has had for a while now the option to choose the language in which we wish to visualize both the Control Panel and all the available modules.
This also transfers Dashboards, with the particularity that we must previously prepare the language configuration; that is, define which languages we are going to allow and their JSON equivalence.
This is something pretty simple and it doesn’t take much time. Let’s see how to prepare it.
Work Enviroment
As per usual, we are going to be working on CloudLab, the free instance of the platform that is uploaded in the cloud, altho if you have your own instance, o the Community version of the Platform, you can use it without any problems.
We would also like to remind you that, in the case is useful, there is an initiation guide for CloudLab.
Create an internationalization project
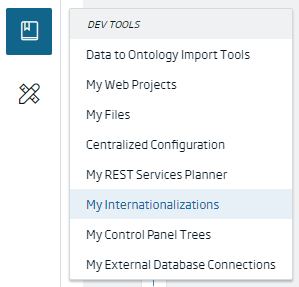
The first will consist in creating an internationalization project. To do that, we will access the menu Dev Tools > My Internationalizations.
This will open the internationalization project manager, where we will be able to manage the projects we have created and the ones we have access to. In our case, we will press the «+» button to create a new project.
This will make us access the project creation wizard which, like other content wizards in the platform, will be asking up for some minimum information to configure the project. The fields we will need to be completing are:
- Identification: it needs to be a unique name for the internationalization project. Must be alphanumeric, without any puntuation characters and no spaces. In this case the name we chose is «tuto_blog_internacionalizacion».
- Description: here we will briefly tell what the project is about.
- Public: Here we can decide if we want other users to be able to acces our projects or not. For this specific example it will be public.

Then we will need to define which languages we want to be available in the project. For that we will press the button «+ Add language».
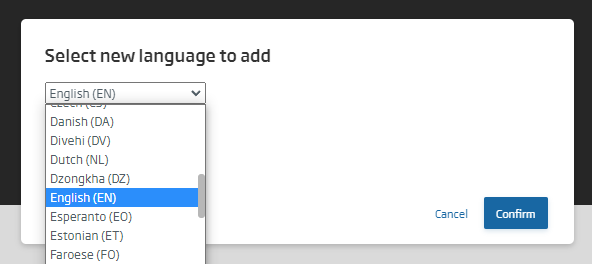
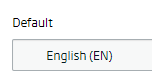
A modal will appear. In this modal, we will be requested to choose the language we wish to add. In this example, we added the language English «English (EN)» (every language comes defined in English with its ISO 639-1 code.
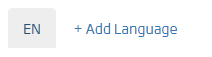
Once selected, we will see that besides the button to add languages, another button with the English ISO code has popped up.
Clicking the button, the window with the languages JSON will go from showing the example to the object with the idiomatic keys and values:
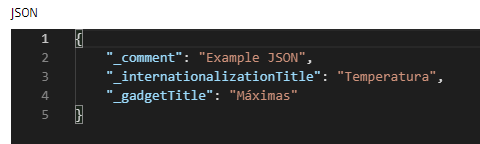
We will modify the content of the JSON to adapt it to our needs. In our case, we have used this object:
{
    "_comment": "Example JSON",
    "_internationalizationTitle": "Dashboard in English",
    "_gadgetTitle": "Gadget title in English"
}
Here the idea is to define unique keys that contain the text string that we want to display in a specific language.
If you look closely, you will see that English has been defined as the default language, which means that it is the language that will be displayed by default if we do not indicate any language parameter, therefore being used as the default language.
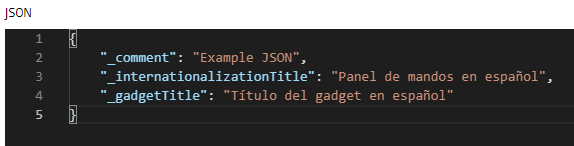
Once the texts are defined in English, we will do the same but selecting the Spanish language. We will click again on «+ Add language», and in the drop-down menu of the modal we will choose the language «Spanish (ES)». Next, we will fill the JSON window with the text strings in Spanish:
{
    "_comment": "Example JSON",
    "_internationalizationTitle": "Panel de mandos en español",
    "_gadgetTitle": "Título del gadget en español"
}
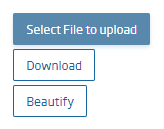
Finally, we want to encourage you to add a third language to the project; the one you want. If you prefer, you can use the JSON file upload tool, which will allow you to upload the object with the texts directly. To do this, you will have to select the button «Select File to load», and look for the corresponding JSON file.
Once done, we will press the button «Create» to generate and save the internationalization project.
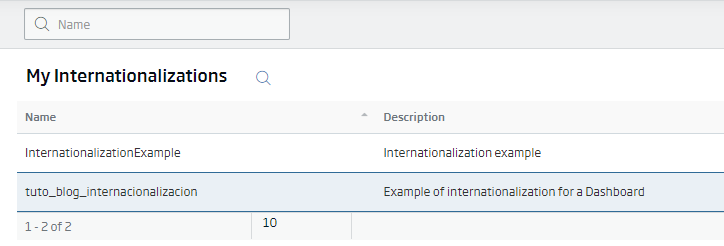
If we return to the internationalization project manager, it should show in the list.
In case it is of interest to you, we are providing the link to the example created:
https://lab.onesaitplatform.com/controlpanel/internationalizations/show/d3e97f03-4814-4fdd-9661-d6e2dd30040b/Create and configure a Dashboard
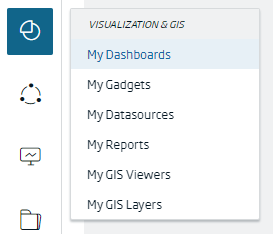
In this part, we are not going to entertain much beyond creating a generic Dashboard. We will do this from the Visualization and GIS> My Dashboards menu.
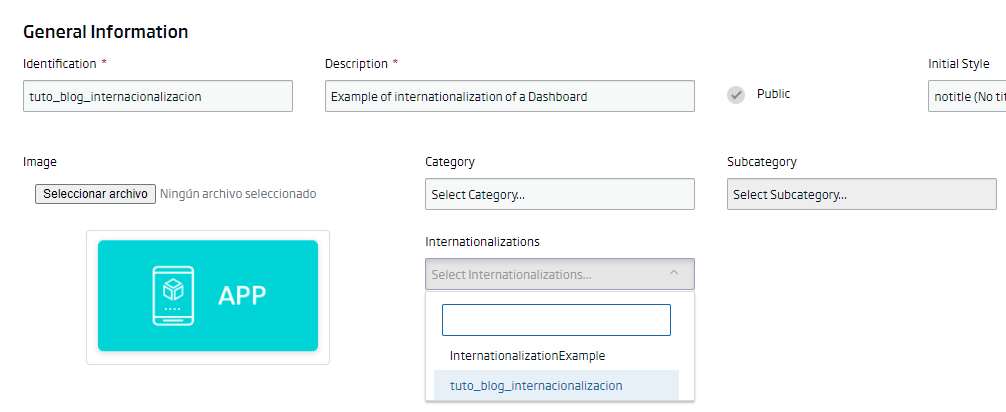
We will access the Dashboards manager, and by clicking on «+» we will create a new one, entering the necessary information.
Here we are interested in looking at the “Internationalizations” option, which is where we can choose between the different language projects. We will open the selector, and we will select the project that we have previously created: «tuto_blog_internacionalizacion».
Once this is done, we will click on the «Create» button, with which the Dashboard will save its configuration and a new empty control panel will open.
Create a Gadget and add the internationalized fields
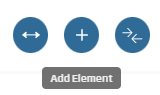
We will create a new type of Gadget and add it to the Dashboard. We will do this by clicking on the «+» button:
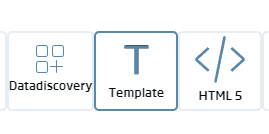
The type of Gadget that is created is irrelevant, but for ease, we are going to use a «Template» type Gadget.
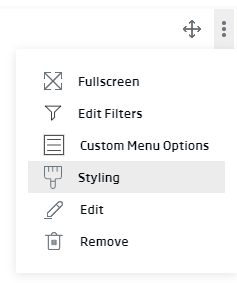
Once the Gadget has been added, we will proceed to add the title, which will vary depending on the language with which we view the Dashboard. To do this, we will click on the button with the three points located in the upper right part of the Gadget, and we will select the «Styling» option:
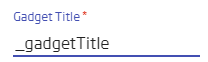
In the configuration modal that will appear, where it says «Gadget Title», we will substitute the content to indicate the name of the variable of the internationalization project that we want to assign; in this case, it would be «_gadgetTitle» :
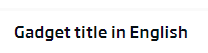
As soon as we do, we will see that the title of the Gadget on the screen is updated automatically to the text string that we had defined in the default language -English in this case-.
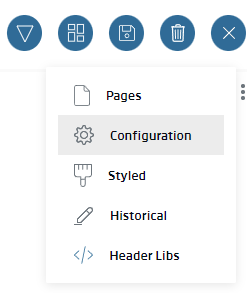
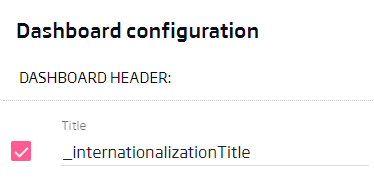
To add the title of the Dashboard, we will proceed in a similar way. In the Dashboard options, we will choose the «Configuration» option:
In the box where it says «Title», we will introduce the key that we have defined for the text that contains the title, which in this case is «_internationalizationTitle».
If everything goes correctly, we will see that the Dashboard presents as a title the text string that we prepare in English:
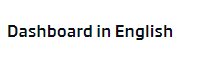
With that done, we proceed to save the Dashboard.
Accesing a Dashboard in other languages
Now that we have finished the work is time to enjoy the results.
If we access the Dashboard in a normal way, it shows us the language defined by default, which, as we previously stated, is English:
https://lab.onesaitplatform.com/controlpanel/dashboards/viewiframe/26e301e6-dabb-4310-a808-6ae3d1551781And how do we access the versions in other languages? Well, we only have to include a parameter in the URL of the Dashboard; specifically, we have to add «?lang=XX», where XX refers to the ISO code of the language we want to display.
For example, for the case of the Dashboard in Spanish, we will add «?lang=es» to the URL:
https://lab.onesaitplatform.com/controlpanel/dashboards/viewiframe/26e301e6-dabb-4310-a808-6ae3d1551781?lang=esSimple, right? Now, try with the language you have created and try to visualize it. In my case, I have loaded a JSON with the Japanese texts, which are perfectly visualized once the «JA» code is included in the URL call:
https://lab.onesaitplatform.com/controlpanel/dashboards/viewiframe/26e301e6-dabb-4310-a808-6ae3d1551781?lang=jaIn the event that an unrecognized language is entered, you will get the name of the label that we have used to define the title of the Dashboard and the Gadget:
https://lab.onesaitplatform.com/controlpanel/dashboards/viewiframe/26e301e6-dabb-4310-a808-6ae3d1551781?lang=ptWell, we already see that generating a multi-language Dashboard is quite simple and fast, with which our work gains in value, accessibility and interest on the part of our users.
We hope you found it interesting and that you can take advantage of it. Any questions you have about it, please leave us a comment.
Header image by JACQUELINE BRANDWAYN in Unsplash