Application Creation Wizard
As you already know, version 6.0.0-Vegas of Onesait Platform is now available. Among the many improvements and additions included in this version, we have included a wizard to facilitate the creation of applications.
Below, we tell you what this new wizard is all about.
The concept of Application
An Application on the Platform allows to create a collaborative environment in which Platform users can create grouped Platform concepts, allowing to assign also a security domain, a web application, etc.
In this release we include a wizard for the creation of these applications in a guided way, with which step by step we will be able to create or assign:
- Realm and Roles of the application, along with user association.
- Onesait Platform Resources: such as Entities, APIs, Dashboards, Dataflows, Flow Engine, etc.
- Web Projects.
At the end of the creation with the wizard, the application will be created with all the resources created and the web project versioned in Git and deployed as a web project.
It is important to note that only users with a “developer” or “analytics” role will be able to create Projects.
How to use this wizard?
First, we will have to navigate to the “Applications” menu:

With this we will access the list of available projects. To create a new Application, click on the “+” button to create it from scratch.

It must be taken into account thatthe user with which we create the Application will be the owner of all the resources that we create from the wizard, so it is recommended to verify that the user with which you are logged in is the correct one.
Once the “+” button is pressed, we can choose the way we want to create the application:

- Customized creation: with which the Application will be created as before, simply indicating the name and description and, subsequently, the Realm or users can be associated, as well as the resources and the web project.
- Step-by-step creation: with which the Application will be created, and the user will also be able to create the associated Realm, or assign an existing one, as well as create or assign resources, and create the web project.
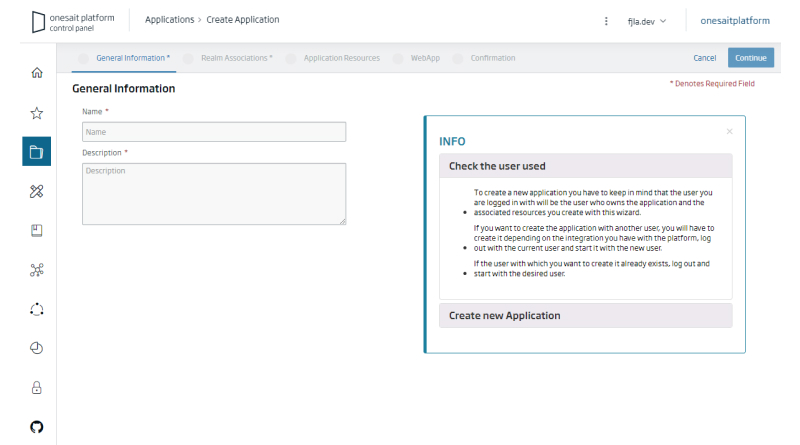
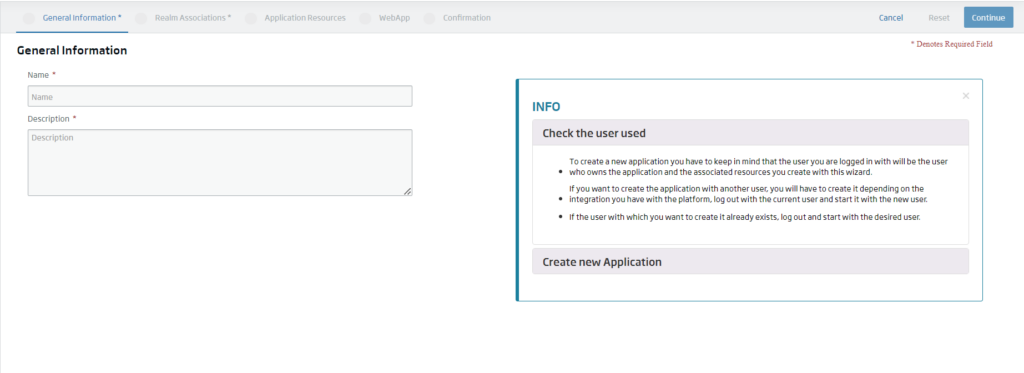
The first screen will show the name of the application and its description.
Please note that as soon as the “Continue” button is clicked, the elements will be created, so it will not be possible to go back to change the information already provided.
The next screen will be for the creation of the Realm associated to the created Application. We will indicate the name, the description and add the desired roles.
Note that once the roles have been added, if you click “Continue” or check the box to add users to the new Realm, you will not be able to edit it from this screen.
After creating the Realm, we will associate the Platform users to each role by clicking on “Add users” to the new Realm. To create the association, select the user and the role in the selectors, and after clicking on insert association it will be created and appear in the table.
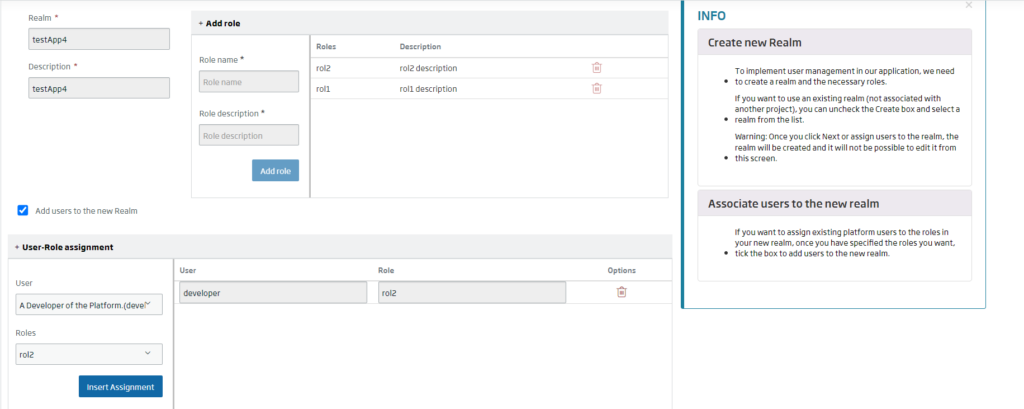
If we do not want to create a new Realm but select an existing one, uncheck the box to create an Application Realm and select the desired one.
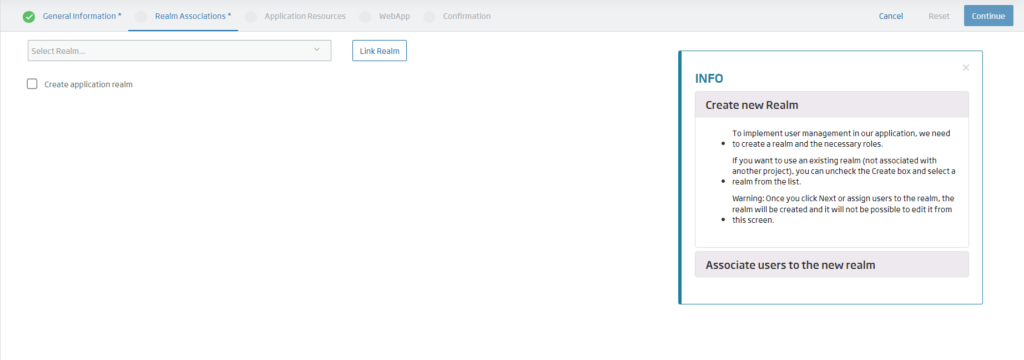
After clicking on the “Continue” button, we will access the resource creation/assignment tab.
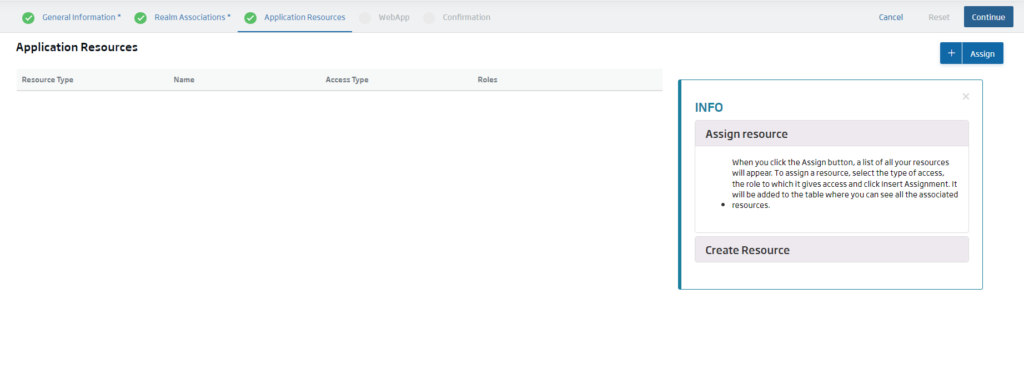
In this screen, if we click on the “Assign” button, a list will appear with all the resources owned by the user.

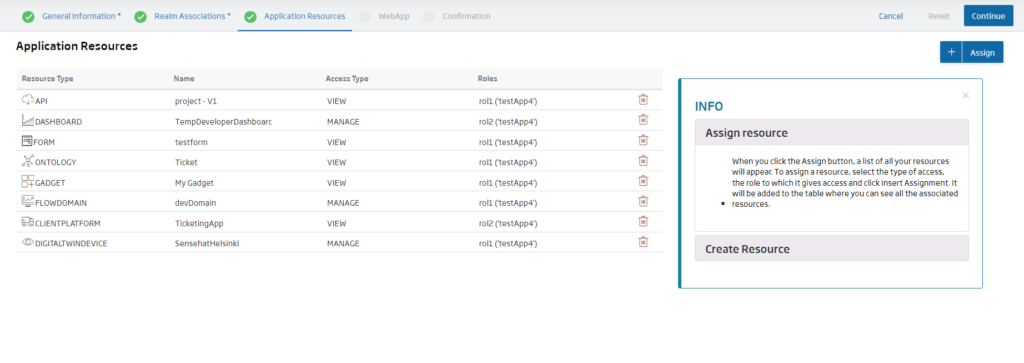
To assign a resource, select the type of access (“MANAGE” or “VIEW”) and the role to which you want to give access. When we select the role, we will be able to choose “ALL” and it will automatically assign the access to all the roles of the Realm. Once the resources have been assigned, click on the “Close” button and we will be able to see all the associated resources in the table above.
When we finish, we will press the “Continue” button. Then, the screen for creating the Application or web project will appear. In this screen you will have to fill in the Git repository information, as well as add the languages you want to support.
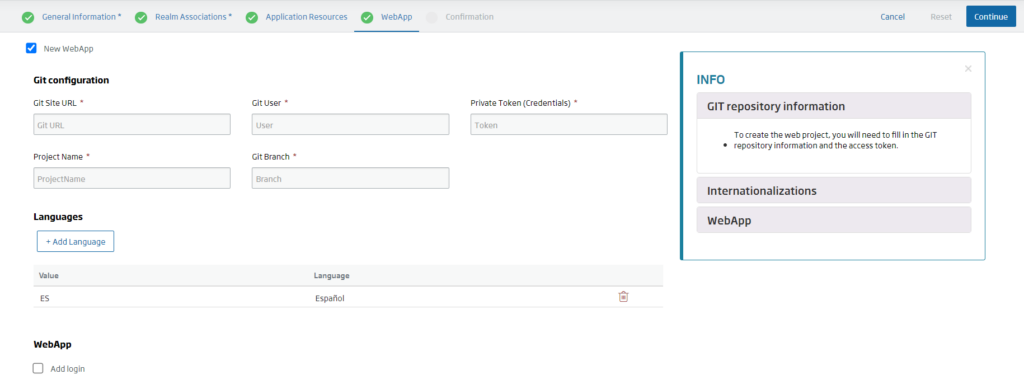
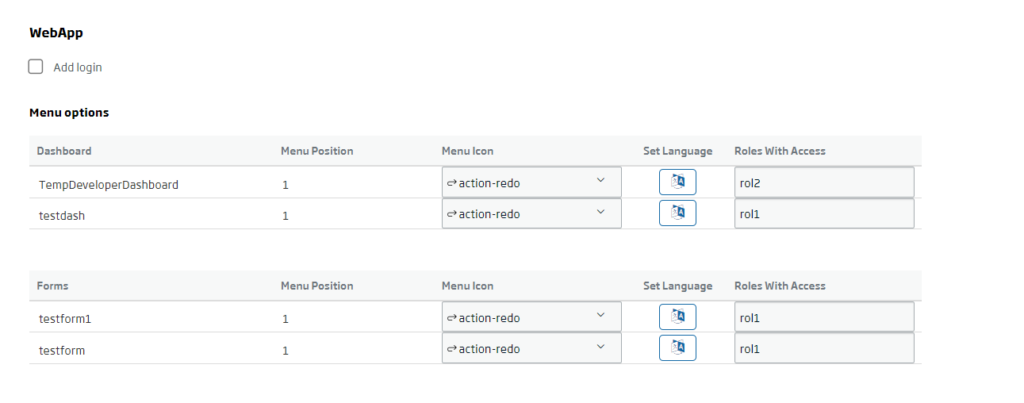
Below you will find the web application options, being able to add a login and configure the menu options for the Dashboards and Forms you have associated to the application.
If you are interested in learning more about this application creation wizard, feel free to leave us a comment or send us a notice on our Onesait Platform support channel.

