New features in WebApps Manager
Up until release 5.2.0, WebApps Manager supported only publishing Web applications from a ZIP file.
In this release, we have incorporated the following functionalities to the manager:
- Create and deploy a WebApp from a Git repository that contains a static website.
- Inline editing within the Control Panel of files uploaded from a Git repository.
- Configure an NPM application in Git, so that the module can compile the application generating the distributable.
Below we will see how all this works.
Creating a WebApp from Git
Starting with this version, the creation of web projects will consist of two different tabs: one to upload a ZIP and another to work with Git.
In this case, we are interested in the Git implementation. When clicking on the Git tab, the interface will ask you for the URL of a Git repository and a token that allows access to that same project. Once you have the entire form filled out, click on the “Create” button to create your WebApp.

Editing the Git WebApp
With your WebApp already created, click on the three dots to open the option drop-down menu. Inside, you can find a new option called Git:
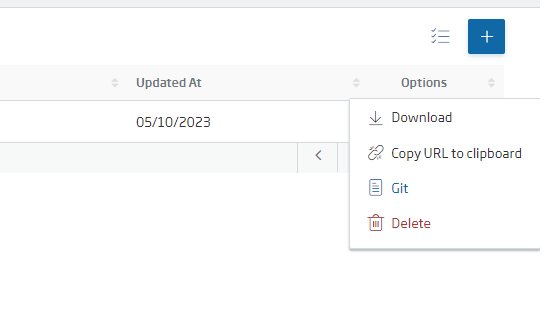
By clicking on this Git button, you will access a user interface where youcan edit the files in the Git repository.
From here you will have access to the typical Git functionalities, such as adding, editing, renaming or deleting files or folders, and performing commit actions on those changes.
With this functionality, you will have the possibility of completing your WebApp from the Control Panel itself.
Git WebApp Deployment
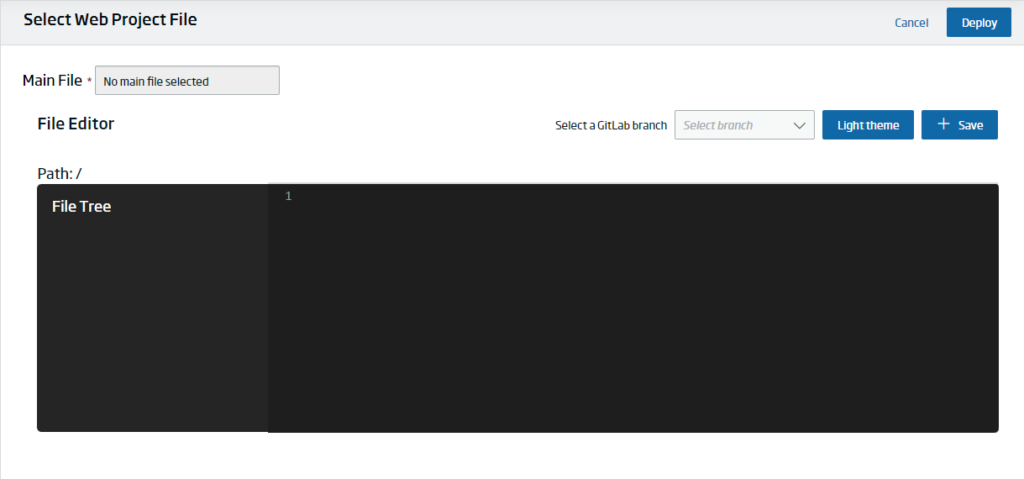
When you are finished with the WebApp, select the Git project folder within the editor.
The selected address will be the deployment address when you click on the “Deploy” button. You can always see which folder you are pointing to in the “Path:” field above the editor.

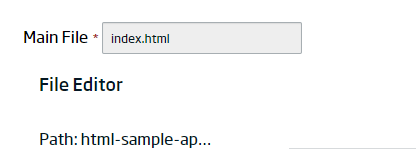
If you select a file within a folder, the folder containing the file will be displayed and the selected file will be indicated as the main file of the project, as seen in the field above the editor.
After this, press the “Deploy” button. The screen will be locked while the files are cloned and deployed and, once the process is finished, you will be returned to the list of web projects, where you can view your project list.
Below is a video illustrating this entire process:
Creating the WebApp Git from an NPM project
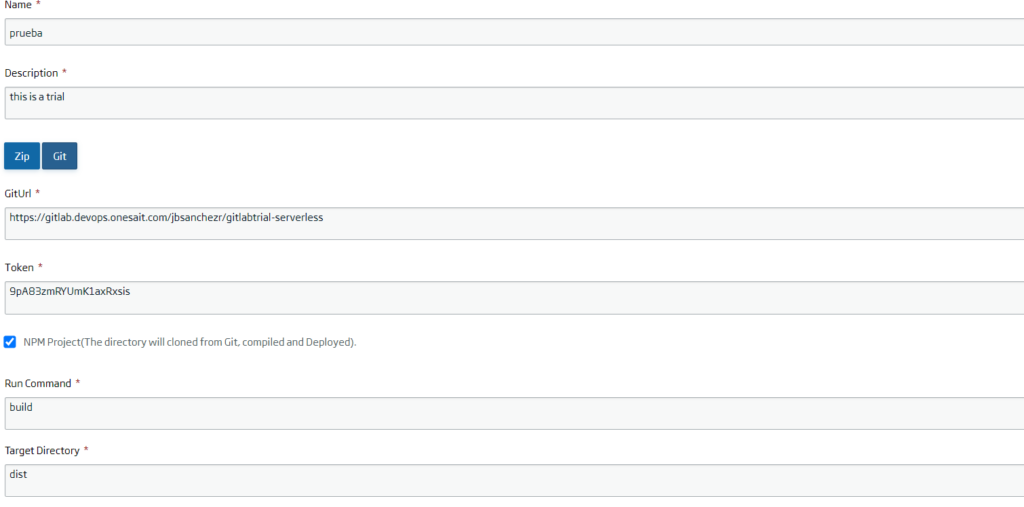
We have also included in the WebApp Manager the ability to manage Git repositories containing an NPM project.
When creating or editing a WebApp, within the Git section you will be able to enable the option to “configure as an NPM Project”. After activating this box, the form will show the boxes to fill in with the command you want to launch within our NPM project and the directory where you want to create the dropdown.
Once this is done, the process to follow is very similar:
- Continue to the Git screen, where you will select your NPM project.
- Click on “Deploy” and wait for the deployment process to complete. In this case, the WebApp Manager makes a copy of the selected directory and executes the previously-specified NPM command that will typically generate the dropdown, which you will then deploy.
If you are interested in learning more about this new functionality for web projects with Git or in seeing a demo of how it works, and how we deploy all this in real time, do not hesitate to leave us a comment or send us a notice on our Onesait Platform support channel.
Header image: Timelab at Unsplash.