Workshop on the Platform. Part III: GIS Viewer
In the previous parts of this Workshop, you have registered the Ontologies and created a data ingestion system using the Flow Engine. In this third part, we will focus on a different module of the Platform: Geo Services and you will create a GIS Viewer using the «BicingBCN_Inventory» Ontology.
To do this, the first thing you must do is creating a GIS layer from the said ontology. To do this, go to the menu option Visualization & GIS > My GIS Layers and click on the «Create» button.
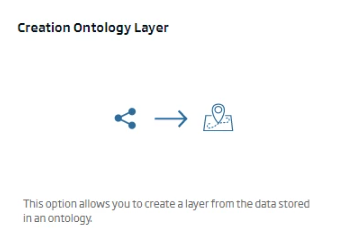
Then, select «Creation Ontology Layer».
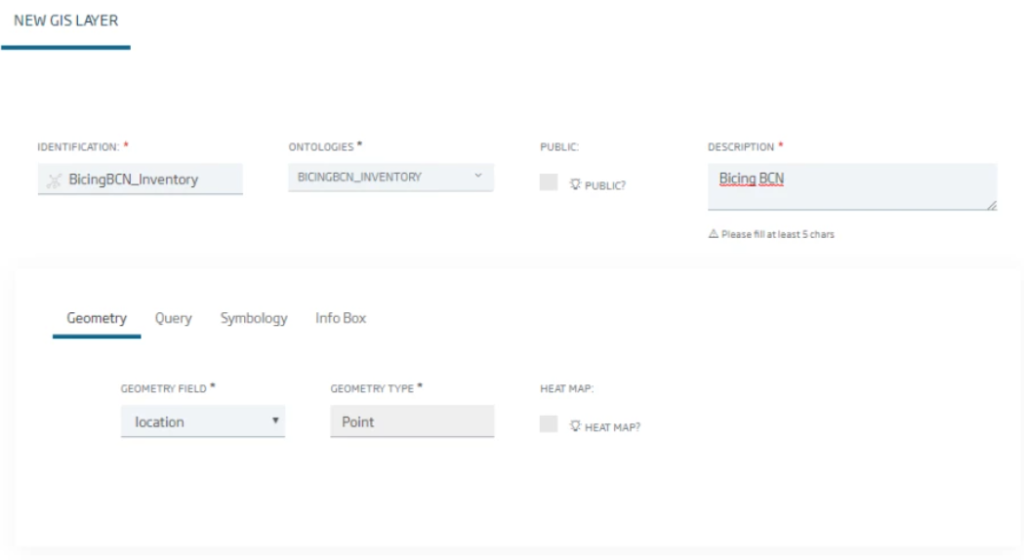
In the following form, assign an identifier and description to the layer and select the ontology to be represented («BicingBCN_Inventory»). Automatically, when selecting the ontology, the ontology’s geometry fields will be suggested, so you can select the one you want to represent. In this case, that field is «location».
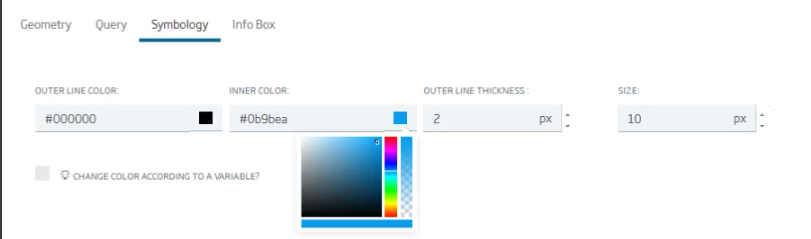
Then, in the «Symbology» tab, select the default representation that your instances of the ontology will have on the viewer:
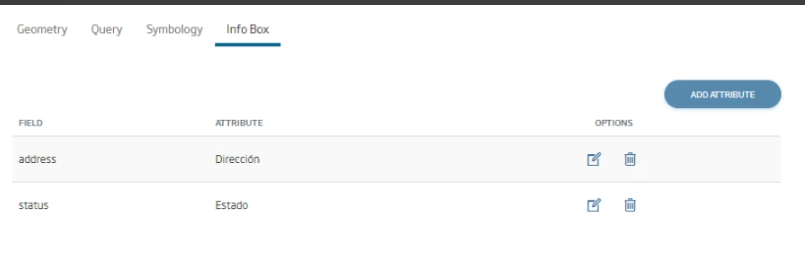
And in the field «Info Box», select the ontology attributes to be represented in the popup that will be opened when clicking on each element.
Finally, click on «New» to create the layer, which will appear in the initial list of layers.
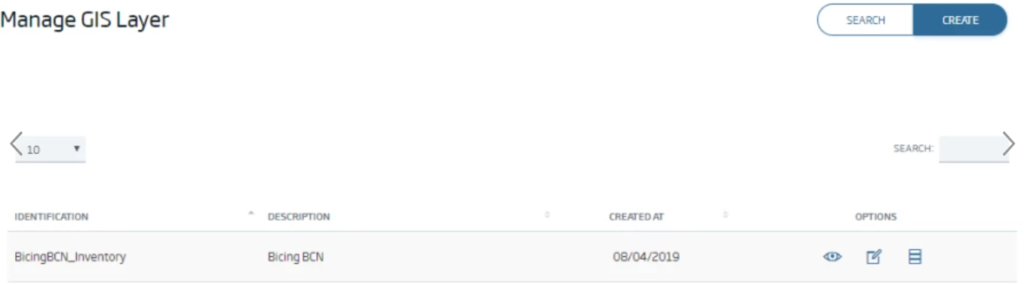
Then, create the viewer with the layer. Select the menu option Visualization & GIS > My GIS Viewers and on the screen select the «Create» button.
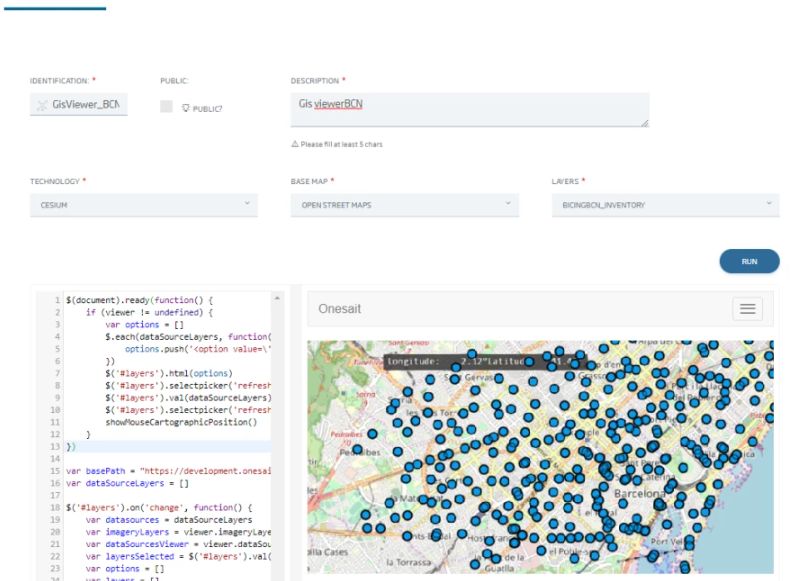
In the form, you will have to specify the viewer’s identifier and description, select the map technology to be used (at the moment only Cesium technology is available), the base map to be used and the previously created layer. The viewer will be automatically created, with its source code, which can be viewed on the screen itself:
Click «New» to create the viewer. This way, it will appear in the list of available viewers:

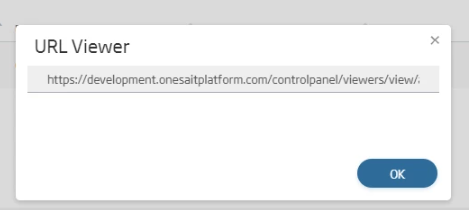
And, among other things, you can query the URL where the Platform serves it and that can be queried from any browser (or embedded in a Gadget or other site):
Here ends this third part of the Workshop. Soon we will continue with the next part: the Dashboards.
We hope you found it interesting and do not hesitate to leave us a comment with your feelings or questions.