Importing data from a file into an ontology via API REST
Introduction
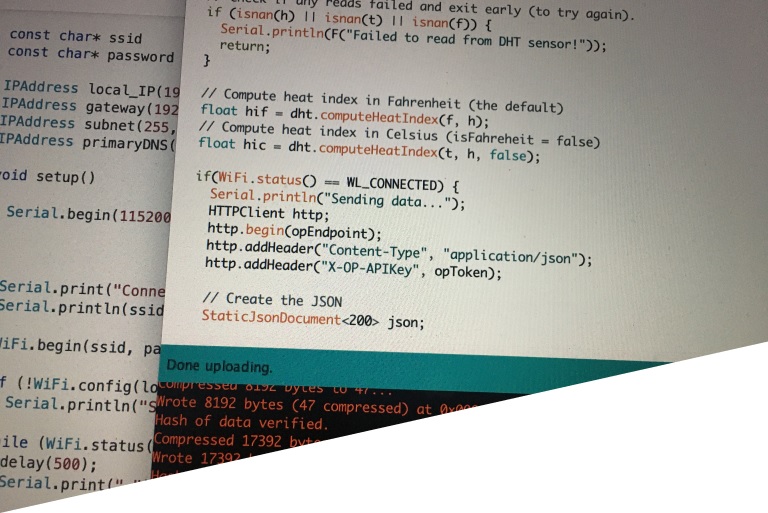
In this post, we will see how we can dump data from a CSV, JSON or XML file on an ontology through a REST API service.
This import tool is available from the Platform’s Control Panel; if you don’t know the Platform yet, you can visit this entry in the Development Portal.
Invoking from Swagger
In this section, we are going to import the data from a CSV file on a new ontology, invoking the API through the Platform’s Swagger interface.
To do this, click on the «APIs» button in the Control Panel header:

Select the «Control Panel» option in the pop-up window, which will open the Swagger interface, then in the drop-down menu, look for the «Import tool».
A single POST type operation will appear. Click on the «Try it out» button and fill in the request’s parameters as indicated below:
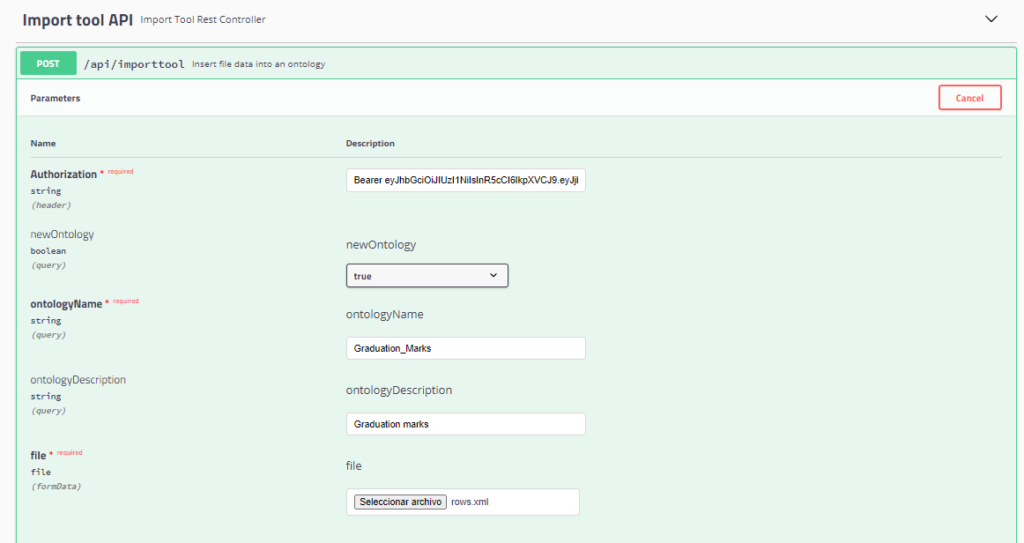
- Authorization: it is introduced in the request’s header and it represents the user’s Oauth2 token.
- newOntology: specifies whether you want to create a new ontology (true) to dump the file data, or to do it over an existing one (false).
- ontologyName: name of the ontology where the data of the file will be imported.
- ontologyDescription: brief description of the new ontology that will be created to import data. This parameter is only mandatory if a new ontology is to be created.
- file: CSV, XML or JSON file with the data to be imported.
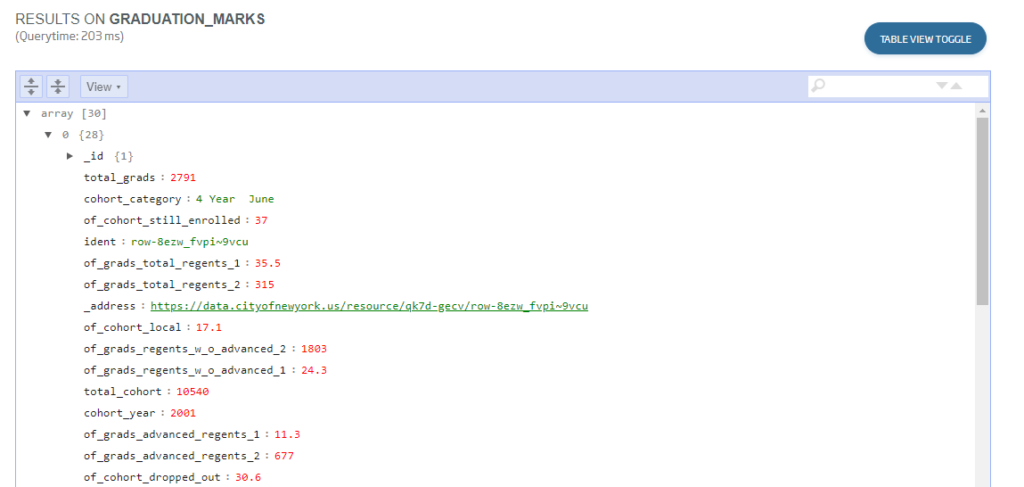
Once the form has been filled in, click on the «Execute» button. If everything works as expected, the response will be a code 200. Besides, if you go to the ontology list through the Development > My Ontologies menu, you will see that the ontology has been correctly generated and you will be able to query its data from the query tool from «Tools > Query Tool».
Invoking from Postman
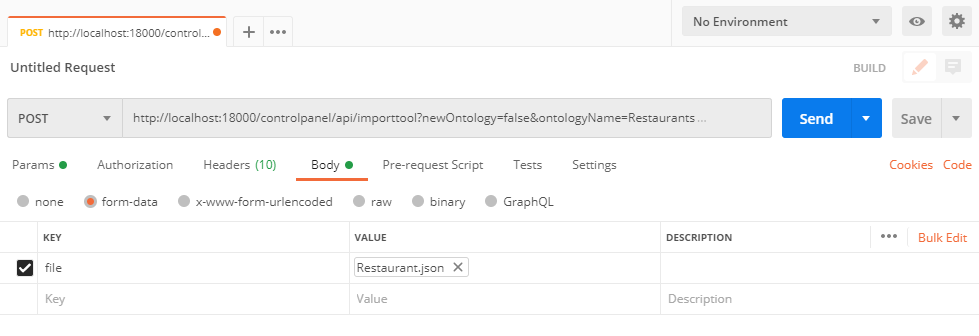
Another way to invoke the data import API is from the Postman application, which allows you to make HTTP REST requests. In this example, we are going to load the data from a JSON file on an already-existing ontology «Restaurants».
To do this, open the application, select POST as the HTTP method and configure the API’s URL. Then, fill in the necessary parameters, enter the authorization header and insert the file into the body of the request:
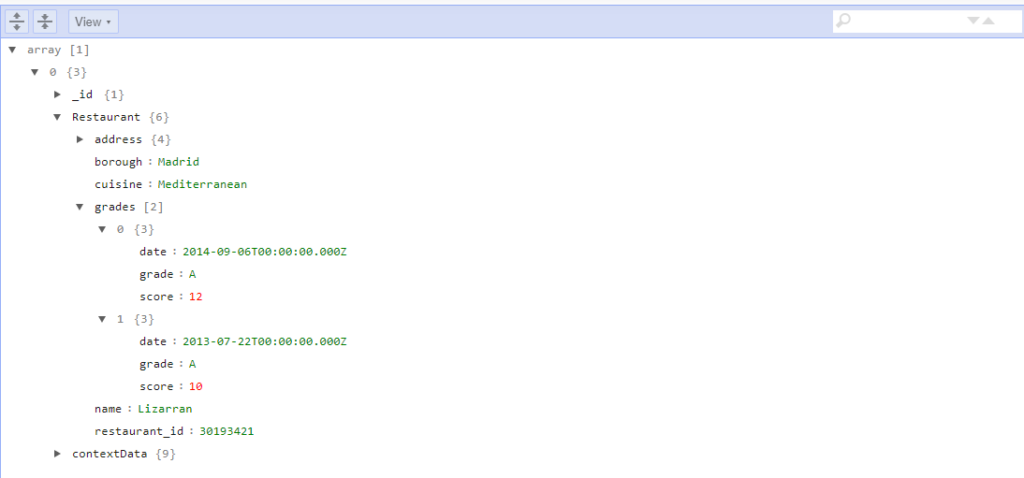
Click the «Send» button and, if everything everything works as expected, you will see that the response is a code 200.
Besides, by accessing the Platform’s query tool again, you can see the new document that you have inserted in the «Restaurants» ontology:
If you have found this tool useful, what are you waiting for to try it out? And if you have any concerns or suggestions, do not hesitate and leave us a comment!